Esta versión puede contener ediciones incorrectas. Cambie a la última instantánea verificada.
Qué necesitas
-
Este paso está sin traducir. Ayuda a traducirlo
-
Unscrew the (10) screws on the bottom of the computer chassis using the JIS #0 screwdriver.
-
-
Este paso está sin traducir. Ayuda a traducirlo
-
Slightly lift the lower case and push it toward the rear of the computer to free the mounting tabs.
-
-
-
Este paso está sin traducir. Ayuda a traducirlo
-
Remove the (6) six screws attaching the battery to the frame using the JIS #0 screwdriver.
-
Use the black plastic spudger to remove the battery from the device.
-
-
Este paso está sin traducir. Ayuda a traducirlo
-
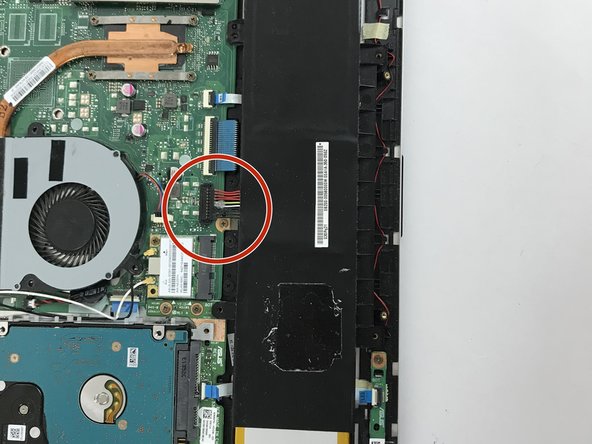
Gently take the battery out of the laptop, making sure that all wires connecting to it are disconnected.
-
-
Este paso está sin traducir. Ayuda a traducirlo
-
Remove the screws connecting the display to the laptop. Furthermore, detach the wires connecting the screen to the motherboard.
-


Equipo

USF Tampa, Team S5-G1, Walkup Fall 2017 Miembro de USF Tampa, Team S5-G1, Walkup Fall 2017
USFT-WALKUP-F17S5G1
4 Miembros
6 Guías creadas