Introducción
Computer processors or CPUs (Central Processing Units) generate a tremendous amount of heat for their size, so virtually all modern computers need some way to remove that heat from the CPU.
The heatsink is used to channel heat away from the processor. It is pressed tightly to the CPU and the space between is filled with thermal grease, a compound that helps transfer the heat from the chip to the heatsink.
However, the heatsink alone isn't enough to do the job. Once you've got the heat away from the processor, you still have to get rid of it. That's where the CPU fan comes in; it blows cool air over the fins on the heatsink, ejecting the hot air out the back of the laptop.
Use this guide to remove the fan / heatsink assembly; there is a separate guide if your fan has failed and needs to be replaced:
Qué necesitas
-
-
Flip the device over and remove the ten 5.7 mm screws with a Phillips #0 screwdriver.
-
-
-
Using a spudger, lift up the plug connecting the battery to the motherboard.
-
-
-
-
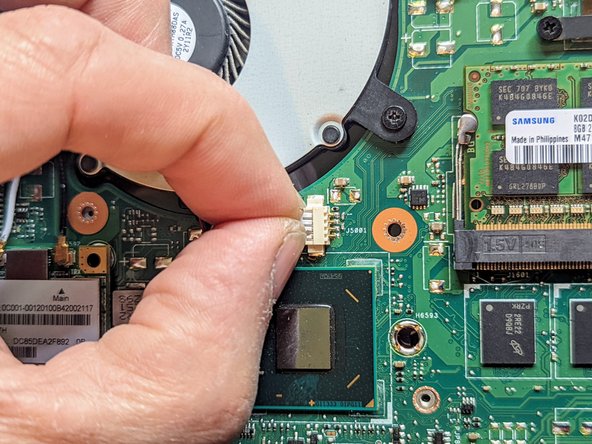
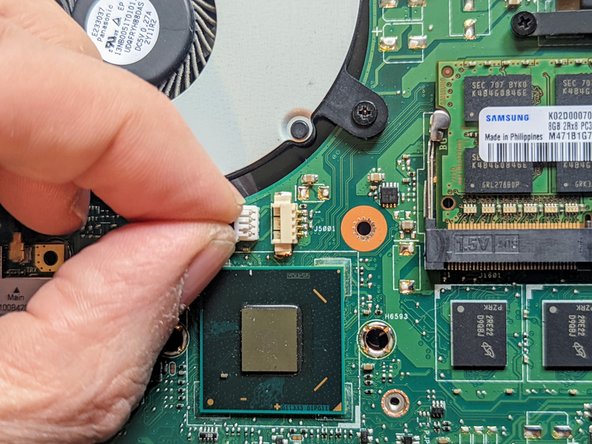
Unplug the fan.
-
Grasp the plug with a fingernail on either side and pull it straight out from the connector.
-
-
-
Remove the two 5 mm screws securing the fan.
-
Remove the four 3 mm screws securing the heat sink.
-


To reassemble your device, follow these instructions in reverse order.
To reassemble your device, follow these instructions in reverse order.

Equipo
