Saltar al contenido principal

ASUS U52F-BBG6 Keyboard Replacement

Qué necesitas

  1. ASUS U52F-BBG6 Keyboard Replacement, Back Cover: paso 1, imagen 1 de 2 ASUS U52F-BBG6 Keyboard Replacement, Back Cover: paso 1, imagen 2 de 2
    • Flip the laptop over to the back.

    • Slide the right latch to unlock, then simultaneously slide the left latch outward while pulling the battery out.

  2. ASUS U52F-BBG6 Keyboard Replacement: paso 2, imagen 1 de 3 ASUS U52F-BBG6 Keyboard Replacement: paso 2, imagen 2 de 3 ASUS U52F-BBG6 Keyboard Replacement: paso 2, imagen 3 de 3
    • Unscrew all twelve 3mm Phillips screws with the J1 screwdriver.

    • Unscrew two 3mm Phillips screws on the black panel using the PH0 screwdriver.

    • Lift the black panel upward by inserting your fingernail in the space provided.

  3. ASUS U52F-BBG6 Keyboard Replacement: paso 3, imagen 1 de 3 ASUS U52F-BBG6 Keyboard Replacement: paso 3, imagen 2 de 3 ASUS U52F-BBG6 Keyboard Replacement: paso 3, imagen 3 de 3
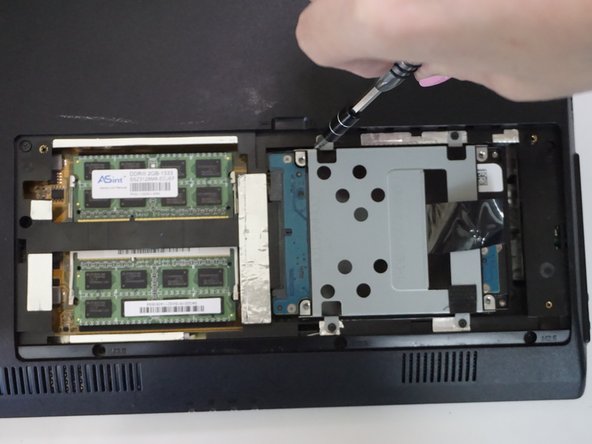
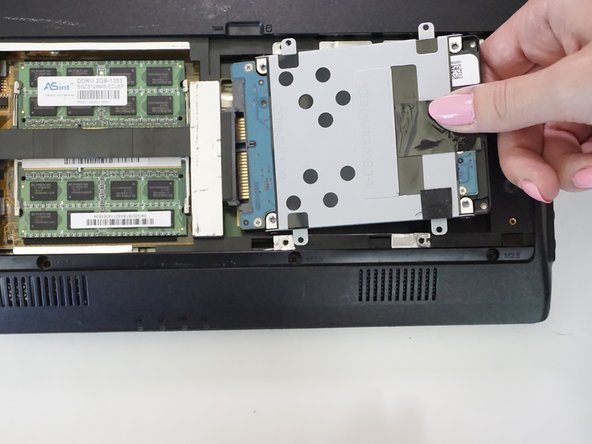
    • In the RAM and hard drive compartment, unscrew the four 3mm Phillips screws using the J1 screwdriver.

    • Gently pull out the hard drive.

  4. ASUS U52F-BBG6 Keyboard Replacement: paso 4, imagen 1 de 2 ASUS U52F-BBG6 Keyboard Replacement: paso 4, imagen 2 de 2
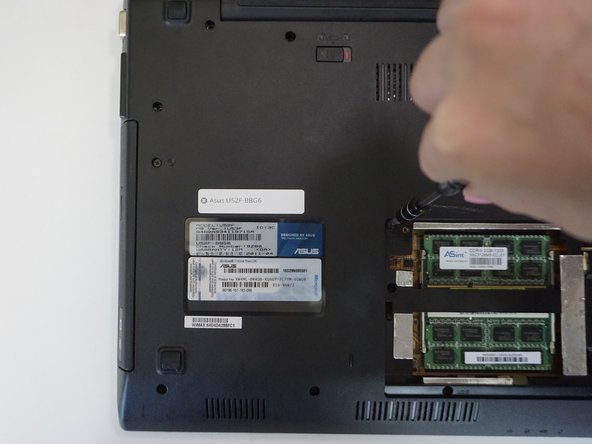
    • Unscrew six 3mm Phillips screws in the RAM and hard drive compartment with the J1 screwdriver.

  5. ASUS U52F-BBG6 Keyboard Replacement: paso 5, imagen 1 de 1
    • Pull the CD drive outward with your left hand.

  6. ASUS U52F-BBG6 Keyboard Replacement: paso 6, imagen 1 de 2 ASUS U52F-BBG6 Keyboard Replacement: paso 6, imagen 2 de 2
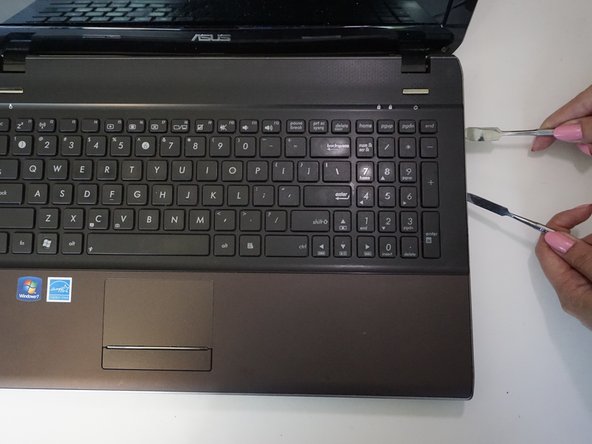
    • Insert and gently twist the flat metal spudger between the keyboard assembly and the bottom plastic cover so that a small seam is opened.

    • Put in the metal spudger in the seam to hold its place while twisting and levering the flat metal spudger along the whole keyboard.

    • Be careful not to hit any of the internals with the metal spudger. The regular black nylon spudger should be used whenever possible, especially around batteries or sensitive internal components.

    • You will need add a lot of pressure to open the laptop. Expect to hear snaps as the clips holding the two pieces are released.

    • Slowly pry off the back

  7. ASUS U52F-BBG6 Keyboard Replacement, Keyboard: paso 7, imagen 1 de 2 ASUS U52F-BBG6 Keyboard Replacement, Keyboard: paso 7, imagen 2 de 2
    • Unlatch the clip attaching the white flattened flexible cord with a blue tip to the circuit board with your thumb.

    • Pull out the white flattened cord.

  8. ASUS U52F-BBG6 Keyboard Replacement: paso 8, imagen 1 de 1
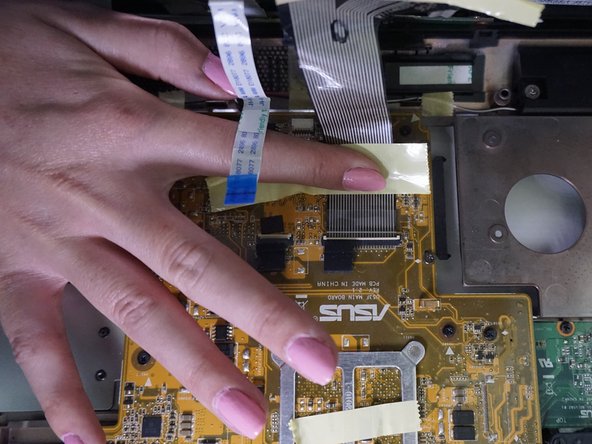
    • Pull back yellow tape attaching the metal colored flexible flattened cord to the circuit board.

    • Lift up the latch at the end of the cord.

    • Pull out the cord to release the keyboard.

Conclusión

To reassemble your device, follow these instructions in reverse order.

Una persona más ha completado esta guía.

Ashley DeHuff

Miembro Desde 09/15/16

852 Reputación

8 Guías creadas

Equipo

CSU Fullerton, Team 1-3, Bruce Fall 2016 Miembro de CSU Fullerton, Team 1-3, Bruce Fall 2016

CSUF-BRUCE-F16S1G3

4 Miembros

9 Guías creadas

Un comentario

How do you remove the keyboard from the palm rest is what I'd like to know...what a goofy design

love4talent - Contestar

Agregar Comentario

Ver Estadísticas:

Ultimas 24 horas: 0

Ultimos 7 días: 0

Ultimos 30 días: 1

Todo El Tiempo: 757