Introducción
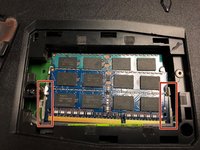
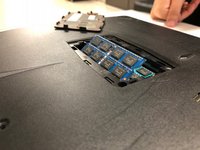
Pay attention to your device as you disassemble so that you can successfully reassemble later.
Qué necesitas


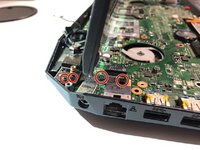
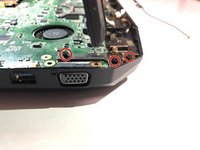


Casi Terminas!
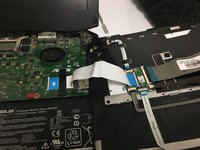
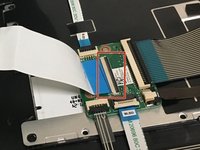
To reassemble your device, follow these instructions in reverse order.
Conclusión
To reassemble your device, follow these instructions in reverse order.
Cancelar: No complete esta guía.
2 personas más completaron esta guía.
Equipo

University of North Texas, Team S6-G3, Thompson Fall 2018 Miembro de University of North Texas, Team S6-G3, Thompson Fall 2018
UNT-THOMPSON-F18S6G3
4 Miembros
13 Guías creadas