Esta versión puede contener ediciones incorrectas. Cambie a la última instantánea verificada.
Qué necesitas
-
Este paso está sin traducir. Ayuda a traducirlo
-
With the opening facing you, flip the laptop over and remove the following screws from the back panel:
-
Six 4mm Phillips screws using a Phillips #0 screwdriver.
-
One 12mm Phillips screw in the center using a Phillips #0 screwdriver.
-
-
Este paso está sin traducir. Ayuda a traducirlo
-
Using a plastic spudger, remove the two rubber stoppers closest to the hinge to reveal the screws underneath.
-
-
-
Este paso está sin traducir. Ayuda a traducirlo
-
Remove the following screws:
-
Two 4mm Phillips screws using a Phillips #0 screwdriver.
-
-
Este paso está sin traducir. Ayuda a traducirlo
-
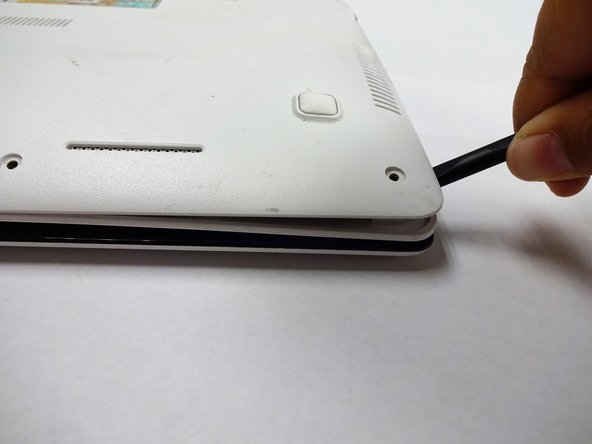
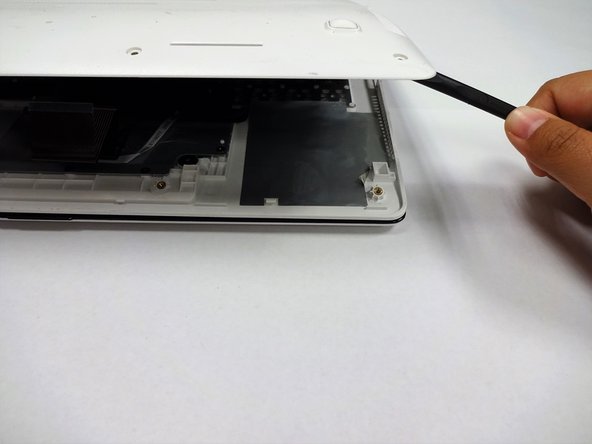
Using a plastic spudger (and a fair amount of force), pry the back panel up from the keyboard to separate.
-


