Esta guía ha sufrido modificaciones. Revisa la última versión sin revisar.
Introducción
This repair guide will guide you through the steps to removing and replacing the power switch of your APS Tech 101629 CD-Drive.
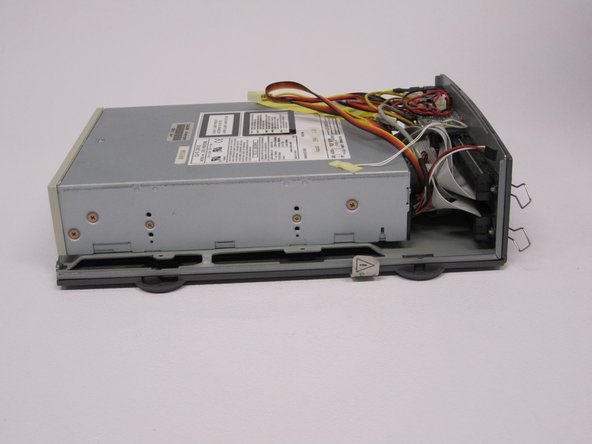
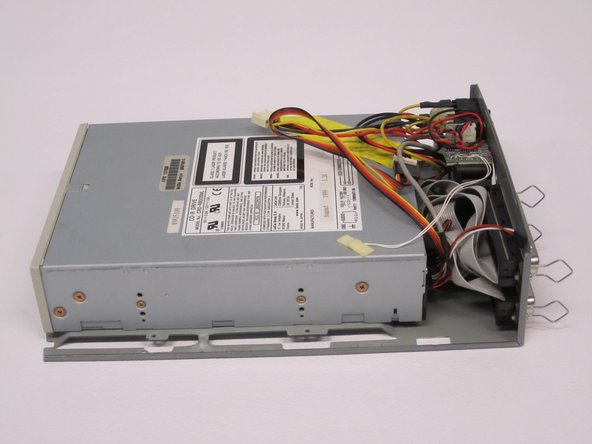
First the external casing, and channel switch will need to be removed.
Qué necesitas
-
-
Pry all four of the plastic feet off the bottom of the enclosure using the iPod opening tool.
-
-
-
-
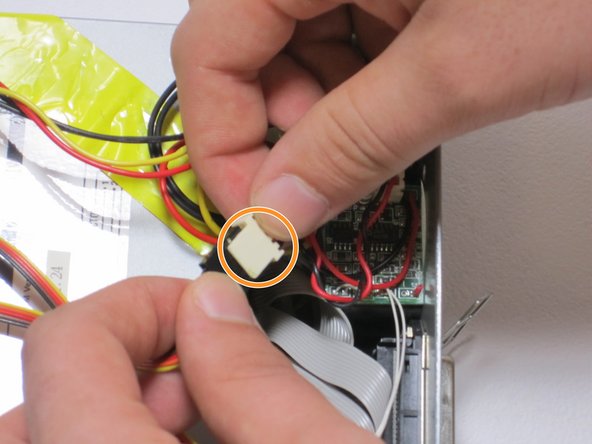
Find the conjoined ID cable wires that are colored black, orange, and yellow.
-
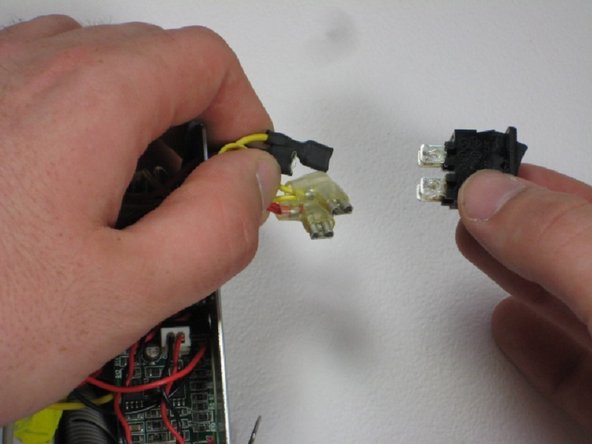
Lift white portion of cable wires to disconnect it.
-
-
-
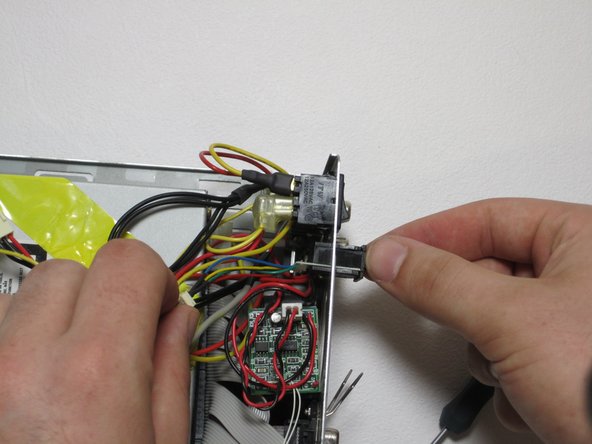
Depress 2 pressure holds on each side of the power switch.
-
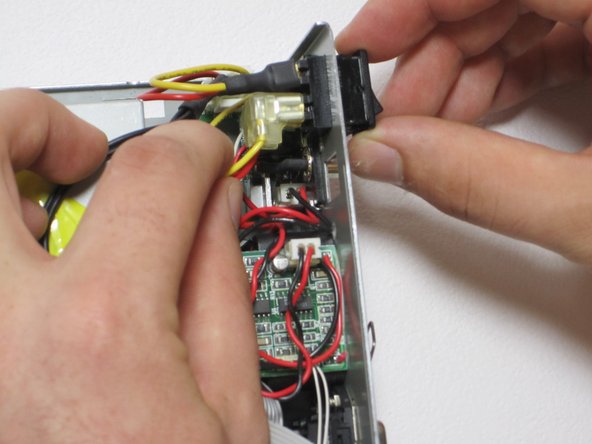
Press out the back of the device.
-


To reassemble your device, follow these instructions in reverse order.
To reassemble your device, follow these instructions in reverse order.

Equipo

Cal Poly, Team 24-60, Amido Spring 2011 Miembro de Cal Poly, Team 24-60, Amido Spring 2011
CPSU-AMIDO-S11S24G60
5 Miembros
12 Guías creadas