Introducción
This repair guide will take you through the steps to removing and replacing the channel switch of your APS Tech 101629 CD-Drive. This can be quickly removed and easily replaced.
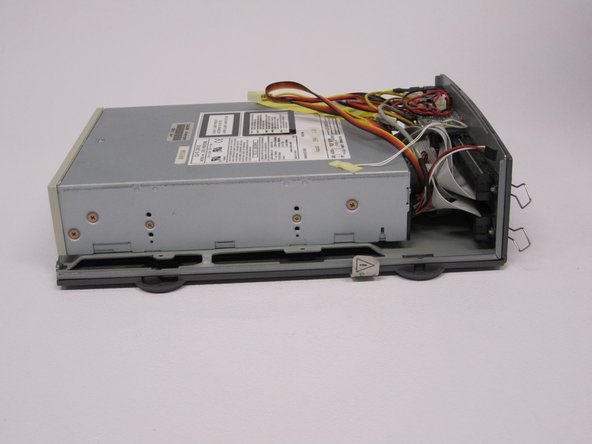
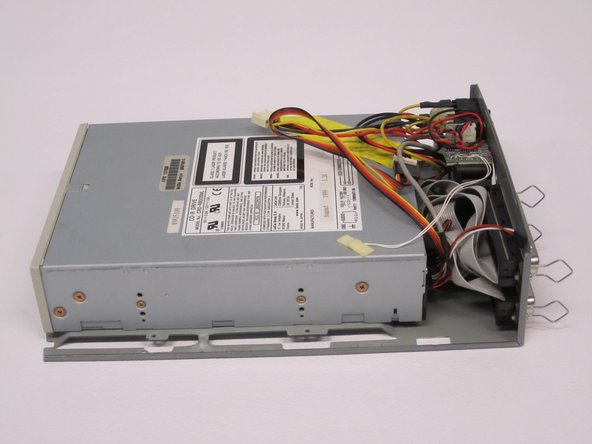
First the external casing will need to be removed.
Qué necesitas
-
-
Pry all four of the plastic feet off the bottom of the enclosure using the iPod opening tool.
-
-
-
-
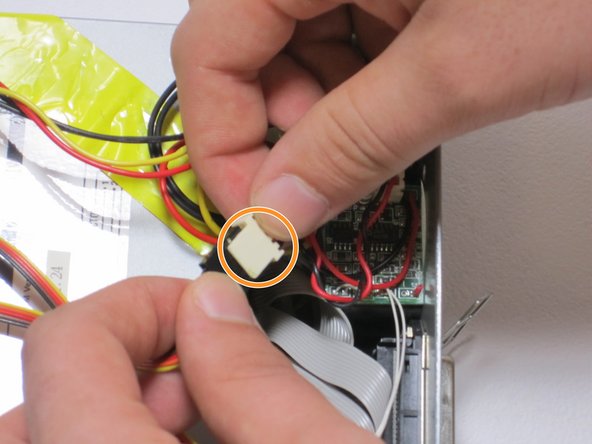
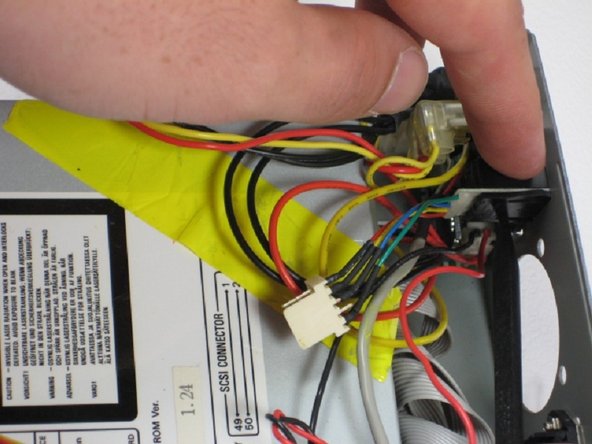
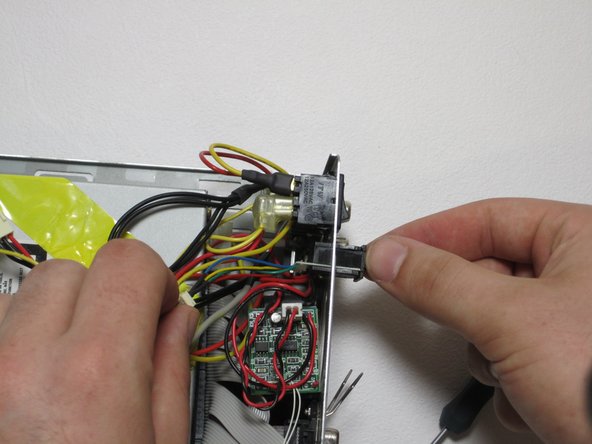
Find the conjoined ID cable wires that are colored black, orange, and yellow.
-
Lift white portion of cable wires to disconnect it.
-


To reassemble your device, follow these instructions in reverse order.
To reassemble your device, follow these instructions in reverse order.
Cancelar: No complete esta guía.
Una persona más ha completado esta guía.

Equipo

Cal Poly, Team 24-60, Amido Spring 2011 Miembro de Cal Poly, Team 24-60, Amido Spring 2011
CPSU-AMIDO-S11S24G60
5 Miembros
12 Guías creadas