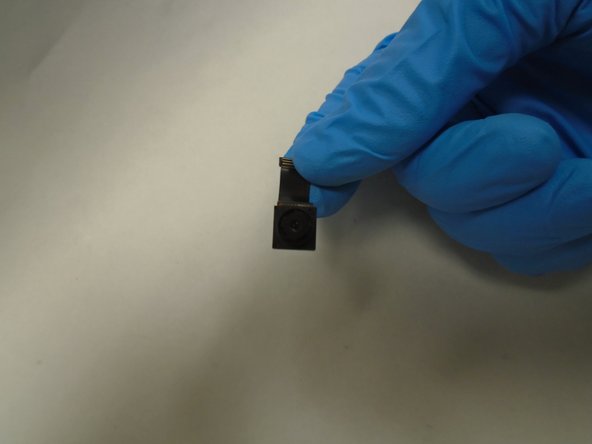
Saltar al contenido principal

AEE Mach 1 Camera Replacement

Qué necesitas

  1. AEE Mach 1 Camera Replacement, Camera: paso 1, imagen 1 de 1
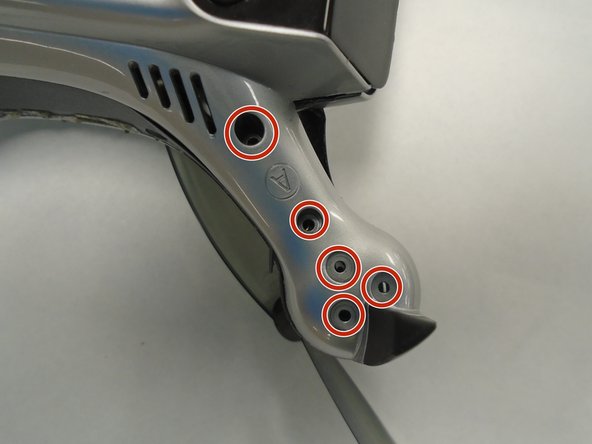
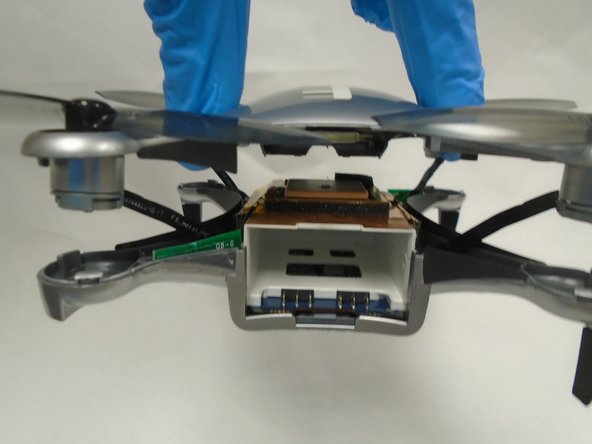
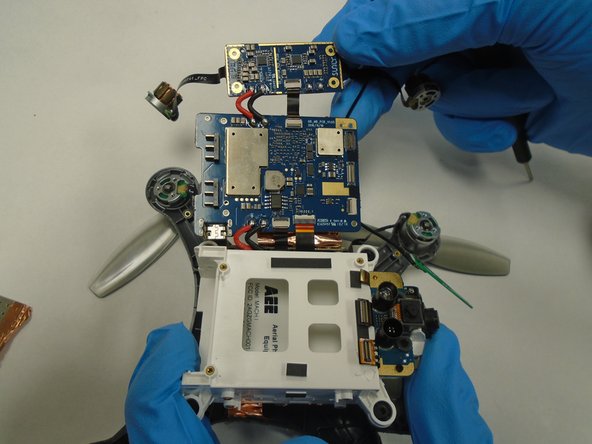
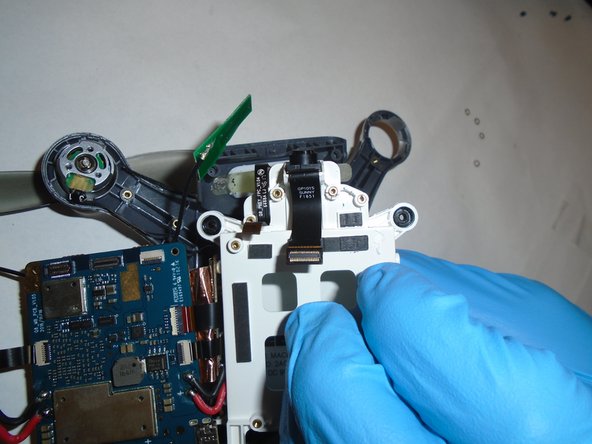
    • Take out the AEE Mach 1 and place it on a surface with its propellers facing up.

  2. AEE Mach 1 Camera Replacement: paso 2, imagen 1 de 2 AEE Mach 1 Camera Replacement: paso 2, imagen 2 de 2
    • Holding the base of a propeller with one hand, unscrew the propeller by hand in a clockwise direction. Complete this action on all 4 propellers.

  3. AEE Mach 1 Camera Replacement: paso 3, imagen 1 de 2 AEE Mach 1 Camera Replacement: paso 3, imagen 2 de 2
    • Flip the AEE Mach 1 upside down.

    • Remove the screws on the drone's arms using a Torx T5 screwdriver.

  4. AEE Mach 1 Camera Replacement: paso 4, imagen 1 de 2 AEE Mach 1 Camera Replacement: paso 4, imagen 2 de 2
    • Gently pry open the top panel of the drone using a spudger.

    • Do not completely remove the panel, as there will still be wired connections between the two halves.

    • Rotate the top panel slightly to reveal the four screws beneath each propellor arm.

    • Remove each of the four screws with a Phillips #0 screwdriver.

    • Lift off the top panel, as it should now be free from the rest of the device.

  5. AEE Mach 1 Camera Replacement: paso 5, imagen 1 de 1
    • Using a Phillips #00 screwdriver, remove the screws from the four corners of the inner white chassis.

  6. AEE Mach 1 Camera Replacement: paso 6, imagen 1 de 2 AEE Mach 1 Camera Replacement: paso 6, imagen 2 de 2
    • Using a Spudger (or similar tool to scrap/pry with), remove the copper foil used as tape from the sides of the chassis.

    • Remove the small metal covering from the side boards.

    • This can be done by hand or with the assistance of a prying tool.

  7. AEE Mach 1 Camera Replacement: paso 7, imagen 1 de 2 AEE Mach 1 Camera Replacement: paso 7, imagen 2 de 2
    • Using a Phillips #00 screwdriver, remove the four screws separating the side board from the white chassis.

  8. AEE Mach 1 Camera Replacement: paso 8, imagen 1 de 2 AEE Mach 1 Camera Replacement: paso 8, imagen 2 de 2
    • Using a Phillips #00 screwdriver, remove the four screws from the large motherboard on the white chassis.

    • Lift the motherboard out of the case, revealing the camera cable.

  9. AEE Mach 1 Camera Replacement: paso 9, imagen 1 de 3 AEE Mach 1 Camera Replacement: paso 9, imagen 2 de 3 AEE Mach 1 Camera Replacement: paso 9, imagen 3 de 3
    • Using the Phillips #00 screwdriver, remove the four screws holding the camera mechanism in place.

    • Lift the camera assembly out of the case.

Conclusión

To reassemble your device, follow these instructions in reverse order.

Equipo

dwsad Miembro de dwsad

Community

1 Miembro

4 Guías creadas

0 comentarios

Agregar Comentario

Ver Estadísticas:

Ultimas 24 horas: 2

Ultimos 7 días: 8

Ultimos 30 días: 15

Todo El Tiempo: 260