Introducción
In the case of your 2018 Toyota Corolla LE's battery needing to be replaced, follow these guide instructions.
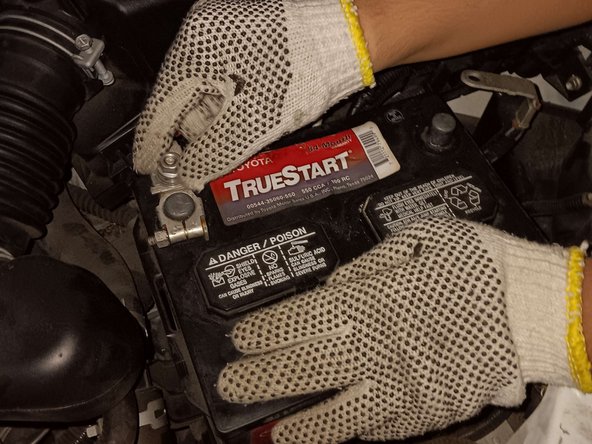
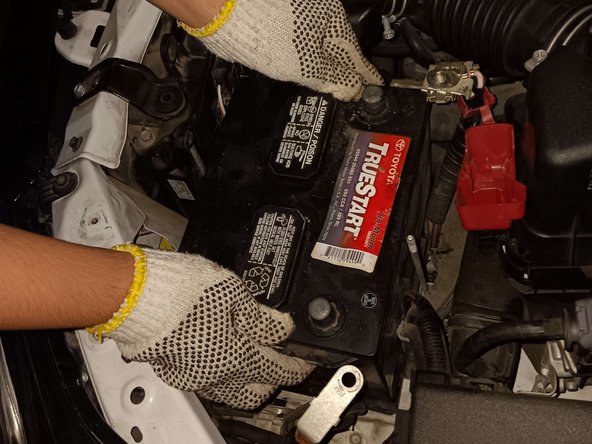
The battery is the main lifeforce of the car; without it, don't expect it to move unless you're rolling it down a hill in neutral. Without it, the engine, key buttons, and even electric brakes are completely useless.
Car batteries naturally wear down in output with time, going from the factory standard of 12-13 to 8-9 in some years till eventually they give out and need to be recycled.
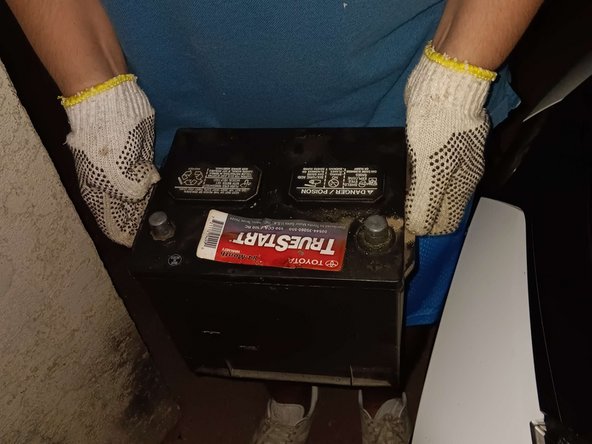
With this replacement, you'll be able to start up your car once again. Be sure to park your car in a spot which gives you plenty of space in the front. Lifting a car battery doesn't allow much agility as noted in step 6.
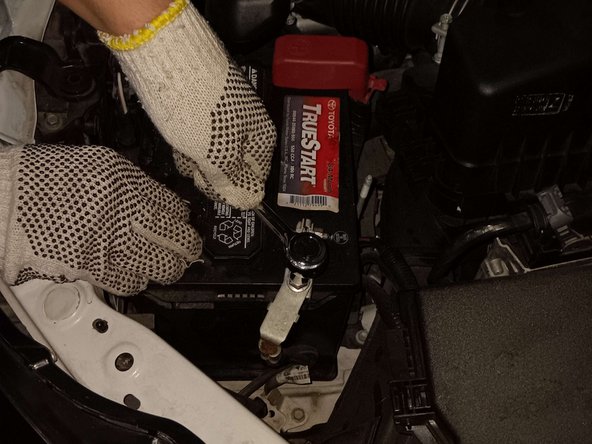
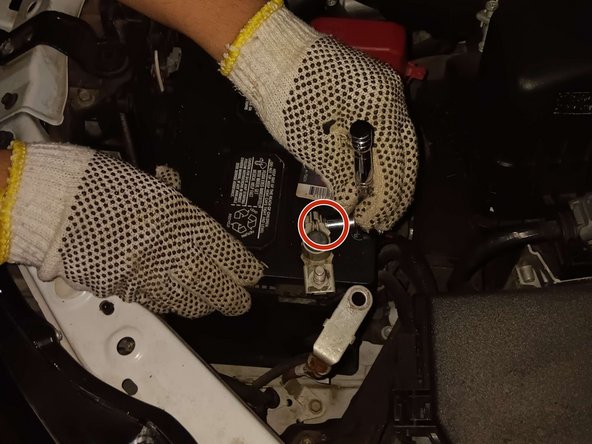
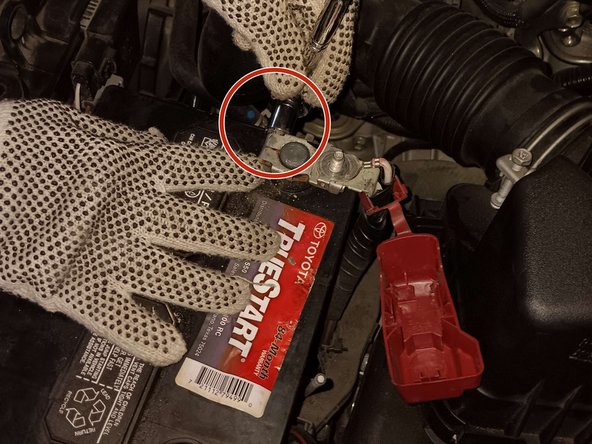
Before beginning, place your car in park, engage the parking brake, and power off the ignition.
Qué necesitas


To reassemble your device, follow these instructions in reverse order.
To reassemble your device, follow these instructions in reverse order.

Equipo

California State University Bakersfield, Team 74-23, Chiang Fall 2023 Miembro de California State University Bakersfield, Team 74-23, Chiang Fall 2023
CSUB-CHIANG-F23S74G23
2 Miembros
1 Guía escrita