Saltar al contenido principal

2012 Kawasaki Ninja Chain Tightening Replacement

Qué necesitas

  1. 2012 Kawasaki Ninja Chain Tightening Replacement, Chain Tightening: paso 1, imagen 1 de 2 2012 Kawasaki Ninja Chain Tightening Replacement, Chain Tightening: paso 1, imagen 2 de 2
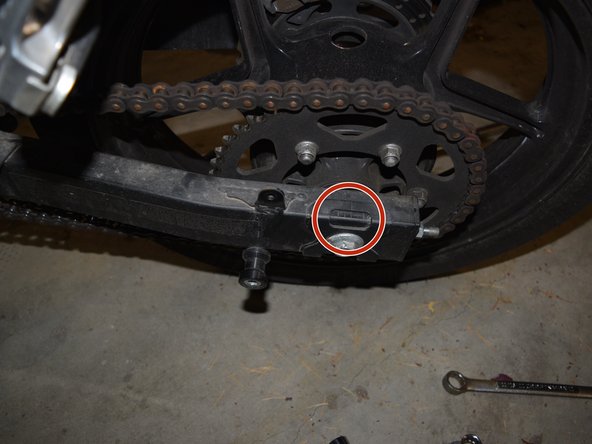
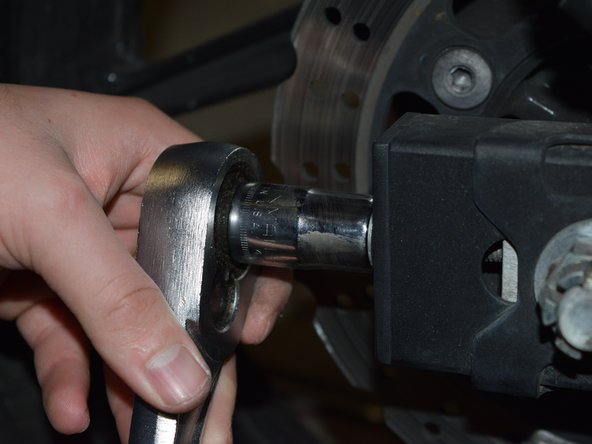
    • Park your bike and get the essential tools

  2. 2012 Kawasaki Ninja Chain Tightening Replacement: paso 2, imagen 1 de 3 2012 Kawasaki Ninja Chain Tightening Replacement: paso 2, imagen 2 de 3 2012 Kawasaki Ninja Chain Tightening Replacement: paso 2, imagen 3 de 3
    • Remove any factory or aftermarket chain covers on your bike.

    • This can be removed by using your socket wrench (9mm for this specific one)

    • Set the cover and bolts aside.

    • Helpful hint: leave the bolts in the cover when setting it aside to help keep organized

    • Feel the chain. If there is more than 1 inch of play (movement up or down) then the chain should be tightened.

  3. 2012 Kawasaki Ninja Chain Tightening Replacement: paso 3, imagen 1 de 3 2012 Kawasaki Ninja Chain Tightening Replacement: paso 3, imagen 2 de 3 2012 Kawasaki Ninja Chain Tightening Replacement: paso 3, imagen 3 de 3
    • Notice the location of the slider on each side

    • This is located at the back of the bike on the rear wheel bars

    • Usually after use, the sliders become out of alignment and could be at different marker locations

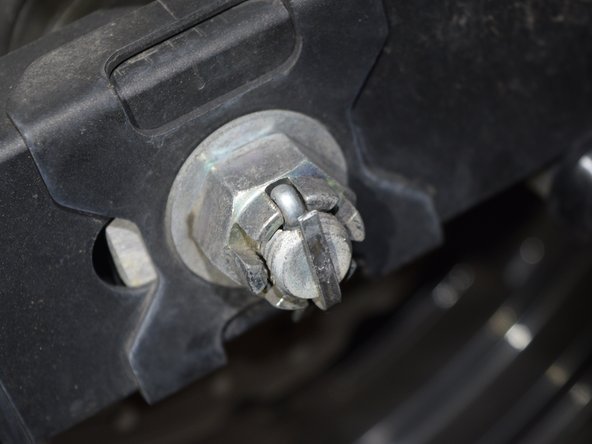
    • Locate the bolt that travels through the hub of the wheel

    • This will be the largest bolt of the back of the wheel

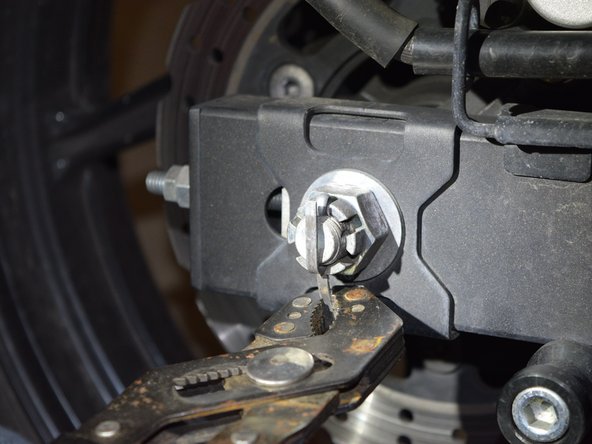
    • Remove the locking pin holding the nut in place

    • Use the grips to bend the pin straight

  4. 2012 Kawasaki Ninja Chain Tightening Replacement: paso 4, imagen 1 de 3 2012 Kawasaki Ninja Chain Tightening Replacement: paso 4, imagen 2 de 3 2012 Kawasaki Ninja Chain Tightening Replacement: paso 4, imagen 3 de 3
    • Remove the locking pin

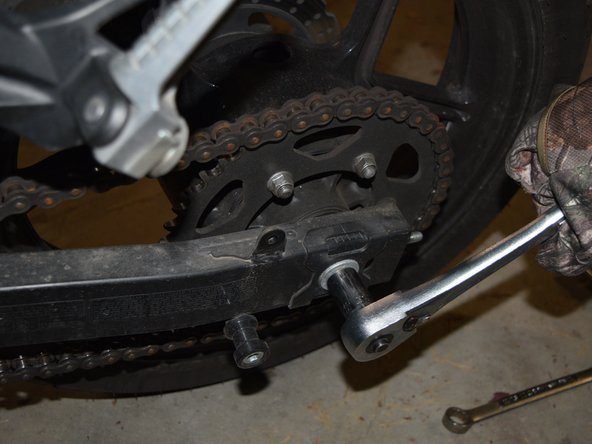
    • Place your 17mm socket on the bolt side and the 1 inch side over the nut

    • This is where the breaker bar would help as it could be very tight

    • Loosen the bolt to about half way

    • Do not take the bolt out or the nut off

  5. 2012 Kawasaki Ninja Chain Tightening Replacement: paso 5, imagen 1 de 2 2012 Kawasaki Ninja Chain Tightening Replacement: paso 5, imagen 2 de 2
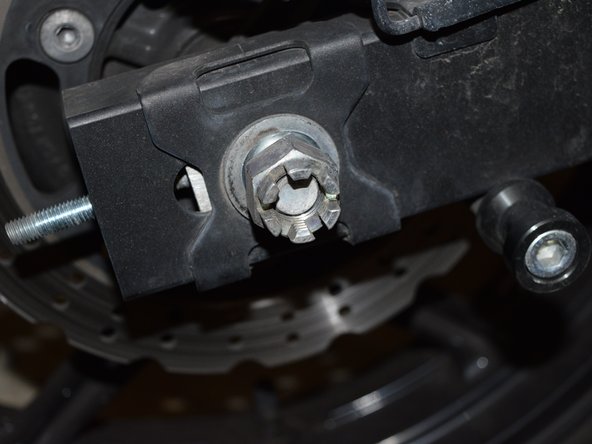
    • Locate the bolts on each side of the bike sticking out

    • There should be two nuts on each bolt

    • Loosen only the first nut on each side with a 12mm

    • This is the locking nut while the second one locks the chain in place.

  6. 2012 Kawasaki Ninja Chain Tightening Replacement: paso 6, imagen 1 de 3 2012 Kawasaki Ninja Chain Tightening Replacement: paso 6, imagen 2 de 3 2012 Kawasaki Ninja Chain Tightening Replacement: paso 6, imagen 3 de 3
    • Begin tightening the second nut on the side with the chain (usually the left side) with a 14mm

    • You should visually see the chain tightening and the sliders moving which marks the chain position

    • Tighten to where there is about ½ to ¾ inch of play in the chain.

    • Notice the mark of the slider on the side you tightened first

    • Tighten the opposite side till the slider is in the same position as the first side you tightened

  7. 2012 Kawasaki Ninja Chain Tightening Replacement: paso 7, imagen 1 de 1
    • Make sure the chain is tightened to your liking

    • Should be about ½ inch to ¾ inch play

    • Repeat the tightening process if it is not to your liking

  8. 2012 Kawasaki Ninja Chain Tightening Replacement: paso 8, imagen 1 de 1
    • Begin putting the bike back together

    • Start by retightening the small bolts with the 12mm

  9. 2012 Kawasaki Ninja Chain Tightening Replacement: paso 9, imagen 1 de 2 2012 Kawasaki Ninja Chain Tightening Replacement: paso 9, imagen 2 de 2
    • Retighten the main bolt with the 1 inch socket and the 17mm.

    • Make sure the hole in the nut and bolt line up for the locking pin

    • Reinsert the locking pin once the main bolt is tightened

  10. 2012 Kawasaki Ninja Chain Tightening Replacement: paso 10, imagen 1 de 1
    • Lastly reinsert the chain guard and tighten the bolts

  11. 2012 Kawasaki Ninja Chain Tightening Replacement: paso 11, imagen 1 de 1
    • Proceed to ride and test your work.

    • You will feel smooth and the bike will glide well in neutral if done properly.

Conclusión

To reassemble, follow these instructions in reverse order.

2 personas más completaron esta guía.

0 comentarios

Agregar Comentario

Ver Estadísticas:

Ultimas 24 horas: 0

Ultimos 7 días: 1

Ultimos 30 días: 2

Todo El Tiempo: 168