Saltar al contenido principal

2011-2013 Scion tC Radio Head Unit Replacement

Qué necesitas

  1. 2011-2013 Scion tC Radio Head Unit Replacement, Radio Head Unit: paso 1, imagen 1 de 2 2011-2013 Scion tC Radio Head Unit Replacement, Radio Head Unit: paso 1, imagen 2 de 2
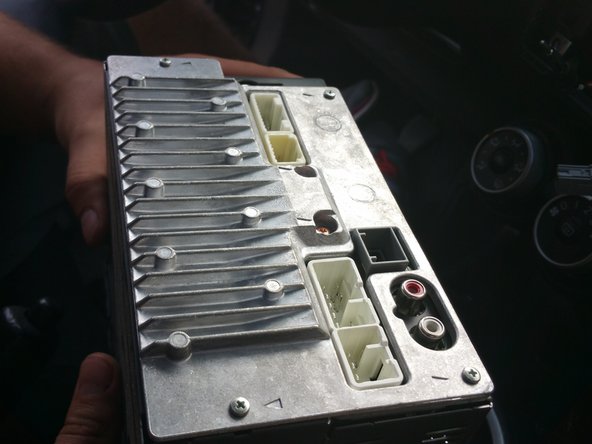
    • Remove the dashboard panel around the radio head by pulling on the bottom of the unit.

  2. 2011-2013 Scion tC Radio Head Unit Replacement: paso 2, imagen 1 de 2 2011-2013 Scion tC Radio Head Unit Replacement: paso 2, imagen 2 de 2
    • Remove the wire header connected to the panel by pressing inward on the tabs.

  3. 2011-2013 Scion tC Radio Head Unit Replacement: paso 3, imagen 1 de 1
    • Remove the four #2 12mm screws securing the head unit in the housing

  4. 2011-2013 Scion tC Radio Head Unit Replacement: paso 4, imagen 1 de 2 2011-2013 Scion tC Radio Head Unit Replacement: paso 4, imagen 2 de 2
    • Remove each bundle of wires that is connected to the back of the head unit.

  5. 2011-2013 Scion tC Radio Head Unit Replacement: paso 5, imagen 1 de 2 2011-2013 Scion tC Radio Head Unit Replacement: paso 5, imagen 2 de 2
    • Locate the metal brackets on the side of the head unit.

    • Use a Philips head screwdriver, remove the three #2 25mm screws from both support brackets on the side of the head unit

  6. 2011-2013 Scion tC Radio Head Unit Replacement: paso 6, imagen 1 de 1
    • Screw the support brackets to the new radio head unit

    • Note that the brackets are unique to the car. They will not come with your new head unit.

Conclusión

To reassemble your device, follow these instructions in reverse order.

2 personas más completaron esta guía.

Dylan Smith

Miembro Desde 05/01/15

143 Reputación

1 Guía escrita

Equipo

Cal Poly, Team 8-2, Regan Spring 2015 Miembro de Cal Poly, Team 8-2, Regan Spring 2015

CPSU-REGAN-S15S8G2

5 Miembros

7 Guías creadas

0 comentarios

Agregar Comentario

Ver Estadísticas:

Ultimas 24 horas: 2

Ultimos 7 días: 10

Ultimos 30 días: 32

Todo El Tiempo: 7,430