Introducción
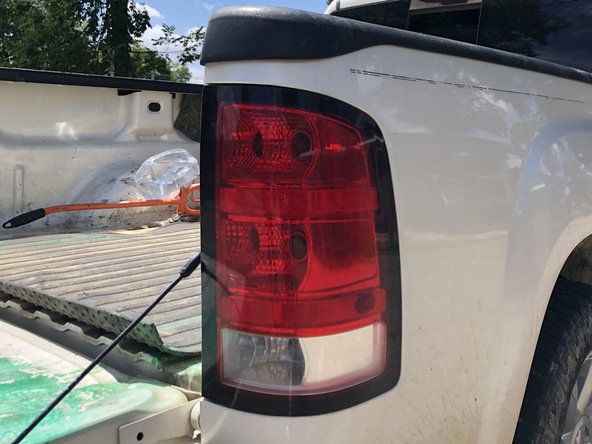
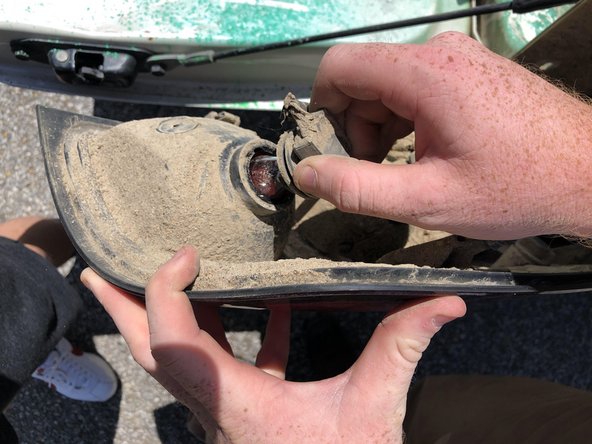
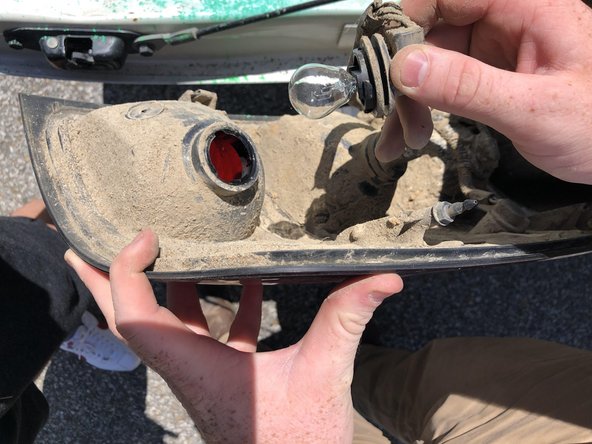
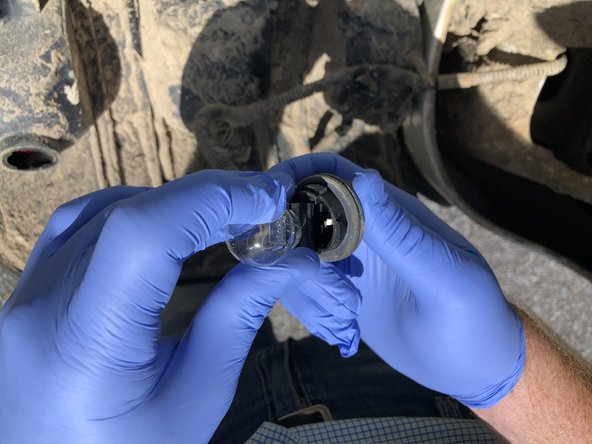
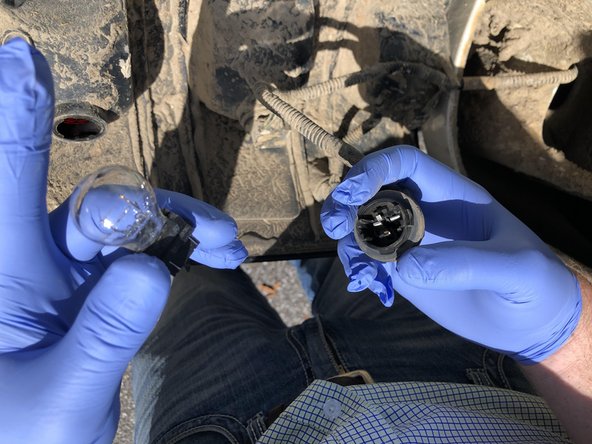
Replace the tail light bulbs in a 2010 GMC Sierra. Tail lights are for telling other drivers that a vehicle is stopping. Ensuring proper tail light operation is important, and so is doing this process correctly. Make sure to have a replacement tail light bulb, some latex gloves, a 10mm wrench, and a Philips head #2 screwdriver before beginning.
Qué necesitas
-
-
Open the hood of the truck.
-
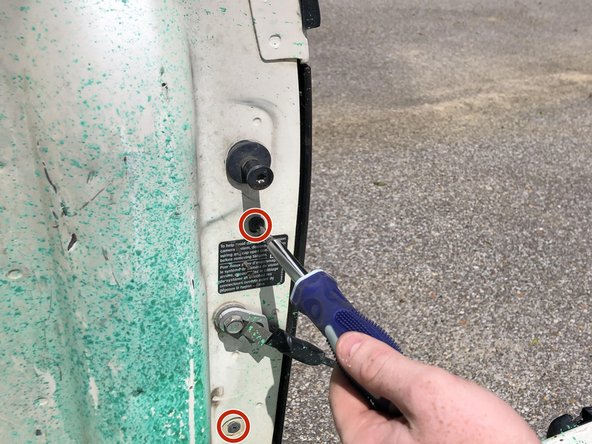
Using the 10mm wrench, loosen and remove the 1-3/4" bolt securing the cable.
-
Pull the cable from the battery.
-
-


To reassemble your device, follow these instructions in reverse order.
To reassemble your device, follow these instructions in reverse order.
Cancelar: No complete esta guía.
Una persona más ha completado esta guía.
Equipo

University of Memphis, Team S1-G4, Lane Summer 2019 Miembro de University of Memphis, Team S1-G4, Lane Summer 2019
UM-LANE-SU19S1G4
3 Miembros
1 Guía escrita
Un comentario
Is there a way to get these things not to get moisture inside the backup bulb area?