Introducción
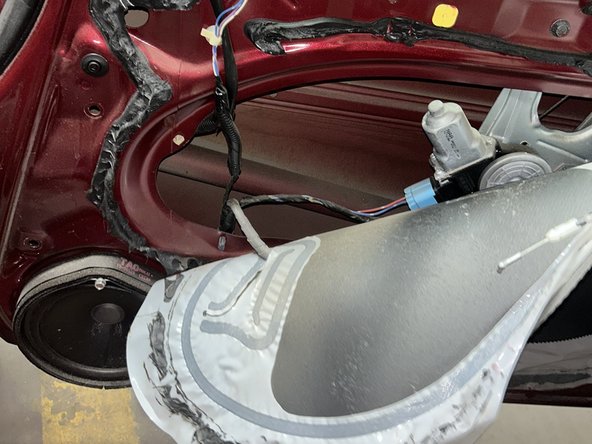
This guide will show you how to replace a window regulator in a 2009 Honda Civic. A malfunctioning window regulator can hinder the windows from operating correctly, leading to inconveniences and potential security vulnerabilities. The root cause of this issue is often due to wear and tear or cable detachment.
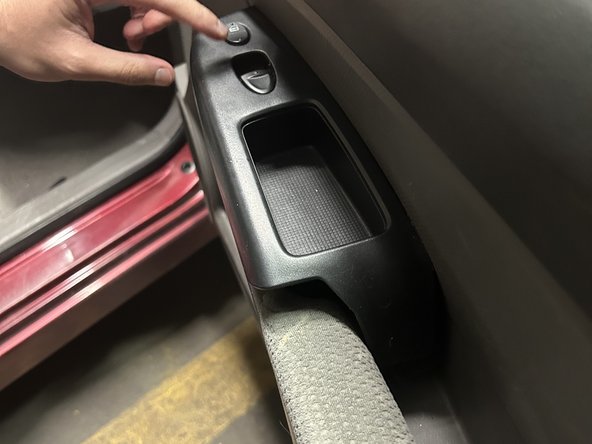
Before beginning this guide, place the car in park, power off the car's ignition, and engage the parking brake.
Qué necesitas


To reassemble your device, follow these instructions in reverse order.
To reassemble your device, follow these instructions in reverse order.
Cancelar: No complete esta guía.
3 personas más completaron esta guía.

Equipo

York University, Team 1-13, O'Regan Winter 2024 Miembro de York University, Team 1-13, O'Regan Winter 2024
YORK-O'REGAN-W24S1G13
1 Miembro
2 Guías creadas