Esta versión puede contener ediciones incorrectas. Cambie a la última instantánea verificada.
Qué necesitas
-
Este paso está sin traducir. Ayuda a traducirlo
-
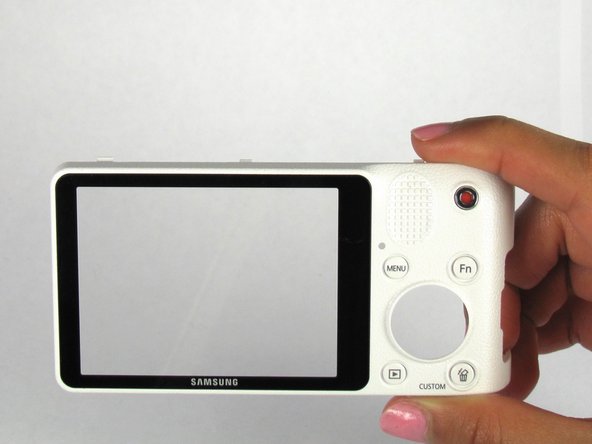
Locate the bottom panel of the camera.
-
Unscrew the four 4.5mm Philips #000 (perpendicular cross) screws with the Philips #000 screwdriver.
-
-
Este paso está sin traducir. Ayuda a traducirlo
-
Unscrew the three 4.5mm #000 Philips screws on the sides of the camera using the Philips #000 screwdriver.
-
-
Este paso está sin traducir. Ayuda a traducirlo
-
Open the two halves of the camera, taking care not to disturb the ribbon cable.
-
-
-
Este paso está sin traducir. Ayuda a traducirlo
-
Remove the ribbon by lifting the grey tab on the ZIF connector with the metal spudger.
-
Push the ribbon out of its socket with the plastic opening tool.
-
-
Este paso está sin traducir. Ayuda a traducirlo
-
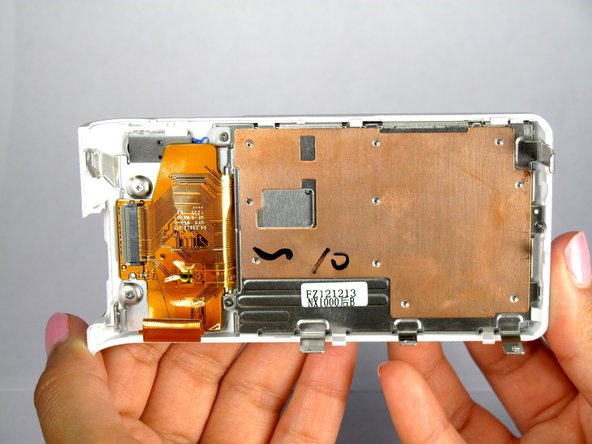
Remove all five 3mm Philips #000 screws from the inside of the back panel using the Philips #000 Screwdriver.
-
-
Este paso está sin traducir. Ayuda a traducirlo
-
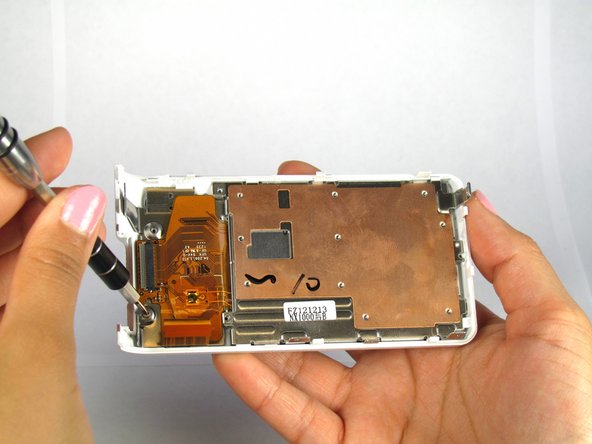
Lift up the grey tab on the ZIF connector with the spudger to remove the ribbon.
-
Using both thumbs push the ribbon out of the ZIF connection.
-
-
Este paso está sin traducir. Ayuda a traducirlo
-
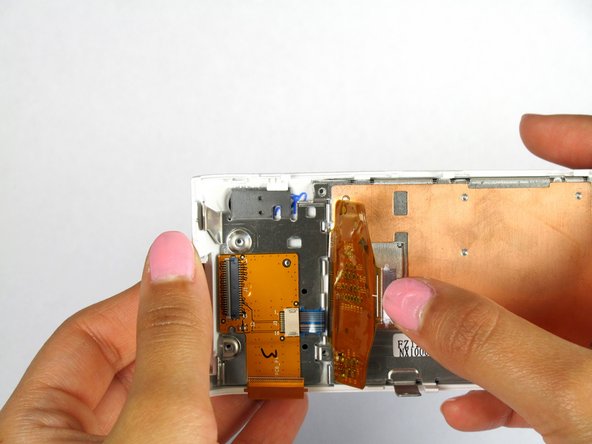
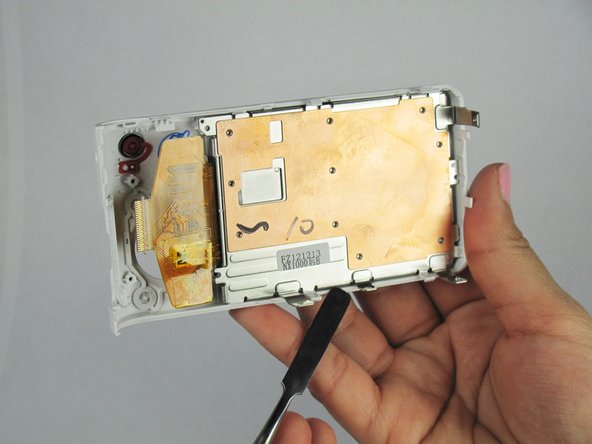
Use the metal spudger to pick the bottom of the plastic piece while simultaneously using your index finger to push down on the larger metal slab. This will cause the metal plate with the large ribbon to slide down and out of the plastic back panel.
-
-
Este paso está sin traducir. Ayuda a traducirlo
-
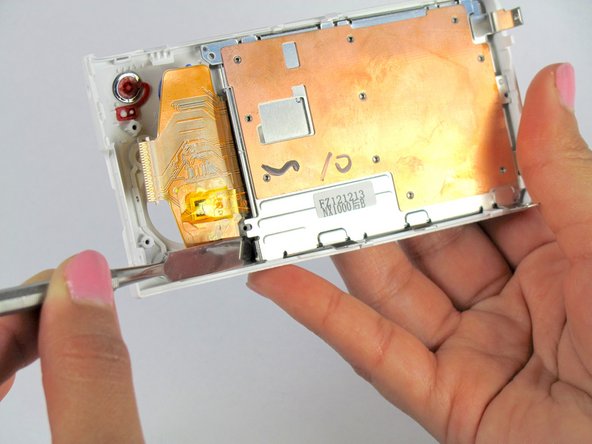
Use a metal tool to pick on the sides of the metal plate to remove the plate from the plastic tabs.
-


Cancelar: No complete esta guía.
Una persona más ha completado esta guía.
Equipo

Cal Poly, Team 20-13, Maness Winter 2015 Miembro de Cal Poly, Team 20-13, Maness Winter 2015
CPSU-MANESS-W15S20G13
4 Miembros
14 Guías creadas