Saltar al contenido principal

Qué necesitas

Este desmontaje no es una guía de reparación. Para reparar tu turbidity, utiliza nuestros manuales de servicio .

  1. turbidity Teardown, turbidity Teardown: paso 1, imagen 1 de 3 turbidity Teardown, turbidity Teardown: paso 1, imagen 2 de 3 turbidity Teardown, turbidity Teardown: paso 1, imagen 3 de 3
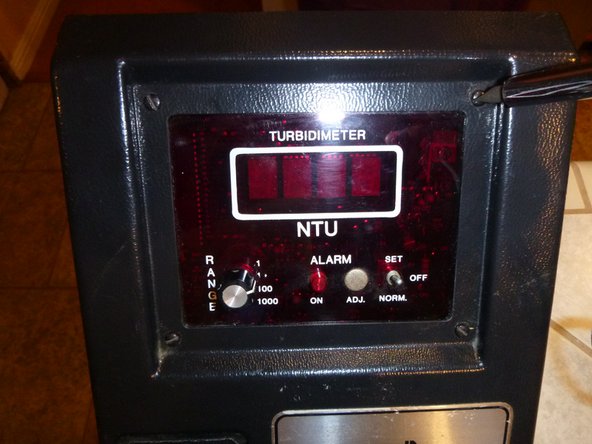
    • first thing u want to do is take out the two screws on each side of the meter and also take out all the screws on the bottom you will need a philips head screw driver

  2. turbidity Teardown: paso 2, imagen 1 de 2 turbidity Teardown: paso 2, imagen 2 de 2
    • Now unscrew the 4 screws on the face plate and you will be able to lift the cover off the meter but be carful as there are a few plugs and screws left for you to remove

  3. turbidity Teardown: paso 3, imagen 1 de 2 turbidity Teardown: paso 3, imagen 2 de 2
    • Unplug the three prong plug and unscrew and pull out all the wires off the terminal block now you are able to take the cover completely off> the terminal block is basically a neat way of distributing power

    • NOTE: mark where each wire goes on the terminal block for easy re installation

  4. turbidity Teardown: paso 4, imagen 1 de 2 turbidity Teardown: paso 4, imagen 2 de 2
    • Unscrew all the nuts shown using an adjustable wrench to remove circuit board

  5. turbidity Teardown: paso 5, imagen 1 de 2 turbidity Teardown: paso 5, imagen 2 de 2
    • tilt the bulb so screw access is available as shown then slide bulb canister off telescopic shaft

  6. turbidity Teardown: paso 6, imagen 1 de 1
    • tools used : philips head screwdriver flat head screwdriver adjustable wrench

maxwell

Miembro Desde 04/19/18

142 Reputación

1 Guía escrita

0 comentarios

Agregar Comentario

Ver Estadísticas:

Ultimas 24 horas: 0

Ultimos 7 días: 0

Ultimos 30 días: 0

Todo El Tiempo: 229