Saltar al contenido principal

Qué necesitas

Este desmontaje no es una guía de reparación. Para reparar tu iPod Nano 1st Generation, utiliza nuestros manuales de servicio .

  1. iPod Nano 1st Generation Teardown, Open The iPod: paso 1, imagen 1 de 2 iPod Nano 1st Generation Teardown, Open The iPod: paso 1, imagen 2 de 2
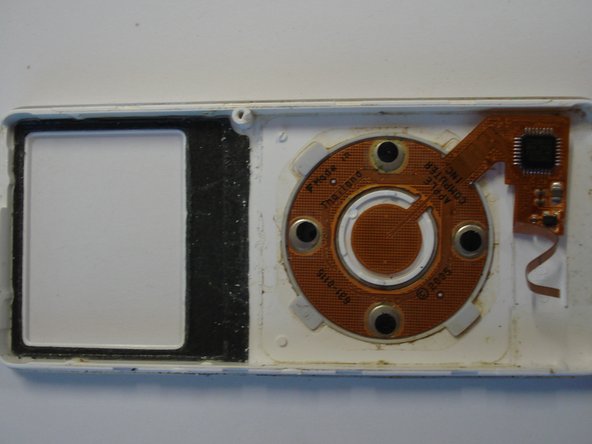
    • 1. Using an ipod unclipping tool (which could be a knife or similar to it), unclip the outer casing by putting the tool up to the connection point. This should pop the case off. Note that force will need to be used.

    Holy cow! That battery is bulged!

    Lucas Hoekstra (Lucas9810) - Contestar

    That's one spicy pillow!

    Ben Capehart - Contestar

  2. iPod Nano 1st Generation Teardown: paso 2, imagen 1 de 1
    • 2. Remove the circuit board by unscrewing the 3 screws (there is 1 more screw but dont unscrew it, it holds the headphone jack) that hold it down. Note that specialised screwdrivers may need to be used.

  3. iPod Nano 1st Generation Teardown: paso 3, imagen 1 de 2 iPod Nano 1st Generation Teardown: paso 3, imagen 2 de 2
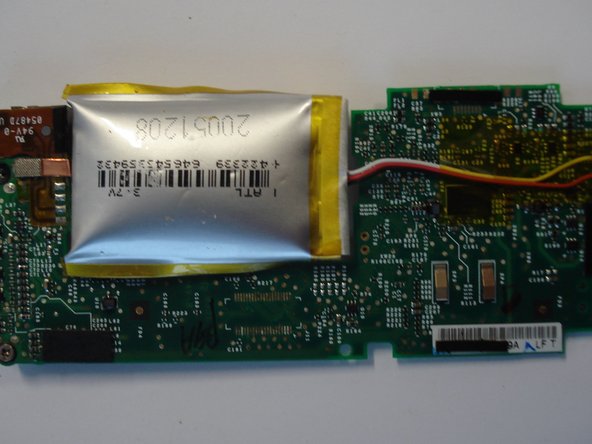
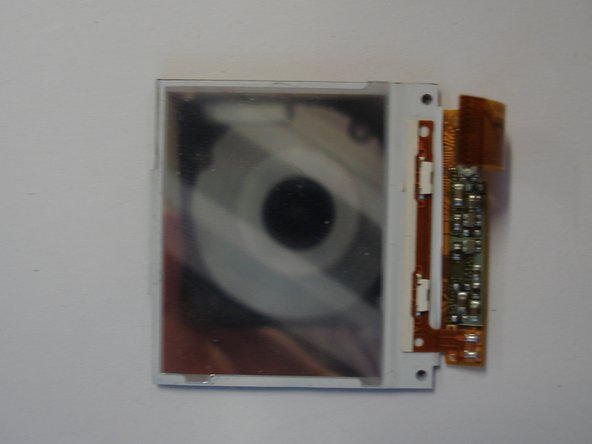
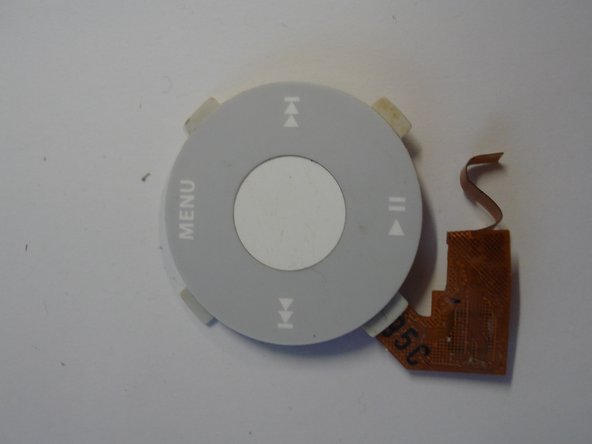
    • 3. Carefully remove the connected wires underneath the motherboard to disconnect the clickwheel and the screen.

    Is it just me or does it look like that battery is about to burst?

    TuxRug - Contestar

    Wow, yeah that thing is toast.

    Andrew Bookholt -

    Do I remove the yellow tape?

    shads - Contestar

  4. iPod Nano 1st Generation Teardown: paso 4, imagen 1 de 3 iPod Nano 1st Generation Teardown: paso 4, imagen 2 de 3 iPod Nano 1st Generation Teardown: paso 4, imagen 3 de 3
    • 4. The screen has 3 different sections, each held down by glue so necessary force is needed. First remove the acrylic backing that supports the screen and then the main part of the screen. The last thing to remove is the paper-thin cover.

  5. iPod Nano 1st Generation Teardown: paso 5, imagen 1 de 3 iPod Nano 1st Generation Teardown: paso 5, imagen 2 de 3 iPod Nano 1st Generation Teardown: paso 5, imagen 3 de 3
    • 5. Removing the touchpad is easy and simple as there are layered parts on top of each other, just simply and carefully pull them off.

  6. iPod Nano 1st Generation Teardown: paso 6, imagen 1 de 1
    • 6. Finally you should have the ipod dismantelled and you should be able to put the ipod back together.

Craig Lawrence

Miembro Desde 03/11/10

444 Reputación

1 Guía escrita

6 comentarios

when i put the rear cover back on, the charging station doesn't line up correctly and the charging station sticks out a bit. any advice?

krnchang - Contestar

is the batter swollen

Derek King - Contestar

Yes, happened to a Zune 80 I have

CTCL -

Thank you for this - took the fear factor out of changing battery on my much loved Nano!

jimbradshaw - Contestar

It’s extremely hard to connect LCD and Button cables. I screwed it up while reconnecting the cables. IF, you want to disassemble this machine by fun, don’t ever try it.

Sizun Cho - Contestar

While opening I have broken the touchpad strip. Any leads from where can I get it. This iPod nano was very close to me.

If someone can help, do mail me at alirafique@hotmail.com

Ali Rafique - Contestar

Agregar Comentario

Ver Estadísticas:

Ultimas 24 horas: 6

Ultimos 7 días: 30

Ultimos 30 días: 114

Todo El Tiempo: 28,389