Saltar al contenido principal
Guía Archivada
Esta guía se mantiene únicamente para fines históricos. Utiliza la última versión de la guía para llevar a cabo tu reparación.

Qué necesitas

Este desmontaje no es una guía de reparación. Para reparar tu iMac G3 Model M4984, utiliza nuestros manuales de servicio .

  1. iMac G3 Model M4984 Teardown, iMac G3 Model M4984 Teardown: paso 1, imagen 1 de 1
    • Here it is - the original iMac, aka the iMac G3

  2. iMac G3 Model M4984 Teardown: paso 2, imagen 1 de 3 iMac G3 Model M4984 Teardown: paso 2, imagen 2 de 3 iMac G3 Model M4984 Teardown: paso 2, imagen 3 de 3
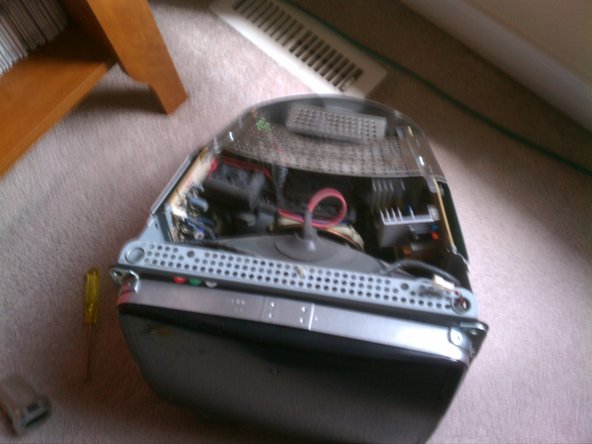
    • Place the iMac upside-down so you can easily access the bottom cover.

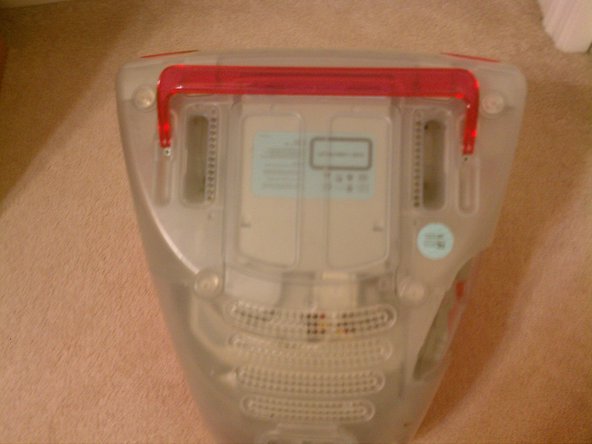
    • There is one screw holding the the bottom cover in. Remove it, and then pull on the handle to remove the entire bottom cover.

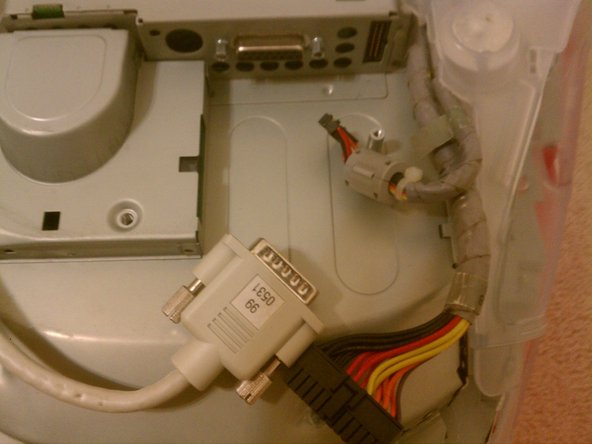
    • Locate the video cable, motherboard power cable, and auxiliary power cable.

    • Unscrew the video cable and remove it, and remove the other two cables.

  3. iMac G3 Model M4984 Teardown: paso 3, imagen 1 de 3 iMac G3 Model M4984 Teardown: paso 3, imagen 2 de 3 iMac G3 Model M4984 Teardown: paso 3, imagen 3 de 3
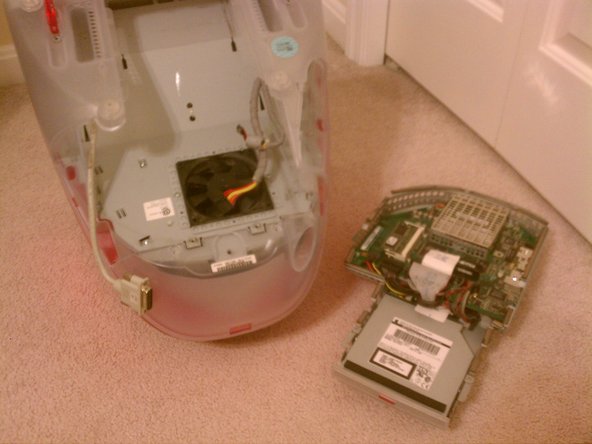
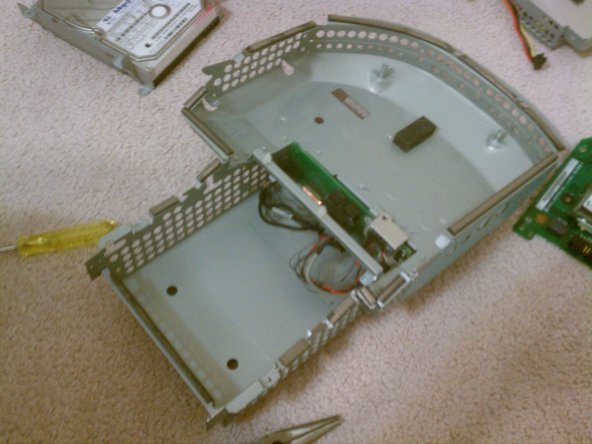
    • Slide out the logic board tray, and remove it from the system.

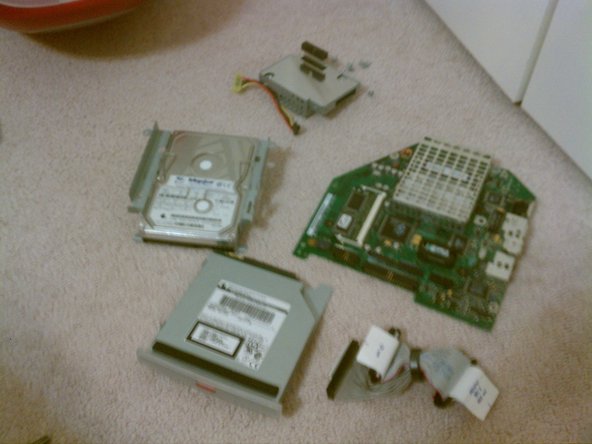
    • All of the contents of the logic board tray can now be removed.

    • The CD drive can be slid out of its slot, and the hard drive is underneath.

    • The logic board can be removed by removing several screws holding it in.

    • The logic board is connected to a power adapter underneath, be sure to carefully detach it as you are removing the logic board.

  4. iMac G3 Model M4984 Teardown: paso 4, imagen 1 de 2 iMac G3 Model M4984 Teardown: paso 4, imagen 2 de 2
    • The bottom plastic cover can be unscrewed and unsnapped. This will require some force, so be careful not to break any of the plastic.

    • Remove the speaker cover by carefully unsnapping it.

    • Remove the plastic bezel by unsnapping it.

    • The top cover (in this case, pink) is held in by two screws at the top of the computer. They are hidden under plastic covers, and must be removed before you can unsnap the top cover.

    • WARNING: Have caution while handling the now-exposed CRT. Some people wish to discharge it before continuing, however if it hasn't been used in a while I would suggest leaving it alone and just not touching it. I am not responsible for any injury or damage resulting from mishandling the CRT!

    • The CRT can be unscrewed and removed from its metal housing.

    • The exposed components can be dangerous to handle, so do this at your own risk.

RJ Kucia

Miembro Desde 11/03/12

349 Reputación

1 Guía escrita

0 comentarios

Agregar Comentario

Ver Estadísticas:

Ultimas 24 horas: 0

Ultimos 7 días: 0

Ultimos 30 días: 1

Todo El Tiempo: 7,339