Introducción
The Original Xbox was one of the best selling game consoles of all time, it had amazing graphics compared to the Playstation 2, the Nintendo Gamecube, and the Nintendo 64. Now, lets take a look inside...
Qué necesitas
-
-
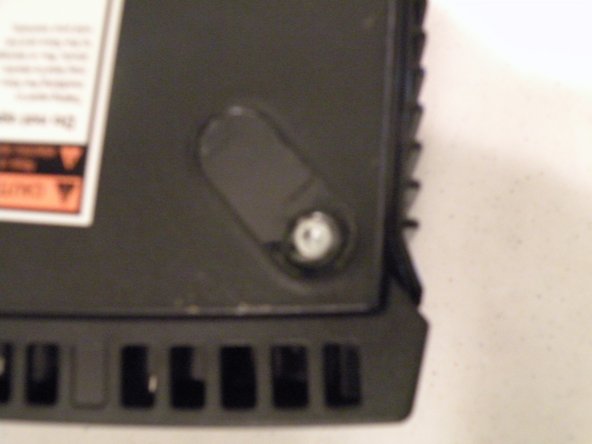
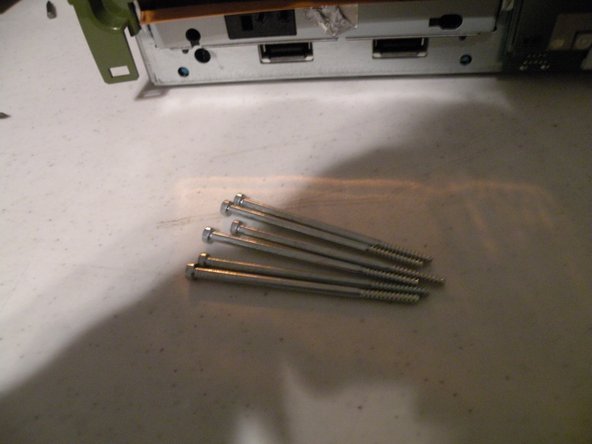
Doing this should reveal 4 T10 Torx Screws, But, there are 2 more hidden by stickers.
-
The hidden screws are shown in yellow.
On my Crystal Xbox the screws on the bottom (Step 3) were T20 screws not T10 screws
@Yaro
Now that Microsoft and Sony are both veterans in the console market, your allegation that x86 would only be chosen by an inexperienced newcomer doesn't hold up. My guess is you know less about the issue than you think you do--not about the motivations behind choosing an architecture nor about the performance considerations involved.
Further, Apple didn't switch to Intel to ease developer pains. At the time and for a long time afterward (still a problem today, in fact), writing software that compiles to native code for both OS X and whatever else remained a problem. It had little to do with developers; after all, in the high-level languages developers spend most of their time in, the target microarch is of little consequence. Rather, it had to do with IBM repeatedly failing to meet performance milestones. Their PowerPC products of the era simply weren't keeping up with Intel's x86.
For immediate applications, that PPC can do better doesn't matter when it is not doing better.
Who are you talking to?
Aspect22 -
-
-
-
-
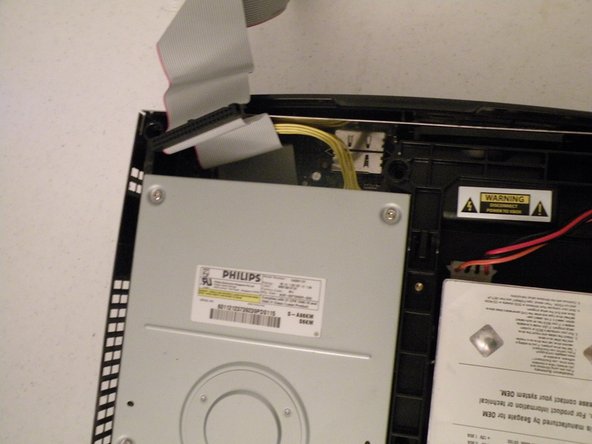
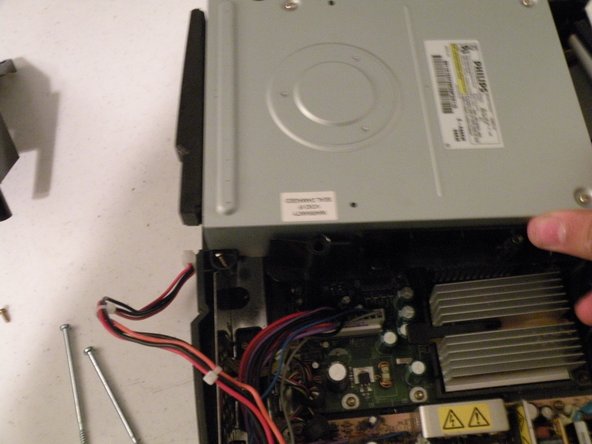
Here's a view of the logic board.
-
-
-
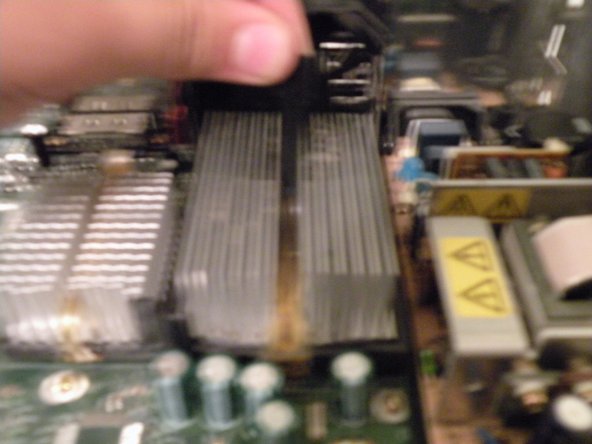
Removing the heatsinks.
-
The big one to the right, is the CPU, the smaller one to the left is for the GPU.
-
Lift the black tab up on the cpu heatsink. This will release the tension on the chip.
-
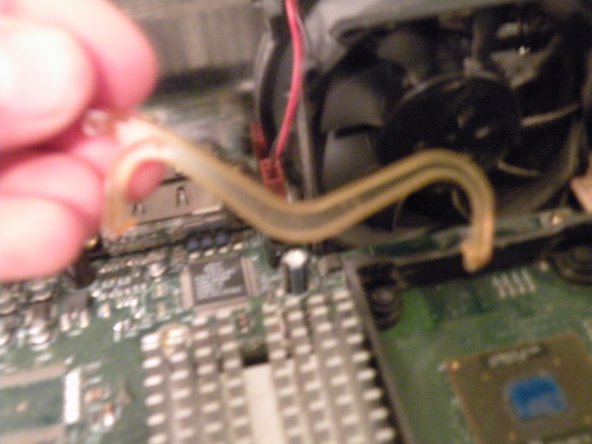
Next, use a flathead screwdriver to remove the clip. Then lift the CPU heatsink out (this may take some force).
-
-
-
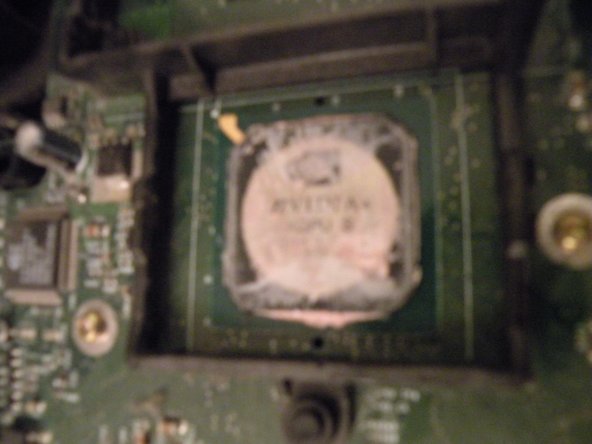
The CPU
-
So What's Under Door Number One?
-
An Intel Pentium III CPU running at 733Mhz.
-
This is actualy a surprise, because almost every other console out there uses an IBM PowerPC CPU. This makes us wonder, could this console emulate Windows?
-
It also raises the question, why did Microsoft switch to PowerPC, around the same time Apple switched to Intel?
-
-
-
The Logic Board Overview:
-
The CPU: An Integrated Intel Pentium III CPU Clocked at 733Mhz with a 100Mhz Front Side Bus
-
The GPU: Nvidia NV2A running at 233Mhz
-
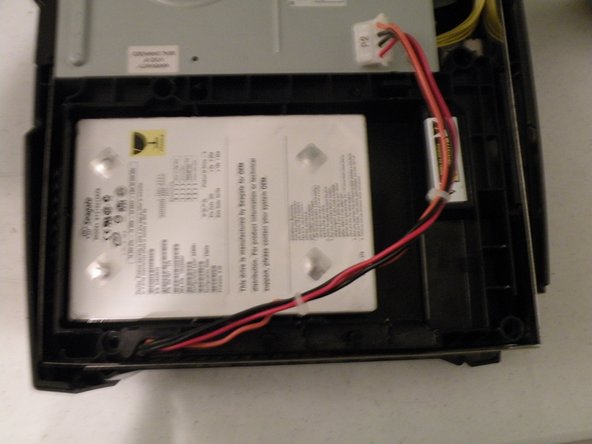
The Power Supply: Be Carefull When Working on this, you can get shocked by this if you touch it. The power connector is similar to that of an AT Power Supply found in 90's computers. It can supply 100 watts.
-
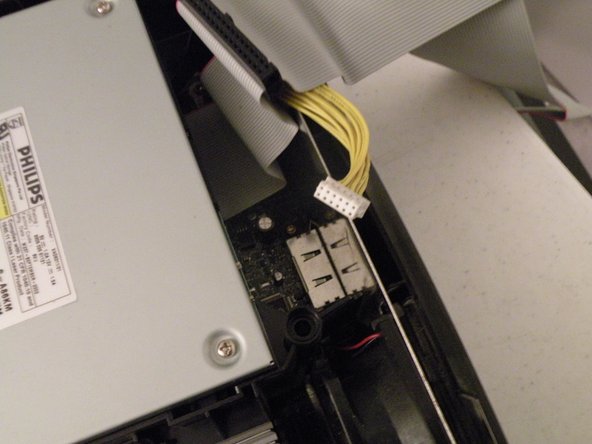
The ATA Header: This connects both drives to the Xbox Logic Board.
-
The A/V Ports
-
The Ethernet Port
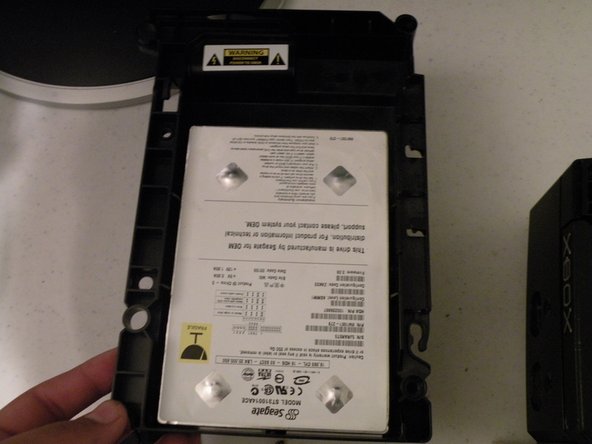
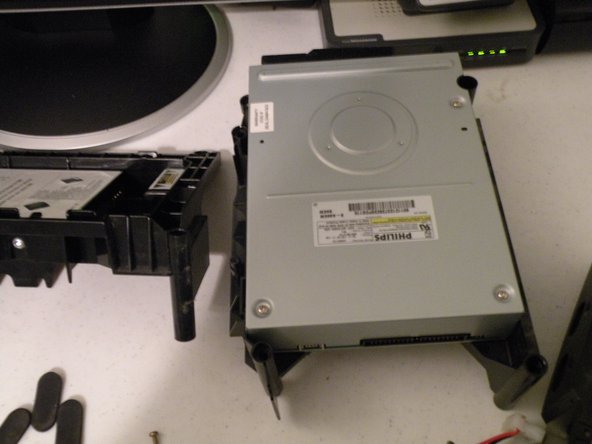
The NVidia GPU is similar to a GeForce 3 Ti/500. The 733MHz Intel CPU is a Coppermine core (the second P6 core to support SSE) but the specs (cache etc) are somewhere in-between what would be branded as a Celeron and a Pentium !!!. The OS is based on the Windows NT 5.0 kernel, but without Windows 2000’s GUI. The console’s RAM is 2x 32MB for a total of 64MB, running in dual channel mode. I believe the GPU steals some of this, but that’s my weak point with the Xbox specs. I notice that the DVD-ROM drive is a Philips in your console; doubtless different consoles will probably have DVD-ROM drives (and hard drives) supplied by different manufacturers. Speaking of the hard drive, later units’ hard drives were 10GB parts but still formatted to 8GB.
-


Equipo

11 comentarios
Since the CPU has only 128kB L2 cache, it's actually the Celeron version of the Pentium III processor. Which was meant for office work, not gaming. :/
The original XBox was x86 largely because Microsoft had no clue what they were doing when they first designed the console. x86 is a dreadful architecture to work with outside of PCs, and even in the PC industry, x86 isn't really all that wonderful and is only in use because of how the PC market works. Apple knew if they stuck with PPC much longer on Macs they'd lose critical mass with software developers and they'd end up selling very expensive paperweights in a few years if they didn't do something.
As for game consoles: PPC has been demonstrated and proven time and time again to be technically superior to x86. To this day (April 2013) this is still holding true. Microsoft ditched x86 for PPC in the 360 when they realized basing the XBox on the x86 architecture was a horrible idea, both power and power-consumption-wise.
Alas, the next XBox and the PS4 are both going x86, whereas Nintendo is wisely staying PPC with the Wii U.
Lol.
I am from the future and here to tell you how stupid that statement was.
Sources:
Xbox One - AMD Bulldozer
PlayStation 4 - AMD Bulldozer
Oh, hello there Bob!
Still using AMD on upgraded tech, called Xbox Scorpio and PlayStation 4 Pro :P
Have fun,
Blinx
Blinx -
Oh hey and now Nintendo moved to Arm... Why leave PPC? Well, you know... Mobility and less power consumption...
And considering the power and the longevity, the xBox One and the PS4 were clearly a fail. Building a gaming console so similar to a PC that developers dont have to do any optimizations to get the game to run, breaks the whole idea of consoles: Optimizing the games to run perfect on exactly that architecture and run better than PCs with superior hardware. Have you seen The Last of Us on the Playstation 3? Now keep in mind how old that console is and how bad the hardware is.
I am from the future to say:
I’m pretty the Xbox and PlayStation are not fails.
Aspect22 -
Given the 128 MB of RAM, it seems like you have a developer kit.
Nicholas -
Cómo cambio el GPU??