Saltar al contenido principal
Únete a la Comunidad de Reparación - Crear Cuenta

Qué necesitas

Este desmontaje no es una guía de reparación. Para reparar tu Xbox, utiliza nuestros manuales de servicio .

  1. Xbox Teardown, Xbox Teardown: paso 1, imagen 1 de 3 Xbox Teardown, Xbox Teardown: paso 1, imagen 2 de 3 Xbox Teardown, Xbox Teardown: paso 1, imagen 3 de 3
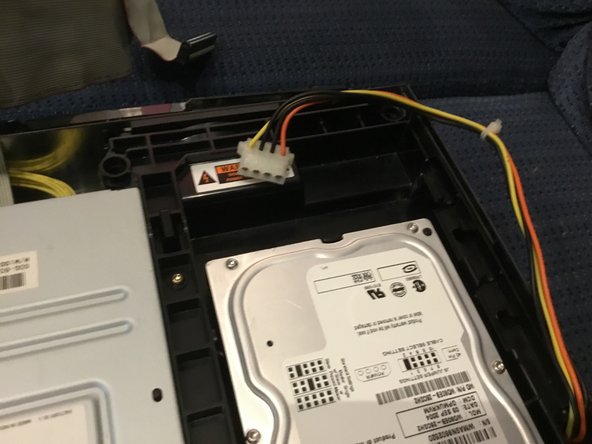
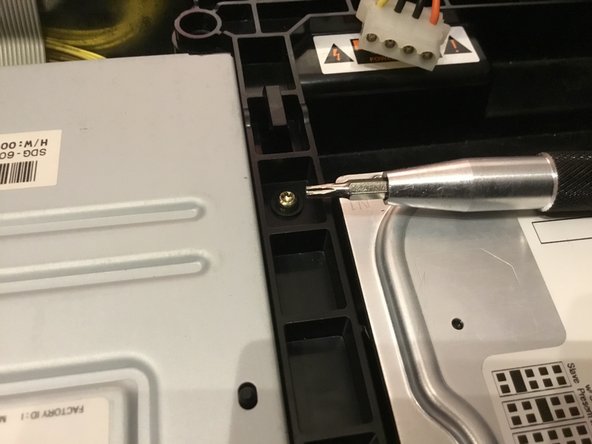
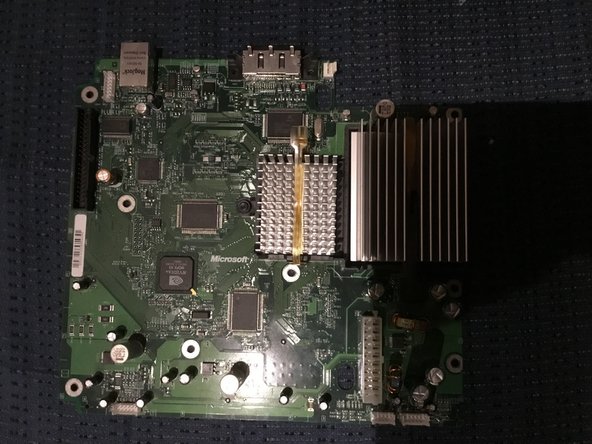
    • First you need to remove 6 screws using a T 20 screwdriver. Two are hidden in 2 stickers.

  2. Xbox Teardown: paso 2, imagen 1 de 1
    • Lift the top part of the Xbox. It can be hard.

  3. Xbox Teardown: paso 3, imagen 1 de 3 Xbox Teardown: paso 3, imagen 2 de 3 Xbox Teardown: paso 3, imagen 3 de 3
    • Now you need to remove 2 cords. The power cord can be tricky. Remove 1 screw using a T 10 screwdriver.

  4. Xbox Teardown: paso 4, imagen 1 de 3 Xbox Teardown: paso 4, imagen 2 de 3 Xbox Teardown: paso 4, imagen 3 de 3
    • You should lift the hard drive. Remove 2 cords and remove 2 screws. After removing the disk drive, you’ve made it to the motherboard.

  5. Xbox Teardown: paso 5, imagen 1 de 3 Xbox Teardown: paso 5, imagen 2 de 3 Xbox Teardown: paso 5, imagen 3 de 3
    • Now remove this cord and remove the 2 screws holding the power supply. Yup that’s the power supply.

  6. Xbox Teardown: paso 6, imagen 1 de 3 Xbox Teardown: paso 6, imagen 2 de 3 Xbox Teardown: paso 6, imagen 3 de 3
    • Take out 2 remaining cords and 4 cords shown in this picture. Look at how many screws you need to remove (there's eleven, in case you're wondering).

  7. Xbox Teardown: paso 7, imagen 1 de 3 Xbox Teardown: paso 7, imagen 2 de 3 Xbox Teardown: paso 7, imagen 3 de 3
    • And finally take out the big green motherboard.

Tyler Worwa

Miembro Desde 01/08/19

357 Reputación

2 Guías creadas

1Guía Comentario

that was easy thank you

tostypinapple - Contestar

Agregar Comentario

Ver Estadísticas:

Ultimas 24 horas: 7

Ultimos 7 días: 55

Ultimos 30 días: 296

Todo El Tiempo: 3,434