Saltar al contenido principal

Este teardown está en en curso – Recarga periódicamente para ver los cambios más recientes!

Qué necesitas

  1. Toaster Teardown, Remove screws and pedestal: paso 1, imagen 1 de 1
    • Remove Breville bread toaster base screws -- 14 places.

  2. Toaster Teardown, Cut wires and remove the shell: paso 2, imagen 1 de 2 Toaster Teardown, Cut wires and remove the shell: paso 2, imagen 2 de 2
    • With a scissor cut the wires connecting the base and the shell.

  3. Toaster Teardown, Remove the wire sheet: paso 3, imagen 1 de 2 Toaster Teardown, Remove the wire sheet: paso 3, imagen 2 de 2
    • Break up the inner shell of toaster and the wire sheet.

  4. Toaster Teardown, Remove each parts: paso 4, imagen 1 de 2 Toaster Teardown, Remove each parts: paso 4, imagen 2 de 2
    • Remove all the parts of shell and base.

  5. Toaster Teardown, Identifying parts: paso 5, imagen 1 de 1
    • Shell

    • Base

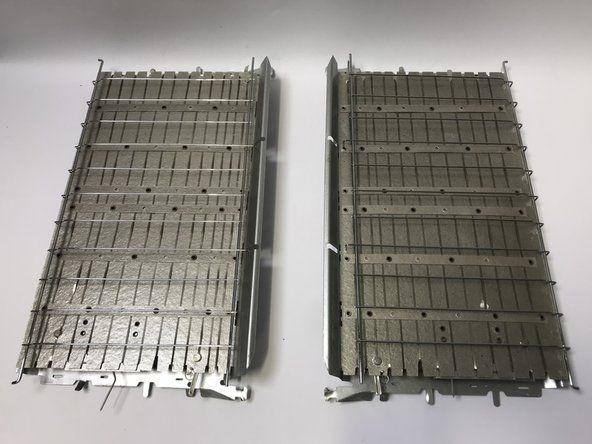
    • Heater element -Nickel chrome wire

    • Switch assembly - ABS injection moulding
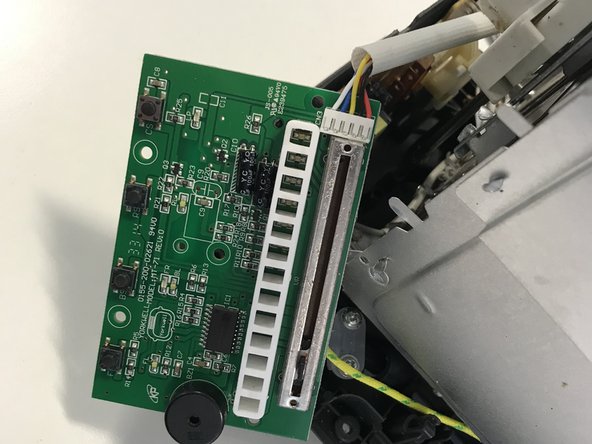
    • Circuit board

    • Wires

    • Screws

Shuman C

Miembro Desde 10/16/18

130 Reputación

1 Guía escrita

Un comentario

Errors:
Step 1. There are 18 screws. The 4 corner screws hold in the feet. The feet must be removed to reveal 4 more screws under each rubber foot.

Step 2. The green earth wire is welded onto the cover, but can be unscrewed at the toaster end rather than cutting the wire.

MrMilf - Contestar

Agregar Comentario

Ver Estadísticas:

Ultimas 24 horas: 1

Ultimos 7 días: 1

Ultimos 30 días: 18

Todo El Tiempo: 360