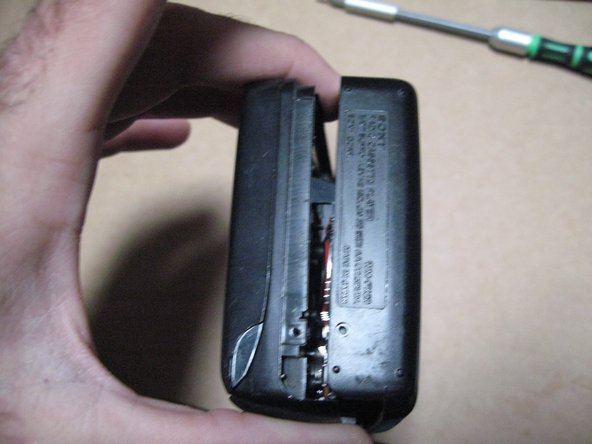
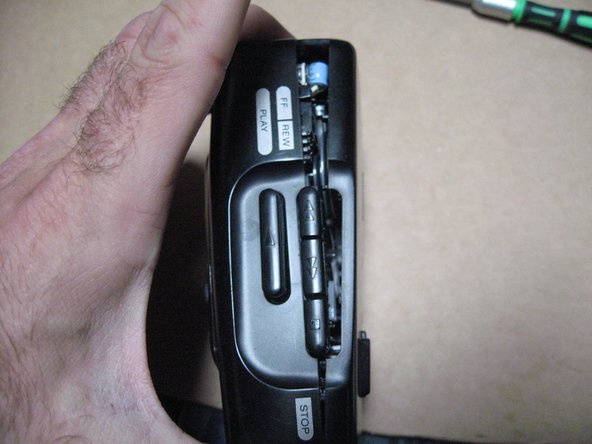
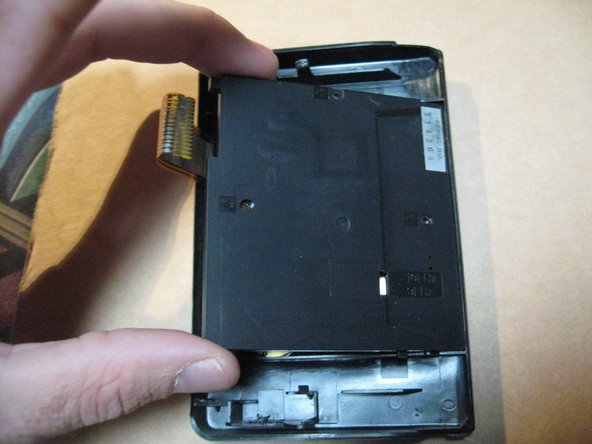
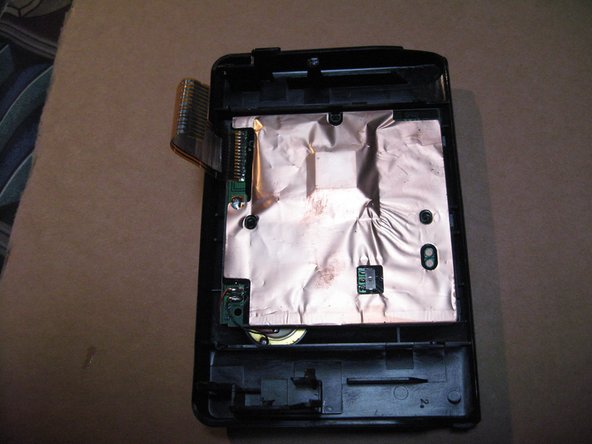
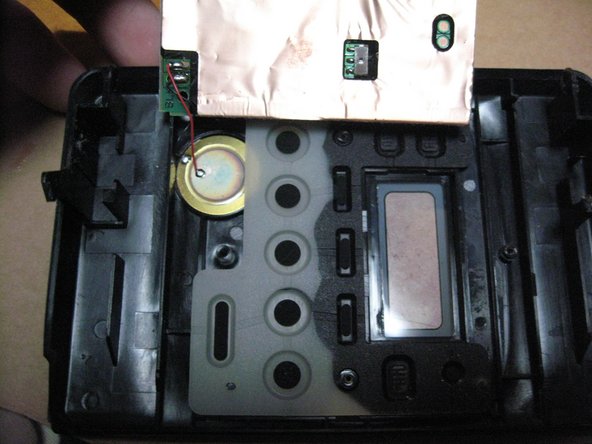
Saltar al contenido principal

Qué necesitas

Este desmontaje no es una guía de reparación. Para reparar tu Sony Walkman WM-FX20, utiliza nuestros manuales de servicio .

  1. Sony Walkman WM-FX20 Teardown, Sony Walkman WM-FX20 Teardown: paso 1, imagen 1 de 1
    • Good Ole Sony Walkman.

  2. Sony Walkman WM-FX20 Teardown: paso 2, imagen 1 de 3 Sony Walkman WM-FX20 Teardown: paso 2, imagen 2 de 3 Sony Walkman WM-FX20 Teardown: paso 2, imagen 3 de 3
    • Start with removing the screw on the Underside. The screw on the Backside next. Then the two on the reverse side of the tape controls.

    • New line.

  3. Sony Walkman WM-FX20 Teardown: paso 3, imagen 1 de 3 Sony Walkman WM-FX20 Teardown: paso 3, imagen 2 de 3 Sony Walkman WM-FX20 Teardown: paso 3, imagen 3 de 3
    • With a small Phillips head, Pry the sides carefully.

  4. Sony Walkman WM-FX20 Teardown: paso 4, imagen 1 de 2 Sony Walkman WM-FX20 Teardown: paso 4, imagen 2 de 2
    • Take care not to jostle the Switches on the top of the unit while removing case. So now we have removed the underside casing from the device.

  5. Sony Walkman WM-FX20 Teardown: paso 5, imagen 1 de 3 Sony Walkman WM-FX20 Teardown: paso 5, imagen 2 de 3 Sony Walkman WM-FX20 Teardown: paso 5, imagen 3 de 3
    • Find Ribbon Cable that connects to the board. Carefully Pry open either side of connector as shown, then remove ribbon cable from board.

  6. Sony Walkman WM-FX20 Teardown: paso 6, imagen 1 de 1
    • Now we can remove the board from the casing.

  7. Sony Walkman WM-FX20 Teardown: paso 7, imagen 1 de 3 Sony Walkman WM-FX20 Teardown: paso 7, imagen 2 de 3 Sony Walkman WM-FX20 Teardown: paso 7, imagen 3 de 3
    • If you do not need to replace the front door control assembly I would not suggest to continue any further- That little spring took me a good 40 minutes to properly get back in place. It is Crucial to get it in right so that the Cassette door stays flush and closed.

    • Find Door Spring and remove carefully. Then find and pry off (on either side) glued on bumpers- These limit the distance the door hinge can travel in order to be pulled off---

  8. Sony Walkman WM-FX20 Teardown: paso 8, imagen 1 de 2 Sony Walkman WM-FX20 Teardown: paso 8, imagen 2 de 2
    • Now gently pry the door hinges on either side off of their pivot point, and remove the front door from the assembly

  9. Sony Walkman WM-FX20 Teardown: paso 9, imagen 1 de 3 Sony Walkman WM-FX20 Teardown: paso 9, imagen 2 de 3 Sony Walkman WM-FX20 Teardown: paso 9, imagen 3 de 3
    • Remove three screws on backside of cassette door. Then remove panel.

  10. Sony Walkman WM-FX20 Teardown: paso 10, imagen 1 de 3 Sony Walkman WM-FX20 Teardown: paso 10, imagen 2 de 3 Sony Walkman WM-FX20 Teardown: paso 10, imagen 3 de 3
    • There is your front mounted control board! It is attached to what appears to be a speaker i'm guessing. Possibly for the alarm clock. I found that to be interesting, the little speaker thing. Anyways , thats it.

JaosnT

Miembro Desde 10/12/09

414 Reputación

5 Guías creadas

5 comentarios

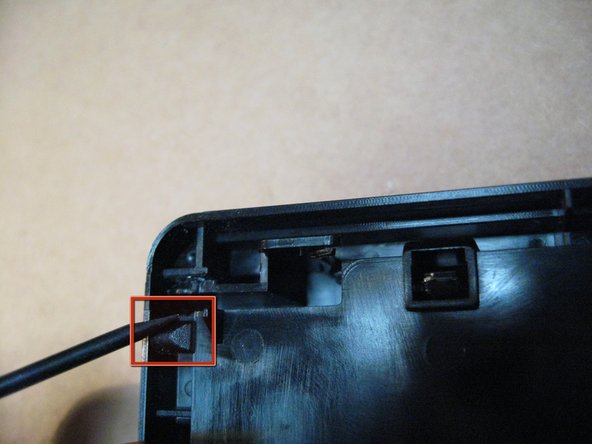
Please provide more info on how to put the spring back together again. I have a WM-FX435.

Robert Surya - Contestar

Hi, the casette operation has failed. Now I try to check. Really I do not the reason. Any suggestion?

Batur Salamom - Contestar

Thank you, my fx 20 is now like new :) Great tutorial!

kolev_art - Contestar

Exactly what I needed to change the drive belts, which turned out to be super easy using these directions and excellent pictures. Thank you so much!

Tek Trekker - Contestar

Great guide, much appreciated!

Makes a clean and belt change doable.

Thanks :-)

43578UMP - Contestar

Agregar Comentario

Ver Estadísticas:

Ultimas 24 horas: 2

Ultimos 7 días: 16

Ultimos 30 días: 102

Todo El Tiempo: 25,097