Saltar al contenido principal

Qué necesitas

Este desmontaje no es una guía de reparación. Para reparar tu Sega Genesis II, utiliza nuestros manuales de servicio .

  1. Sega Genesis II Teardown, Sega Genesis II Teardown: paso 1, imagen 1 de 2 Sega Genesis II Teardown, Sega Genesis II Teardown: paso 1, imagen 2 de 2
    • Let's start by taking the small door found on the bottom right side of your console

  2. Sega Genesis II Teardown: paso 2, imagen 1 de 2 Sega Genesis II Teardown: paso 2, imagen 2 de 2
    • Next, remove the four, black 11mm screws from the bottom of your console.

  3. Sega Genesis II Teardown: paso 3, imagen 1 de 1
    • Carefully lift the top off of the console.

    • It should come off relatively easy

    • If it doesn't, ensure that all four screws are removed

  4. Sega Genesis II Teardown: paso 4, imagen 1 de 2 Sega Genesis II Teardown: paso 4, imagen 2 de 2
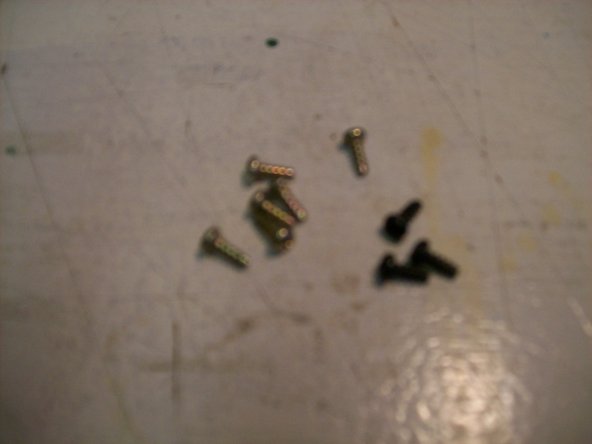
    • Remove the six, gold, 8mm screws and the three, black, 8mm screws holding down the EM shield

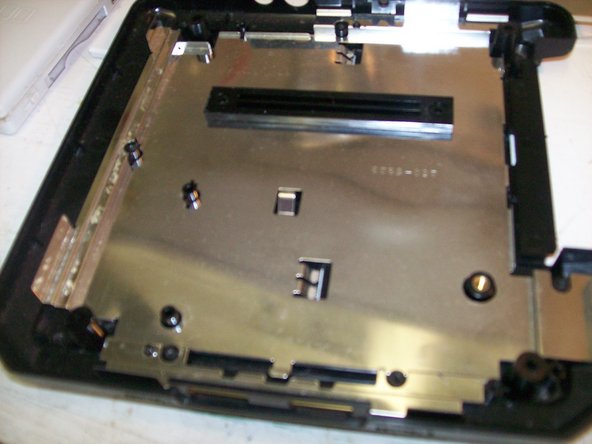
    • After removing the screws, the shield will come off very easily.

  5. Sega Genesis II Teardown: paso 5, imagen 1 de 3 Sega Genesis II Teardown: paso 5, imagen 2 de 3 Sega Genesis II Teardown: paso 5, imagen 3 de 3
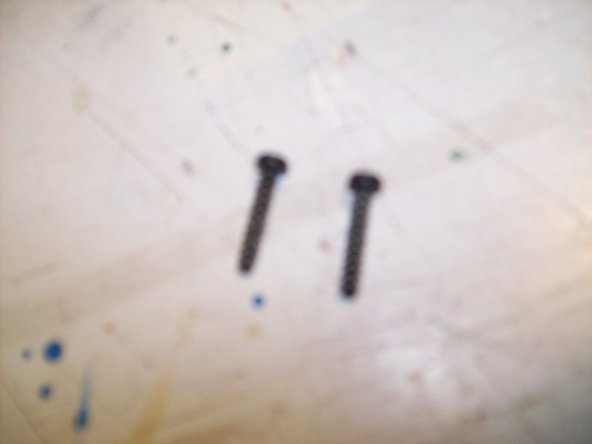
    • Remove the two 17mm black screws on the left and right side of the PIN to release the circuit board from the bottom EM shield.

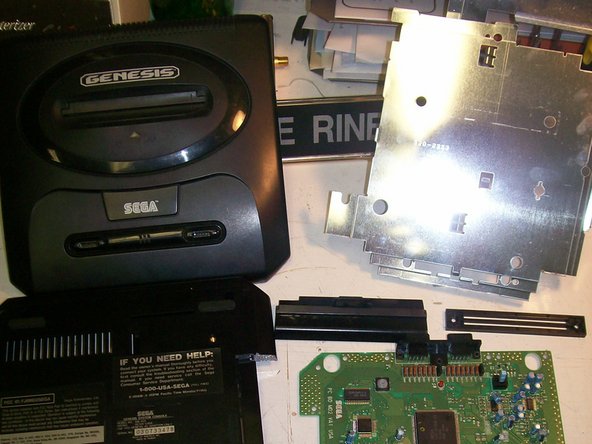
    • After the screws are releases, the circuit board can easily be removed from the console.

  6. Sega Genesis II Teardown: paso 6, imagen 1 de 2 Sega Genesis II Teardown: paso 6, imagen 2 de 2
    • Well, there you have it!

    • One disassembled Sega Genesis. I hope this guide was helpful and informative. Good luck and Happy Gaming!

    • This guide brought to you by: Frankie's Video Game Console Repair and iFixit.

Frankie

Miembro Desde 09/02/11

367 Reputación

1 Guía escrita

0 comentarios

Agregar Comentario

Ver Estadísticas:

Ultimas 24 horas: 0

Ultimos 7 días: 12

Ultimos 30 días: 48

Todo El Tiempo: 14,830