I've found a vacuum in my utility room. Since I almost never use it, I thought it was a good idea to see how it works... So let's go!!
Este desmontaje no es una guía de reparación. Para reparar tu Rowenta AC6221, utiliza nuestros manuales de servicio .
-
-
The 4.8 Rowenta vacuum can be used for a variety of purposes.
-
It is charged through its pedestal. The power of the pedestal is:
-
Input: 230V - 50 Hz - 7W (AC)
-
Output: 7.5V - 300 mA (DC)
-
-
This vacuum has several parts:
-
The tip
-
The reservoir which holds the dust and debris
-
The engine (4.8V)
-
The pedestal
-
The power supply
-
From top to bottom, the reservoir contains 3 parts: the housing, container, and filter.
-
-
-
-
-
-
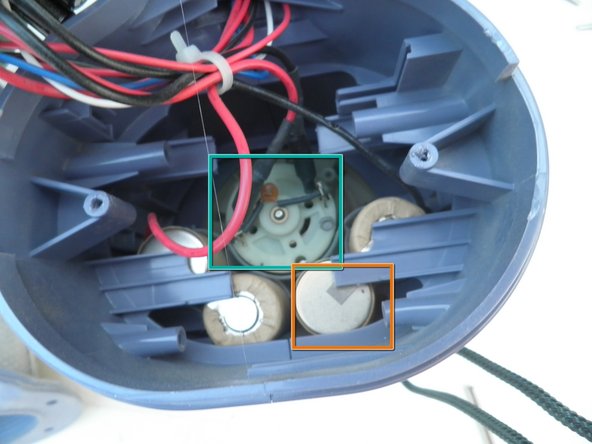
The wires of the vacuum are now visible.
-
The wires connect the charger light, switch,engine, and power wires.
-
The green box labels the engine.
-
The orange box labels one of the four batteries (4*1.2V)
-
-
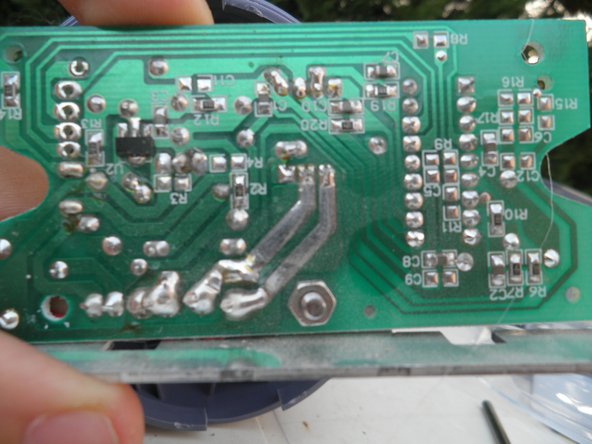
The top of the circuit board contains components including capacitors, resistors, wires, and a chip.
-
The bottom side shows the tracks that connect the components.
-
-
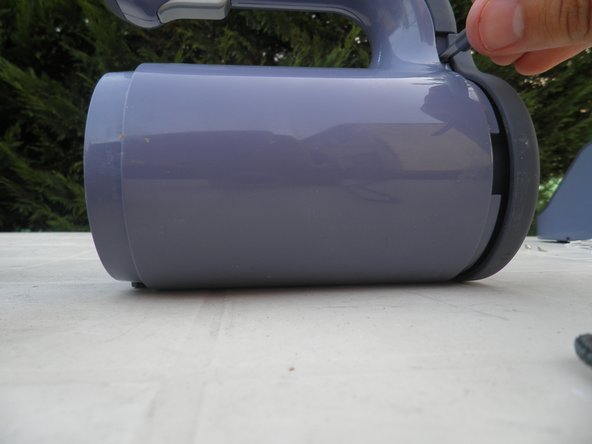
Remove the screw securing the handle with a screwdriver.
-
Open the handle to see the inside using the flat screwdriver.
-
Warning: The handle is difficult to open
-
Warning: In this procedure, the handle was not opened to keep the vacuum intact.
-
-
-
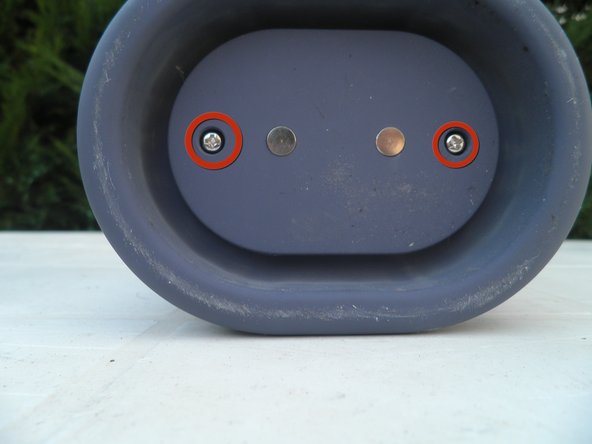
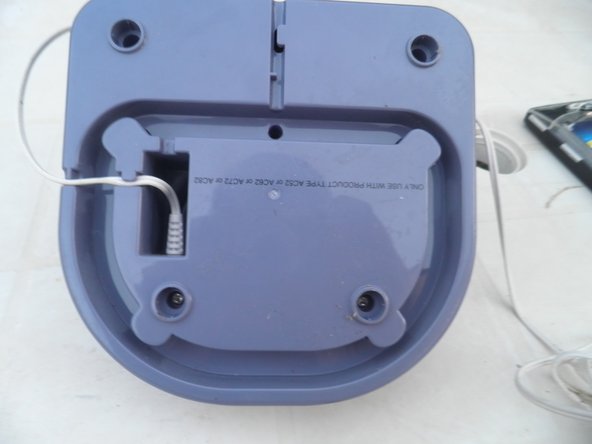
At the bottom of the pedestal, remove the 4 rubber pieces.
-
Note: This step provides access to 4 Philips screws.
-
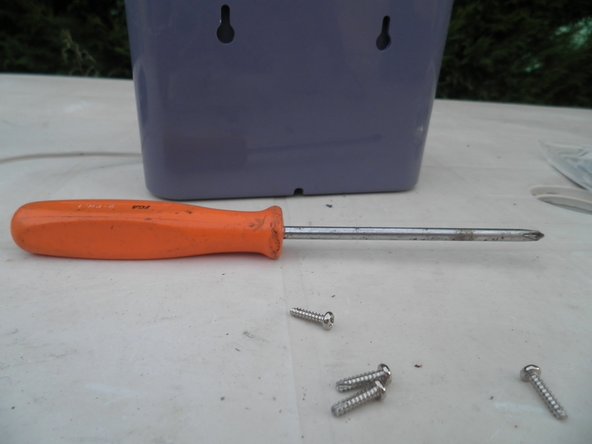
Remove screws using a screwdriver.
-
-
-
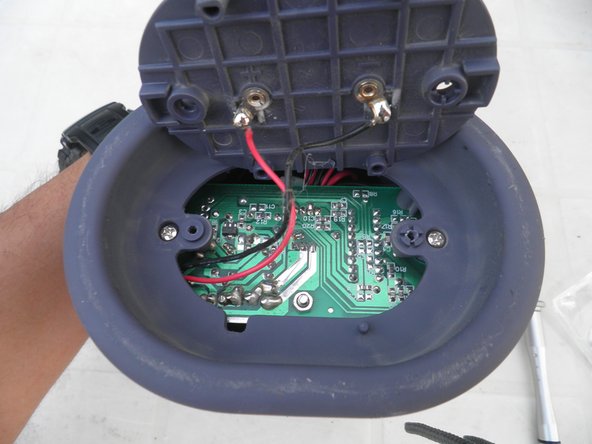
Inside the pedestal, the power cable separates into 2 wires. Each wire is connected to a conductive piece.
-
This completes the vacum cleaner teardown
Incrustar esta guía
Elige el tamaño y copia el siguiente código para insertar esta guía como un pequeño widget en tu sitio web o foro.
Vista previa