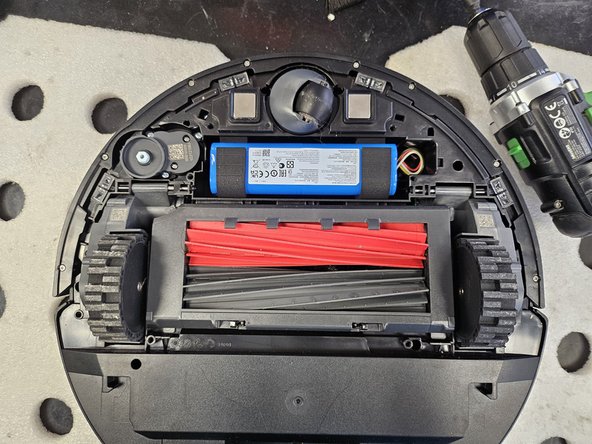
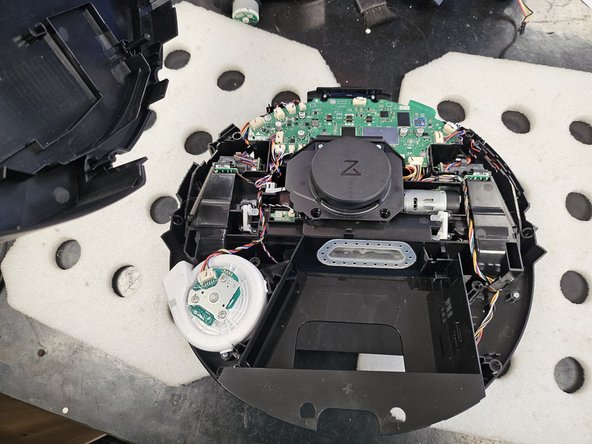
Saltar al contenido principal

Qué necesitas

Este desmontaje no es una guía de reparación. Para reparar tu Roborock Q5 Pro, utiliza nuestros manuales de servicio .

  1. Roborock Q5 Pro: Teardown, Remove the dustbin.: paso 1, imagen 1 de 3 Roborock Q5 Pro: Teardown, Remove the dustbin.: paso 1, imagen 2 de 3 Roborock Q5 Pro: Teardown, Remove the dustbin.: paso 1, imagen 3 de 3
    • Flip it on its head, then remove the dustbin.

  2. Roborock Q5 Pro: Teardown, Remove the bottom cover.: paso 2, imagen 1 de 2 Roborock Q5 Pro: Teardown, Remove the bottom cover.: paso 2, imagen 2 de 2
    • Remove the side brush using a PH2 screwdriver.

    • Remove the screws using a PH2 screwdriver.

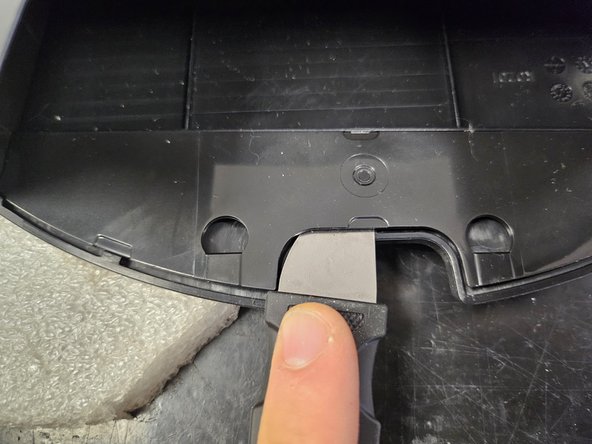
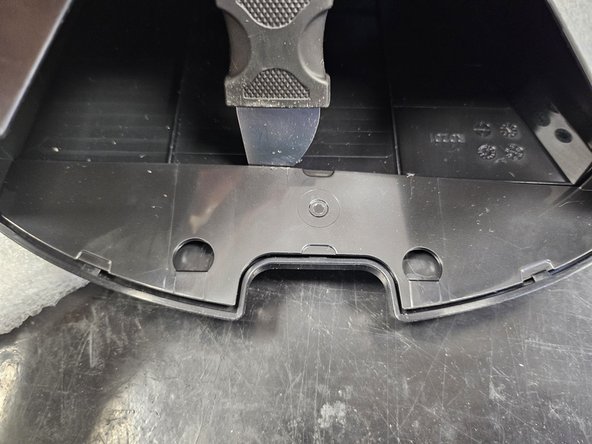
    • Then, pull the bottom cover off.

  3. Roborock Q5 Pro: Teardown, Remove the battery.: paso 3, imagen 1 de 3 Roborock Q5 Pro: Teardown, Remove the battery.: paso 3, imagen 2 de 3 Roborock Q5 Pro: Teardown, Remove the battery.: paso 3, imagen 3 de 3
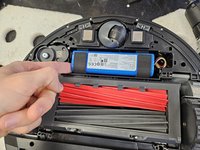
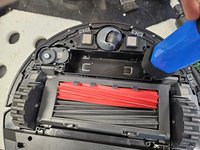
    • Lift it up on the left.

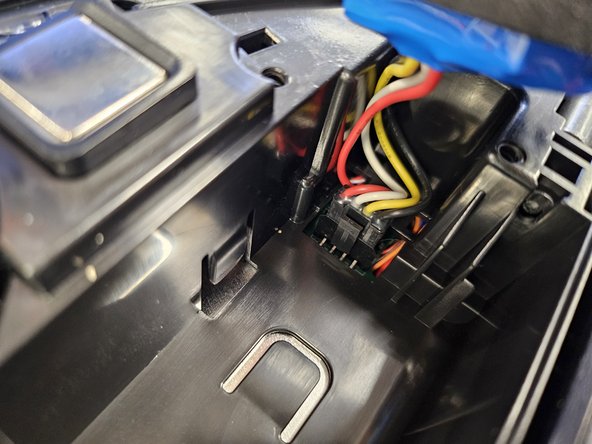
    • Detach the connector by squeezing the release tab, then pull it out.

    • Do not simply yank the battery out. You will tear the connector off the motherboard.

  4. Roborock Q5 Pro: Teardown, Remove the bumper's lid.: paso 4, imagen 1 de 2 Roborock Q5 Pro: Teardown, Remove the bumper's lid.: paso 4, imagen 2 de 2
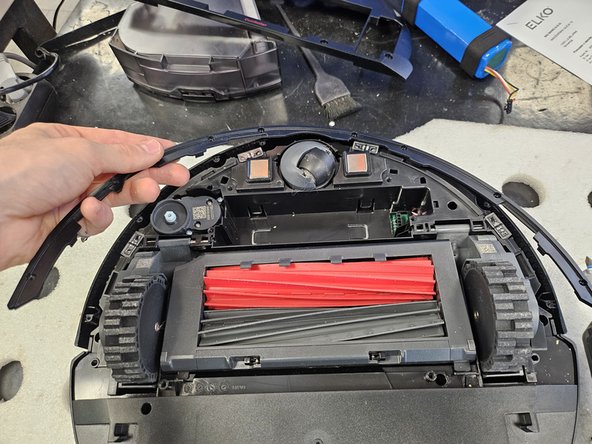
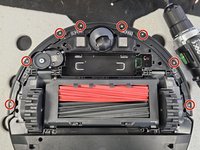
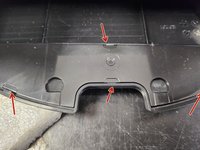
    • Remove the marked screws using a PH1 screwdriver.

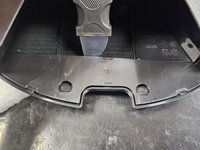
    • Then simply lift the lid off.

  5. Roborock Q5 Pro: Teardown, Remove the bumper.: paso 5, imagen 1 de 2 Roborock Q5 Pro: Teardown, Remove the bumper.: paso 5, imagen 2 de 2
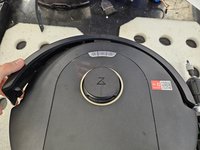
    • Flip the robot over.

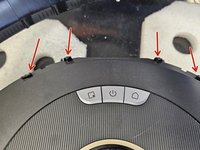
    • Tilt the bumper forwards and move it upwards to remove it.

  6. Roborock Q5 Pro: Teardown, Remove the side brush motor.: paso 6, imagen 1 de 1
    • Flip it back over.

    • Remove the screws using a PH2 screwdriver.

    • Simply lift it out.

  7. Roborock Q5 Pro: Teardown, Remove the chassis screws.: paso 7, imagen 1 de 1
    • Remove the marked screws using a PH2 screwdriver.

  8. Roborock Q5 Pro: Teardown, Latches.: paso 8, imagen 1 de 3 Roborock Q5 Pro: Teardown, Latches.: paso 8, imagen 2 de 3 Roborock Q5 Pro: Teardown, Latches.: paso 8, imagen 3 de 3
    • The chassis will still be held together by a couple latches on the back.

    • Use a prying tool to get these apart before taking it apart.

  9. Roborock Q5 Pro: Teardown, Take it apart!: paso 9, imagen 1 de 2 Roborock Q5 Pro: Teardown, Take it apart!: paso 9, imagen 2 de 2
    • Flip it over and simply pull the chassis halves apart.

  10. Roborock Q5 Pro: Teardown, Screeeeeeews.: paso 10, imagen 1 de 1
    • Here are the screws organised by steps and type.

    • Use this if needed as a reference during reassembly.

DegenFixer

Miembro Desde 09/18/24

4,447 Reputación

24 Guías creadas

Un comentario

For keeping the screws organized, I use a 24 cup tray that originally held 24 small cupcakes from the bakery section of the Grocery store. I took a Sharpie and numbered the bottom of the cups from 1 to 24. When I take something apart, I write a note as to what was done and what cup the screws went into.

Ron Clobes - Contestar

Agregar Comentario

Ver Estadísticas:

Ultimas 24 horas: 15

Ultimos 7 días: 91

Ultimos 30 días: 367

Todo El Tiempo: 1,770