Introducción
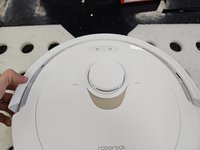
This is just a general teardown guide for the robotic vacuum cleaner Roborock Q Revo.
This only covers the robotic vacuum cleaner, and not the dock as well.
Qué necesitas
-
-
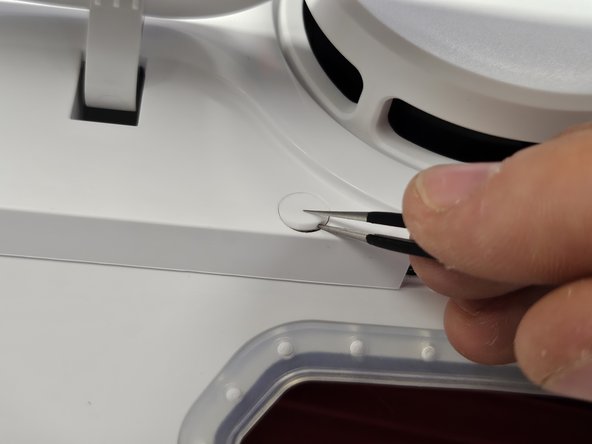
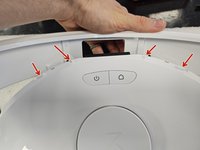
Remove the cap, then save it somewhere. It's purely cosmetic, so don't worry too much if you do lose it.
-
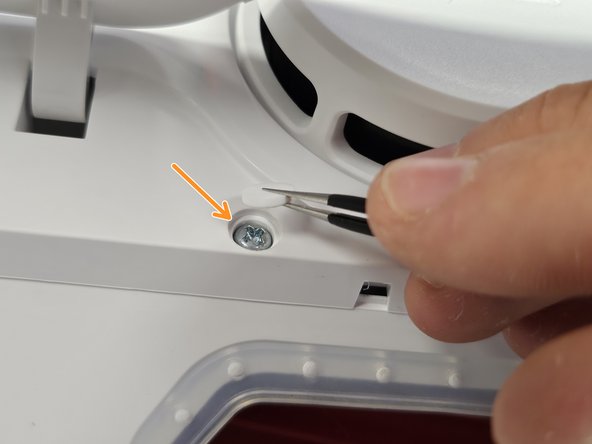
Once you remove the cap, remove the screw using a PH2 screwdriver.
-
-
-
Flip it over.
-
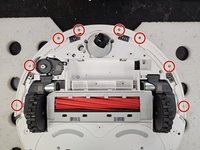
Remove the side brush using a PH2 screwdriver.
-
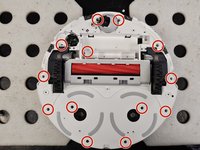
Remove the marked screws using a PH2 screwdriver.
-
-
-
-
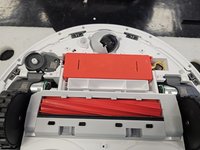
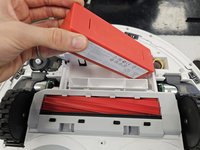
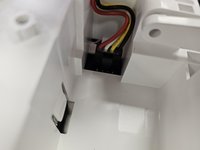
Remove the battery by lifting the left side until you can reach the connector, then disconnecting the connector by squeezing it's release tab.
-
-
-
Remove the screws using a PH1 screwdriver.
-
Lift the bumper's lid off.
-
-
-
Flip the robot over.
-
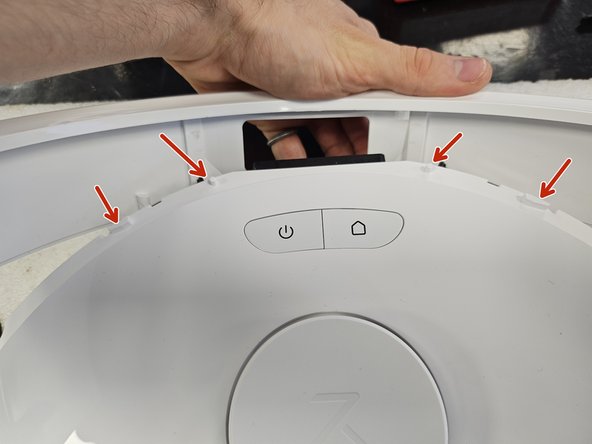
Remove the bumper by tilting it forwards to get it off the little tabs on the front.
-
-
-
Unscrew the screws using a PH2 screwdriver.
-
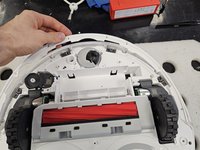
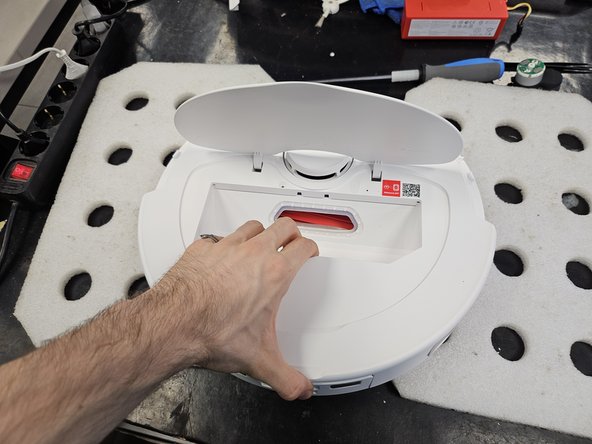
Simply lift it out.
-
-
-
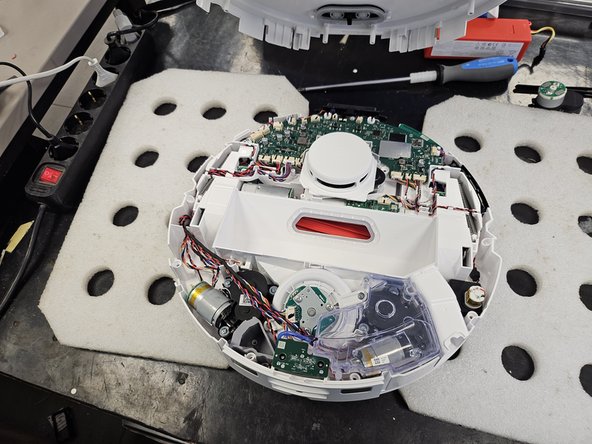
Remove the remaining screws that hold the chassis together. Use a PH2 screwdriver.
-
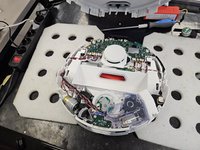
Flip it over, then pull it apart.
-


10 comentarios
Hello,
I am contacting you regarding a persistent issue with my Roborock QRevo
For some time now, my device has been regularly showing "error 13"
When the robot connects to the charging station, it stays there for about 3-5 minutes before disconnecting on its own. It then attempts to reconnect several times, entering and exiting the station repeatedly, until an error 13 appears
Each time it docks, the device indicates "charging in progress," but after a few minutes, the problem reoccurs.
Actions taken so far:
I have thoroughly cleaned the charging contacts on both the robot and the station using a specific electrical contact cleaner.
I measured the voltage of the charging station terminals: it reads 4.15 volts.
I measured the battery voltage of the robot: it reads 14.7 volts.
After a full night of complete shutdown, the robot attempted to charge again, but only gained 1 to 2% battery after 10 minutes before disconnecting
Could you please advise on the next steps to resolve this problem?
Error code 13 is a fault of the mainboard. This is pretty common on this robots. There is no other fix than to change the mainboard
joel hil -
In my experience, error 13 (Charging error) is caused by one of 4 things. Robot's motherboard, Robot's battery, dock's motherboard or the dock's PSU.
The robot's motherboard is one possibility, but it is not the only one.
This is so good, there is a suction filter on the dock, inside the dust bag compartment. Is it easy to remove and clean? I have not found the way to do it, and when the suction from the mobile vacuum takes place, any smell in the bag vents out/impregnates that filter or ducts apparently.
Any help would be appreciated
Not sure which filter you mean, but if you mean the circular filter in the dust bag compartment, you just twist it off and clean it using a brush.