Saltar al contenido principal

Qué necesitas

Este desmontaje no es una guía de reparación. Para reparar tu Razer Pro Click Mobile, utiliza nuestros manuales de servicio .

  1. Razer Pro Click Mobile Teardown, Teardown: paso 1, imagen 1 de 1
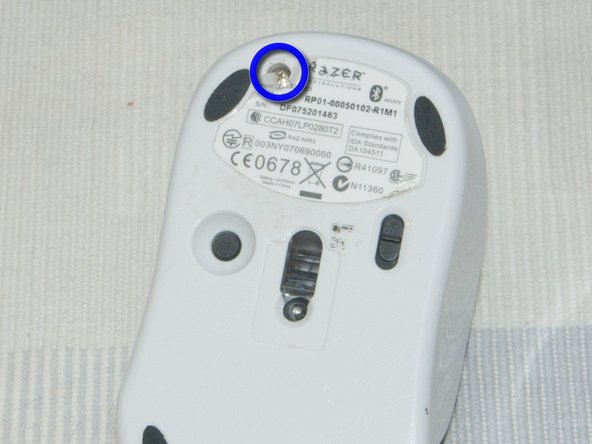
    • The Razer Pro Click Mobile mouse served me well for over a year and a half. It's a compact bluetooth mouse that handles magnificently.

    • Unfortunately, curiosity is not the only thing that drove me when I decided to do this teardown. The left button stopped working :(

    • therefore, I (am going to) FIX IT (see what i did there :] ?)

  2. Razer Pro Click Mobile Teardown: paso 2, imagen 1 de 2 Razer Pro Click Mobile Teardown: paso 2, imagen 2 de 2
    • And now, for the teardown. Open the battery compartment as you do every time this power hog runs out of juice. As you can see, i'm using rechargeables for that reason

    • Pull the two marked plastic elements outwards.

  3. Razer Pro Click Mobile Teardown: paso 3, imagen 1 de 2 Razer Pro Click Mobile Teardown: paso 3, imagen 2 de 2
    • Remove the two philips screws marked.

    • There is a third screw under the sticker, on the underside of the mouse. The sticker breaks easily and this probably voids the warranty.

  4. Razer Pro Click Mobile Teardown: paso 4, imagen 1 de 2 Razer Pro Click Mobile Teardown: paso 4, imagen 2 de 2
    • You may now remove the main plastic cover.

    • The plastics are very thick and look firm. My model survived a LOT of abuse, but apparently i dropped it one time too many for the left button to work.

  5. Razer Pro Click Mobile Teardown: paso 5, imagen 1 de 3 Razer Pro Click Mobile Teardown: paso 5, imagen 2 de 3 Razer Pro Click Mobile Teardown: paso 5, imagen 3 de 3
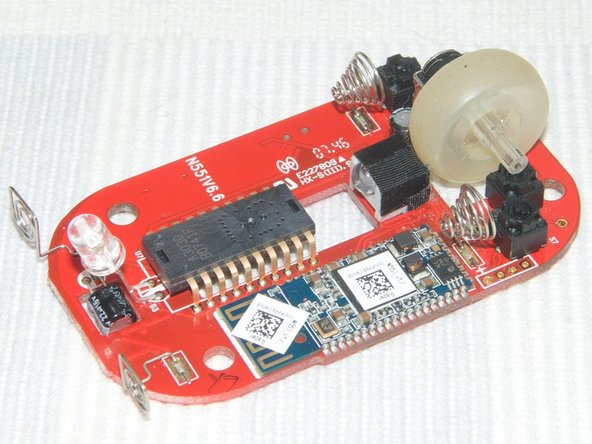
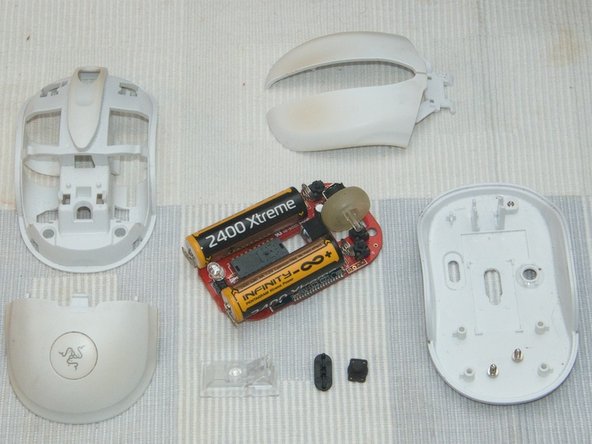
    • Now we may remove the main board.

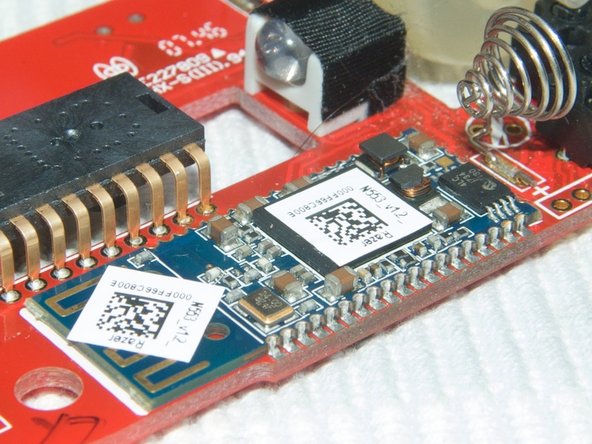
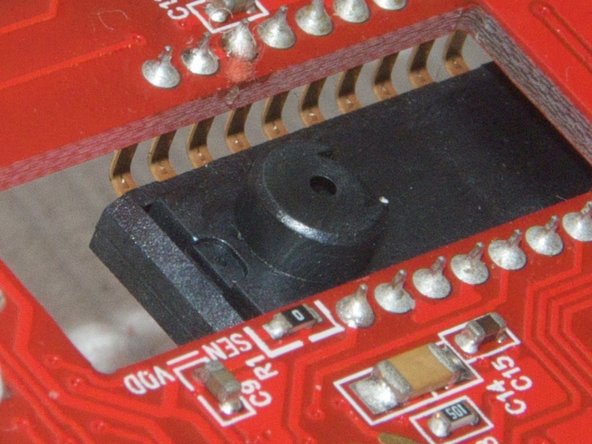
    • The device consists of two chips

    • The optical sensor is on the middle unit signed: A3030 B0741F

    • The second chip is on a separate, blue board. On it there is a white sticker with "Razer" and N553_v1.2_ signed on it

    • The rest of the elements are LEDs, buttons, the wheel mechanism, a single capacitor and springs for the battery

  6. Razer Pro Click Mobile Teardown: paso 6, imagen 1 de 2 Razer Pro Click Mobile Teardown: paso 6, imagen 2 de 2
    • On the bottom we see the lens, the on/off switch and the reset button

    • I love the little window they did for the capacitor.

    • The optical sensor looks freaky. I wonder which crazy government is watching me now.

  7. Razer Pro Click Mobile Teardown: paso 7, imagen 1 de 1
    • The batteries look enormous when inserted now. They weigh significantly more then the board itself.

  8. Razer Pro Click Mobile Teardown: paso 8, imagen 1 de 2 Razer Pro Click Mobile Teardown: paso 8, imagen 2 de 2
    • For a size comparison, here is the mouse, the original iPhone, a 2 polish zloty coin and a party invitation :)

baq

Miembro Desde 10/14/09

305 Reputación

3 Guías creadas

0 comentarios

Agregar Comentario

Ver Estadísticas:

Ultimas 24 horas: 1

Ultimos 7 días: 8

Ultimos 30 días: 52

Todo El Tiempo: 13,486