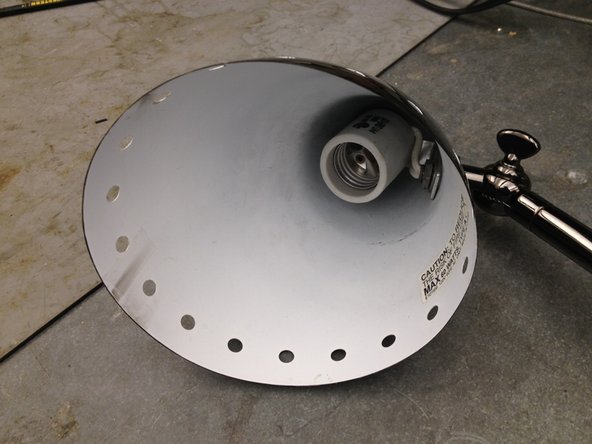
Saltar al contenido principal

Qué necesitas

Este desmontaje no es una guía de reparación. Para reparar tu Table Lamp, utiliza nuestros manuales de servicio .

  1. Portable Luminaries Lamp Teardown, Portable Luminaries Lamp Teardown: paso 1, imagen 1 de 1
    • The attached picture displays the lamp before the teardown.

  2. Portable Luminaries Lamp Teardown: paso 2, imagen 1 de 1
    • Remove the power cord from the wall socket outlet

    • Make sure to follow this step. There may be a danger of severe electric shock if you proceed to tear down the device without removing the plug

  3. Portable Luminaries Lamp Teardown: paso 3, imagen 1 de 2 Portable Luminaries Lamp Teardown: paso 3, imagen 2 de 2
    • Place the lamp gently on its side on a flat surface

    • Twist the lightbulb counter-clockwise to remove it from the lamp's head.

    • After lightbulb removal, the component attaching the lightbulb and lamp's head is exposed.

  4. Portable Luminaries Lamp Teardown: paso 4, imagen 1 de 2 Portable Luminaries Lamp Teardown: paso 4, imagen 2 de 2
    • Next, the light bulb housing can be detached from the lamp head

    • Using the Philips screw driver, unscrew the two 5mm diameter screws within the light bulb housing

  5. Portable Luminaries Lamp Teardown: paso 5, imagen 1 de 2 Portable Luminaries Lamp Teardown: paso 5, imagen 2 de 2
    • Keep the lamp on its side

    • The bottom is now exposed and two screws are visible

    • Using the Philips Screwdriver, unscrew the two 7mm gold screws from the bottom of the base

  6. Portable Luminaries Lamp Teardown: paso 6, imagen 1 de 2 Portable Luminaries Lamp Teardown: paso 6, imagen 2 de 2
    • Once the screws attached to the base are removed, the base's bottom lid detaches from the lamp.

    • Within the base resides two components: the lamp's weight and the switch.

    • The weight sits on the bottom base lid, so it separates without the use of additional tools.

  7. Portable Luminaries Lamp Teardown: paso 7, imagen 1 de 1
    • The white container holding the switch does not need tools for opening.

    • The switch container is clipped shut and opens by unlatching the tab

Brenden

Miembro Desde 11/17/14

56 Reputación

1 Guía escrita

0 comentarios

Agregar Comentario

Ver Estadísticas:

Ultimas 24 horas: 1

Ultimos 7 días: 13

Ultimos 30 días: 25

Todo El Tiempo: 1,685