Saltar al contenido principal

Qué necesitas

Este desmontaje no es una guía de reparación. Para reparar tu PlayStation Move, utiliza nuestros manuales de servicio .

  1. PlayStation Move Controller Teardown, PlayStation Move Controller Teardown: paso 1, imagen 1 de 1
    • Playstation Move Controller

  2. PlayStation Move Controller Teardown: paso 2, imagen 1 de 1
    • Remove the 4 screws holding the back over and trigger button on.

  3. PlayStation Move Controller Teardown: paso 3, imagen 1 de 2 PlayStation Move Controller Teardown: paso 3, imagen 2 de 2
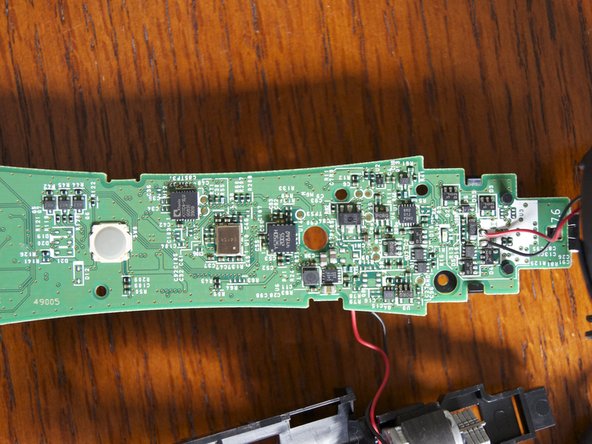
    • Once open you will see two ribbon cables.

    • The one connected to the trigger button is removable.

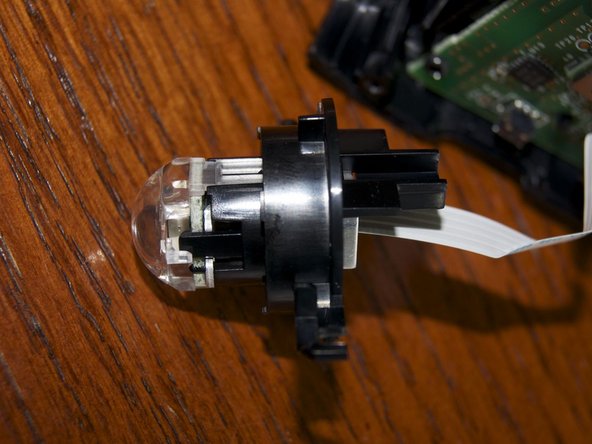
    • The ribbon cable attached to light globe is soldered on.

  4. PlayStation Move Controller Teardown: paso 4, imagen 1 de 3 PlayStation Move Controller Teardown: paso 4, imagen 2 de 3 PlayStation Move Controller Teardown: paso 4, imagen 3 de 3
    • Light Globe Cover and the LED Module can be separated.

  5. PlayStation Move Controller Teardown: paso 5, imagen 1 de 1
    • The battery can easily be removed. There is connector on the side of the board.

    • Battery Specs: Single Cell 1380 mAh 3.7 Volt

    • Sony Part: LIS1441

  6. PlayStation Move Controller Teardown: paso 6, imagen 1 de 1
    • Remove the inner plastic (1 Screw) frame to expose the logic board

    • Remove the 2 top screws and one bottom screw to remove the logic board from the controller.

  7. PlayStation Move Controller Teardown: paso 7, imagen 1 de 3 PlayStation Move Controller Teardown: paso 7, imagen 2 de 3 PlayStation Move Controller Teardown: paso 7, imagen 3 de 3
    • Logic Board

    • Chip Closeups Included

    • 503A 04c ALPS - Radio Module

    • AKM8974948D - MEMS Gyroscope

Un comentario

AKM 8974 - 3-axis Electronic Compass

Xeno - Contestar

Agregar Comentario

Ver Estadísticas:

Ultimas 24 horas: 0

Ultimos 7 días: 9

Ultimos 30 días: 42

Todo El Tiempo: 18,400