Saltar al contenido principal

Qué necesitas

Este desmontaje no es una guía de reparación. Para reparar tu Philips HX8210-22 Sonicare Airfloss Microjet, utiliza nuestros manuales de servicio .

  1. Philips HX8210/22 Sonicare Airfloss Microjet Teardown, Open main case: paso 1, imagen 1 de 2 Philips HX8210/22 Sonicare Airfloss Microjet Teardown, Open main case: paso 1, imagen 2 de 2
    • This is the most difficult part: to open the main case you have to apply the correct pressure on the sides. I managed to open it by wriggling it a bit while pulling. Check the picture to see how the two parts are clipped, it should give you a better idea of how to manage to open it.

  2. Philips HX8210/22 Sonicare Airfloss Microjet Teardown, Extract components from case: paso 2, imagen 1 de 3 Philips HX8210/22 Sonicare Airfloss Microjet Teardown, Extract components from case: paso 2, imagen 2 de 3 Philips HX8210/22 Sonicare Airfloss Microjet Teardown, Extract components from case: paso 2, imagen 3 de 3
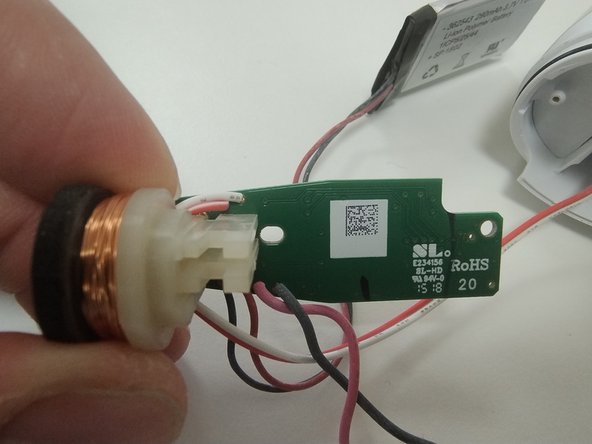
    • Gently unplug the main board from the mechanical parts, pulling it up from the bottom (it is not glued)

    • Remove the tape holding the cables

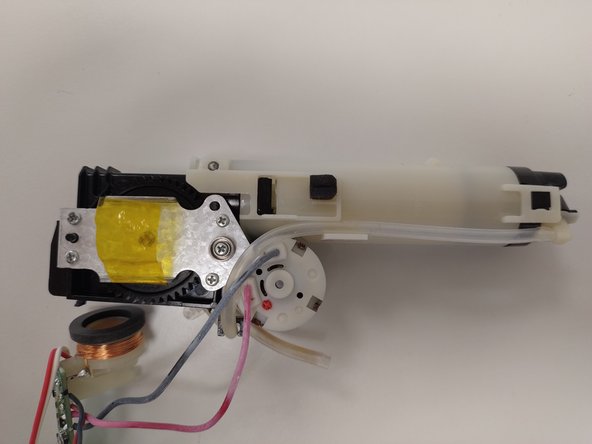
    • Unplug the water cable

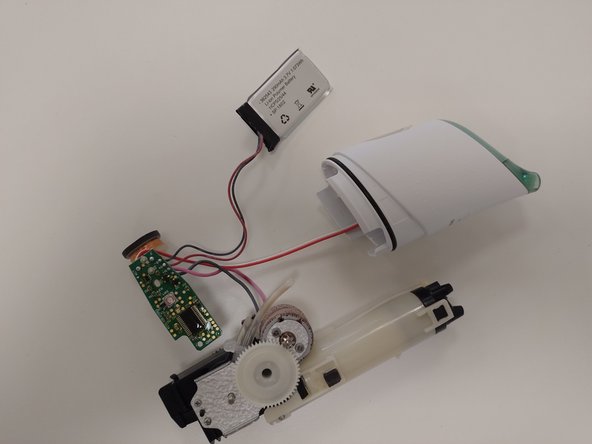
    • You can now pull out all the components, you willl have only four cables going to the upper part (for the battery and the trigger button)

  3. Philips HX8210/22 Sonicare Airfloss Microjet Teardown, Inspect main board: paso 3, imagen 1 de 2 Philips HX8210/22 Sonicare Airfloss Microjet Teardown, Inspect main board: paso 3, imagen 2 de 2
    • Inspect the main board

  4. Philips HX8210/22 Sonicare Airfloss Microjet Teardown, Inspect mechanical parts: paso 4, imagen 1 de 2 Philips HX8210/22 Sonicare Airfloss Microjet Teardown, Inspect mechanical parts: paso 4, imagen 2 de 2
    • Inspect mechanical parts

  5. Philips HX8210/22 Sonicare Airfloss Microjet Teardown, Remove battery: paso 5, imagen 1 de 3 Philips HX8210/22 Sonicare Airfloss Microjet Teardown, Remove battery: paso 5, imagen 2 de 3 Philips HX8210/22 Sonicare Airfloss Microjet Teardown, Remove battery: paso 5, imagen 3 de 3
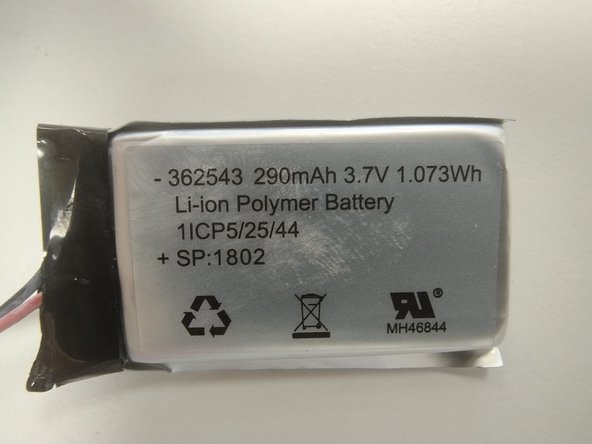
    • The battery is glued to the upper part, you can remove it by gently pulling it from the case with a flat screwdrier

Giulio Marcon

Miembro Desde 05/11/21

253 Reputación

2 Guías creadas

0 comentarios

Agregar Comentario

Ver Estadísticas:

Ultimas 24 horas: 4

Ultimos 7 días: 20

Ultimos 30 días: 98

Todo El Tiempo: 147