Introducción
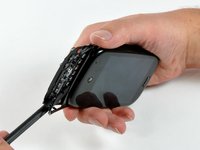
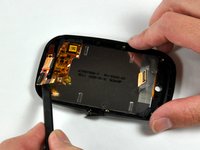
We got our hands on the new Palm Pre from Sprint! Oh joy, our all-nighter in front of the Sprint store paid off! We're finished disassembling it now. Follow our updates @ifixit on twitter.
Qué necesitas
-
-
We arrived at the Santa Barbara Sprint store at 2am and were first in line!
-
Two blocks down the street at a local shoe store were 18 people stolidly entrenched in line for Kanye West's new Air Yeazy shoe. Some of them had been in line since Monday!
-
-
-
By the time we got our Pre at 8 am, there were about 25 others waiting.
-
It took several tries to activate the phone (about five minutes total), but no where near as bad as Apple's iPhone 3G launch activation woes last summer.
-
We tested out Sprint's 3G EVDO network on the road home and didn't notice any interruptions. Uploads and downloads were fast, and Pandora's application ran like a champ.
-
WebOS is so cool! We love how natural it feels to swipe between applications and multitask with Web, Twitter, AIM, and Pandora.
-
-
-
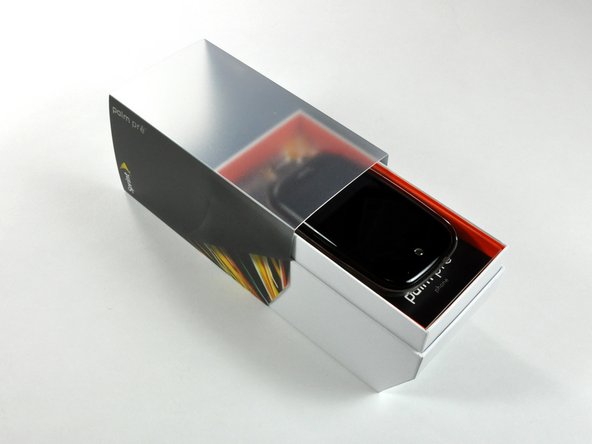
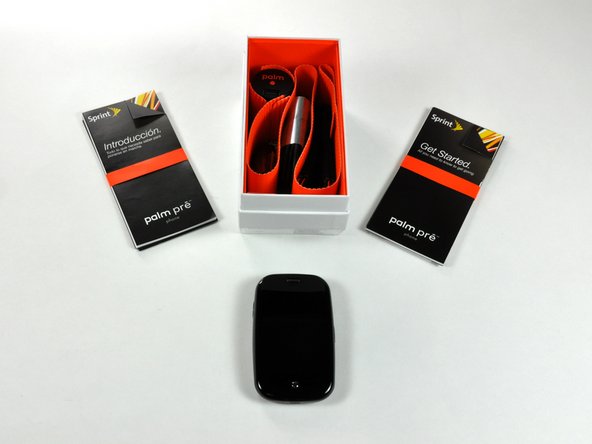
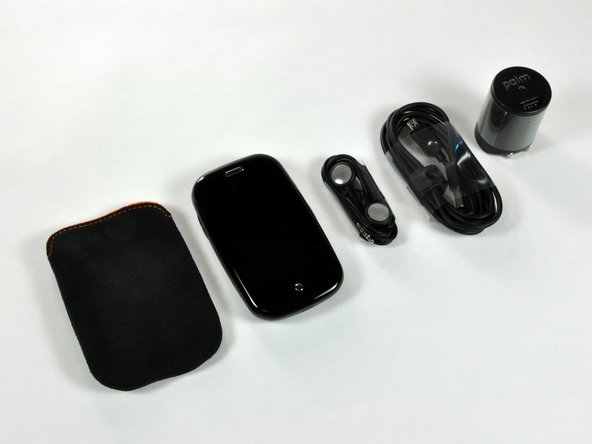
Contents of the box:
-
Palm Pre phone
-
AC Phone Charger, Standard Li-Ion Battery
-
Stereo Headset, Carry Pouch
-
Micro USB Sync Cable
-
Get Started Guide and Features Guide
-
A prepaid plastic recycling envelope in the box, making it easy to recycle your newly obsolete phone. This is a fantastic move on Palm's part, but of course recycling is a last resort if you can't fix it.
-
And a partridge in a pear tree...
-
-
-
Users preferring physical keyboards will be satisfied, but iPhone veterans may be left disappointed at the lack of a software keyboard option.
-
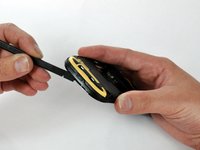
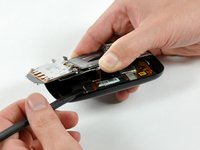
Revealing the keyboard feels awkward and interrupts the smooth WebOS experience. Try before you buy, because this keyboard could be enough to deter picky users.
-
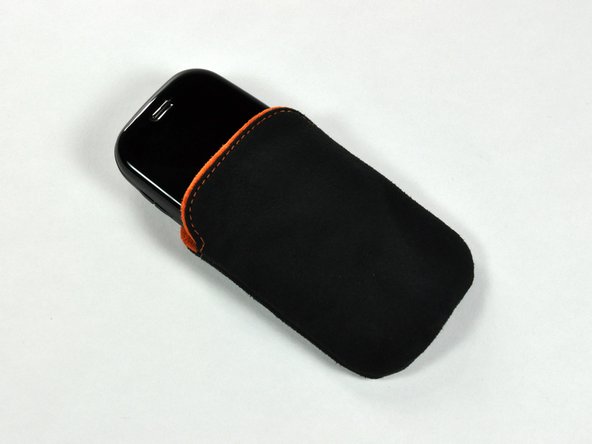
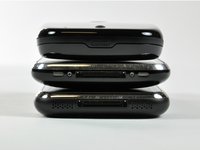
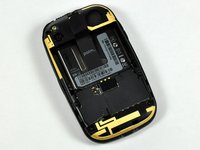
The Pre comes with a stylish and rugged case, a slide-out QWERTY keyboard, earbuds and USB cable.
-
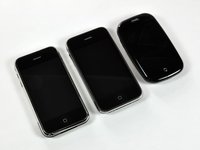
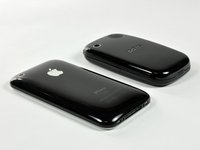
The Pre is "Inspired by and designed in California," while the iPhone is merely "Designed by Apple in California."
-
-
-
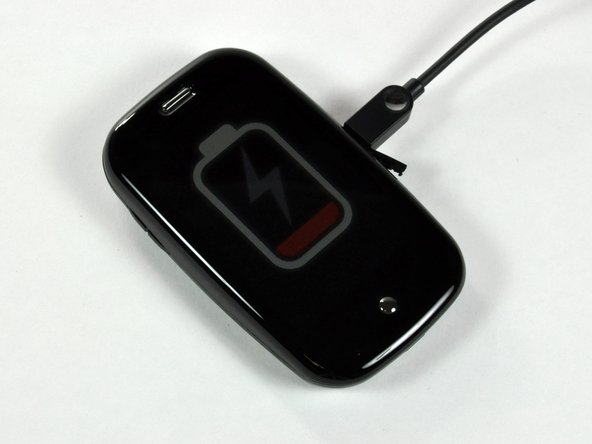
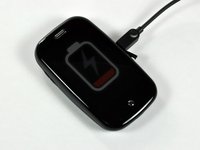
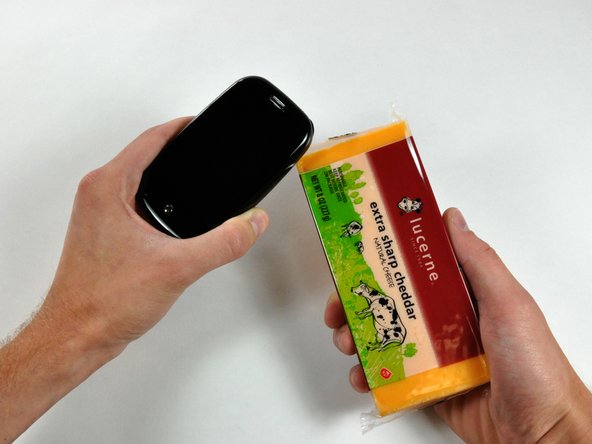
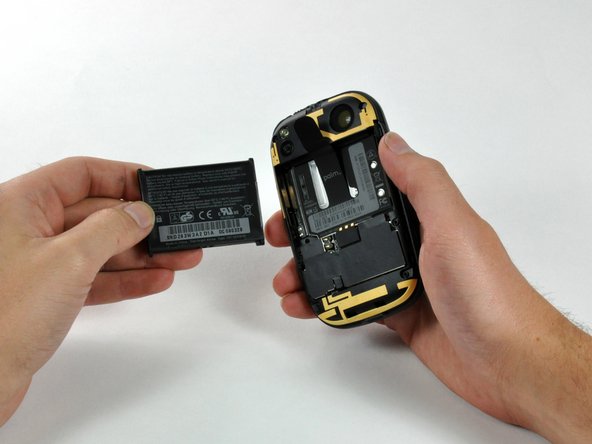
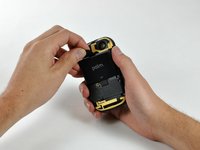
The battery came only partially charged, and we managed to drain it on the 1.5 hour drive back from Santa Barbara.
-
We'll just charge it briefly with the MicroUSB connector before ripping it apart. :)
-
You get a full one year warranty on hardware, but for software Palm only promises "software will perform in substantial conformance to their program specifications for a period of ninety (90) days."
-
-
-
-
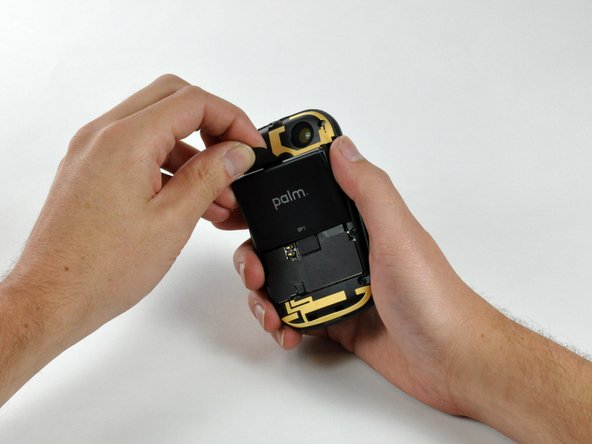
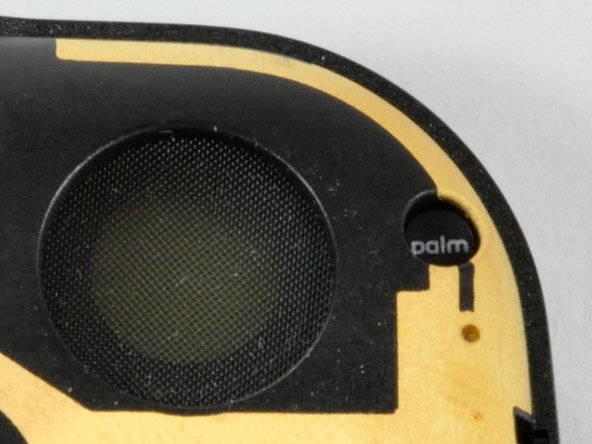
The back of the phone and speaker.
-
The speaker in the Pre is substantially better than the one in the iPhone.
-
Palm didn't skimp on antennas. They're exposed for all to see as soon as you remove the back panel.
-
The antenna design is three dimensional to optimize signal quality. The iPhone's antennas also use this technique.
-
The small sticker labeled palm visible in the third image is probably there to prevent people from doing what we're about to do...
-
-
-
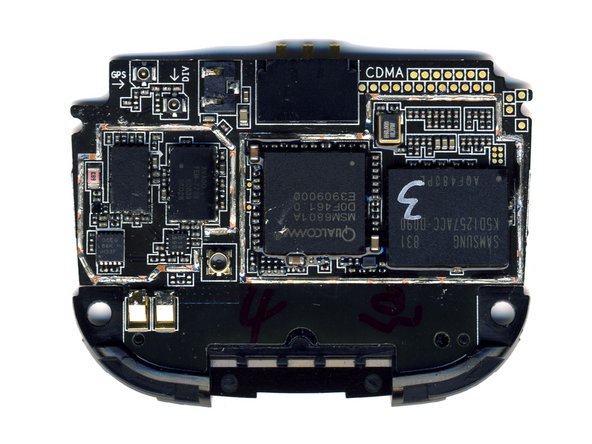
One was labeled GPS (its obvious what its for) and the other one was labeled DIV (for diversity antenna - thanks microbreak!).
-
-
-
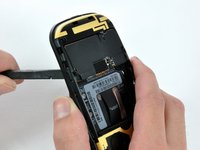
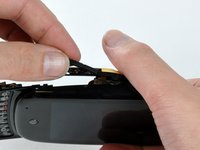
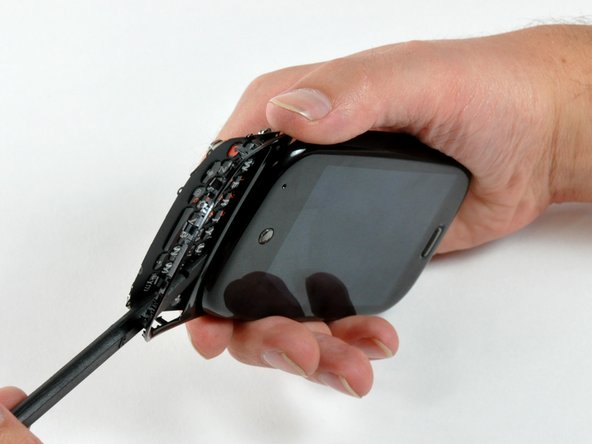
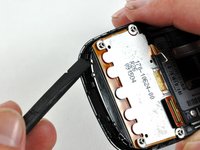
Removing the keyboard bezel.
-
The hardware keyboard and its associated sliding mechanism weighs 32 grams. That's nearly 25% of the weight of the phone! Even if you're not a fan of a hardware keyboard, there's no denying that packing the keyboard into a device that's not much larger or heavier than the iPhone is a very impressive engineering feat.
-
-
-
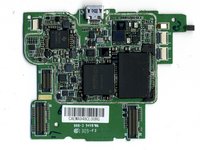
The Palm Pre is the first phone using Texas Instrument's new OMAP3 (Open Media Applications Processor) platform.
-
The processor is a 600 MHz ARM Cortex A8 + PowerVR SGX 530 GPU + 430MHz C64x+ DSP + ISP (Image Signal Processor)
-
The chip covered by a white sticker on the LCD is CP6944BA 0907 A 04 KOR 604022.
-
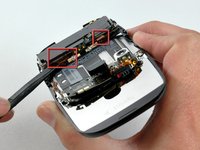
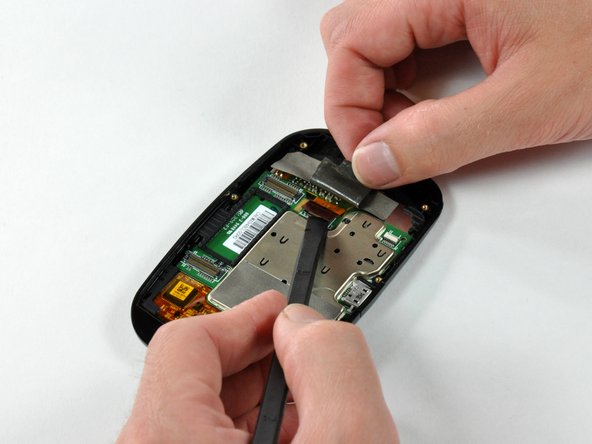
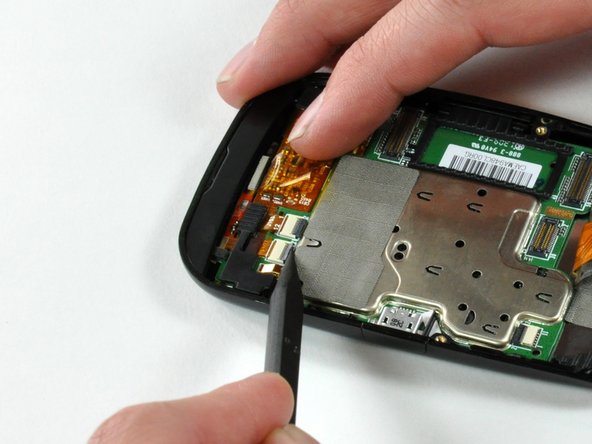
We found a water damage sensor on the logic board, just below the Micro USB port, indicated by the red box on the second image.
-
-
-
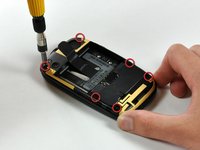
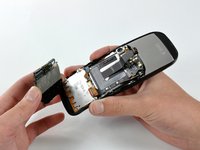
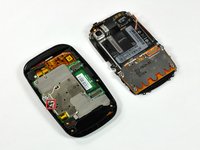
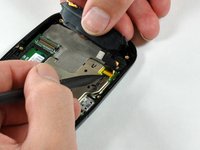
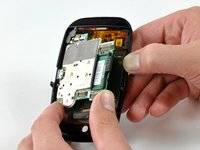
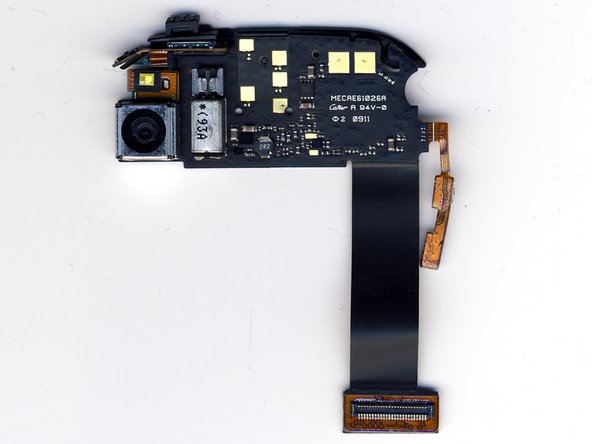
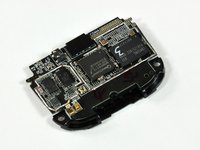
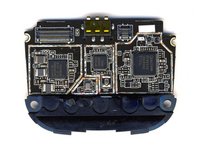
Removing four more small connectors, and the main logic board is finally free.
-
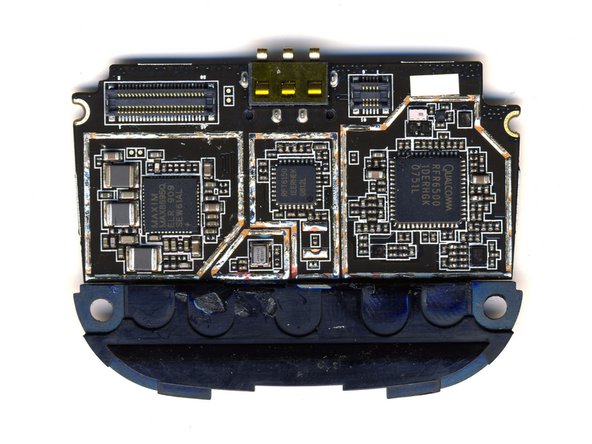
Like the original iPhone, the Pre has two main boards, the logic board and the communications board.
-
Unfortunately, everything interesting is carefully hidden beneath metal EMI shields. Not only are the shields soldered to the board, there's epoxy holding them down as well. Palm definitely didn't make it easy to see what makes the Pre tick.
-
-
-
This is an incredibly thin, flexible PCB.
-
The Pre has an integrated 3 megapixel digital camera with LED flash.
-
The camera is one of our biggest complaints with the iPhone. The iPhone suffers from both poor quality photos and a long shutter delay. While the quality is definitely improved on the Pre, it's still pretty slow snapping photos.
-
You can see the standard phone vibrator next to the camera.
-
-
-
Internal components, from left to right:
-
Earpiece speaker, LCD display and digitizer, microphone, communications board.
-
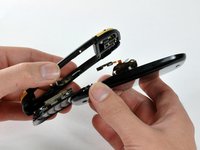
Original rear panel and plastic framework.
-
Battery, internal metal framework and spring mechanism, keyboard.
-
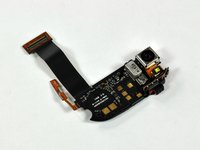
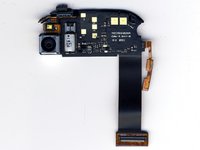
Camera board and main circuit board.
-
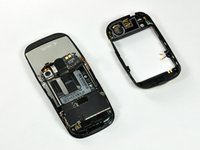
Main plastic framework containing antennas, antenna cabling, and the surprisingly excellent speakerphone.
-
Main plastic framework containing antennas, antenna cabling, and the surprisingly excellent speakerphone.
-
-
-
The back of the display, complete with what appears to be a manufacture date at the beginning of January.
-
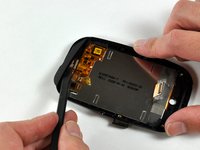
Unfortunately for repair, it doesn't look like the LCD and digitizer are easy to separate.
-
Both the iPhone and the Pre sport a HVGA display. However, the iPhone's display measures 3.5" diagonally, while the Pre's is only 3.1"
-
-
-
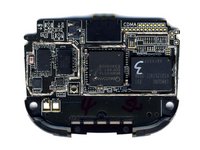
Logic board with shielding removed
-
Chip markings:
-
Texas Instruments TWL5030B 8CA28MWC
-
Marvell WiFi chip under the silver EMI cover, marked W8686B12. Directly above it is the CSR bluetooth chip. They're both on a daughterboard soldered to the logic board.
-
Samsung SDRAM KMCMG0000M-B998
-
ELPIDA K2132C1PB-60-F 08510N060. Another BGA chip underneath this one is Texas Instruments OMAP3430.
-
Unbranded chips: 3335A ADJ RNX, 89A8 850. And the one hidden with epoxy above Samsung's SDRAM is Kionix 3-Axis Accelerometer.
-
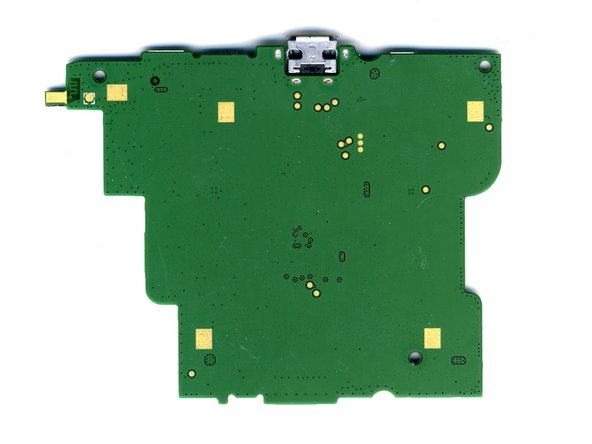
The top of the board is labeled 888-3 94V0 1 309 - F3. The bottom of the board is bereft of chips or markings, something Apple has never done.
-
-
-
Component comparison between the iPhone and the Palm Pre.
-
Hardware-wise, the Palm Pre is very impressive. Our only hardware complaint was the physical keyboard, although some people may appreciate the hardware keyboard.
-
The Pre logic board is substantially smaller than the iPhone logic board, which is very impressive considering how renowned Apple's engineers are for shrinking hardware footprints. It's amazing the difference a year can make.
-
In general, this Palm hardware reminds us a lot more of Apple's engineering style than any of hardware we've taken apart by other manufacturers (like Dell).
-


Un comentario
I dont suppose after all this time you can help me with a palm pre plus? I kept it because I have some great photos on it. But there is only the power port. No sd card accessable. The power port broke. Is there any way to still get the phots out? Oh yes, I bought a replacement so I have one that still works. Well, it did a few months ago. I can charge the broken one by switching battery after it's charged.
Additional problem, it acts like it's a new phone to set up, asking for i.d. of some sort. So basically is there any way to either physically remove and transplant the memory (chip?)or load it onto a computer?