Introducción
I heard that there was a upgraded thermal solution (vapor chamber) being utilized in the Oppo Find X3. I wanted to take a look in there and see if it was as good as they say! Might even get into a little thermal comparison this time.
Qué necesitas
-
-
Pretty, right? Anyway, someday I will learn to take pictures that are in the correct aspect ratio so that we can more easily load them into these guides!
-
Side note: Yes, I know the lighting in my lab is terrible for photos. But, they are all done with my old phone, so...there's that.
-
If you look close (PUN intended) you will see a microscope camera! I will say, it is gimmicky, but REALLY cool. I'll show you that later.
-
-
-
Usual stuff here. Lots of gentle heat, some really thin tools and the back cover comes off.
-
For really stubborn adhesives, I have found that electrical contact cleaner is amazing. There is a down side, though it can melt some plastic films really fast. Try to stick to simple isopropyl until you just don't have another option, if using solvents.
-
One connector to deal with, and it is centered in the top half of the phone. It even has its own protective bracket. Oppo gave you plenty of length in that ribbon cable though, which is nice.
-
-
-
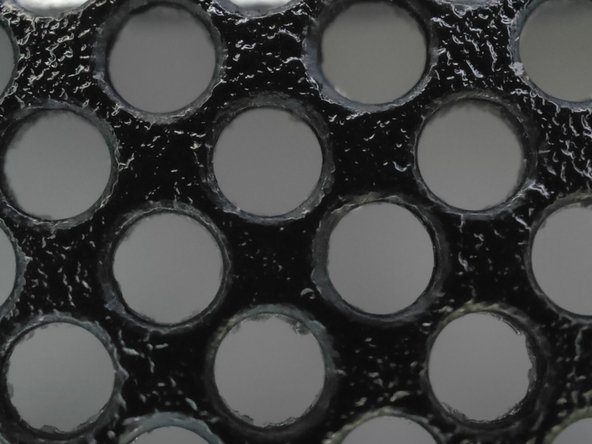
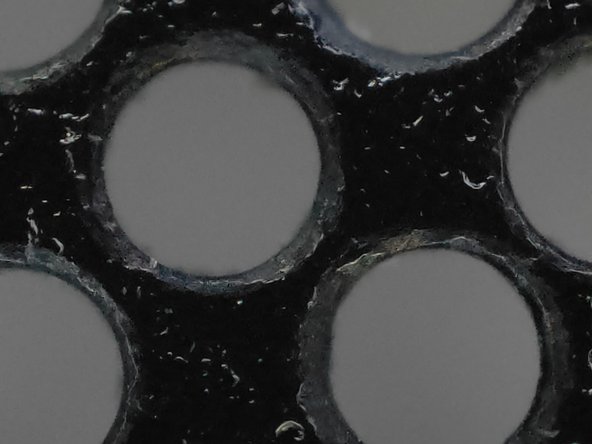
Anyway, the component connected to the back cover? That was the microscope camera. Here it is in action. Those holes are ~0.5mm in diameter.
-
-
-
Not much new here. Already the trained eye can see the thermal solution taking shape.
-
Three distinct pieces of graphite found by just opening the back cover. Someone thought this phone would see some use!
-
-
-
-
Removing the wireless charging bracket, we can see why the extra graphite is needed. All of the phones main components are neatly (and tightly) packed into half of the board.
-
And now we learn that the I.R. images I have of the phone during the thermal testing, are not high enough resolution to be shown here. (sorry). You just have to trust me when I say that there was a rather intense hot spot under the EMI can.
-
-
-
Under the main PCB we find copper! Looks to be a thin form-factor vapor chamber. Obvious thermal grease as well. The grease is an interesting choice. ($ probably) Grease tends to dry-out and become less effective over time. Makes me think the true operational life of this phone might be a little less than others...
-
The back side of the main PCB shows some thin copper tapes, and one more small piece of graphite! I haven't pulled up the EMI lids yet, in hopes of further thermal testing, but my guess is a PMA or something under the graphite area.
-
-
-
Pulling the battery (easier than I expected) doesn't reveal too much more yet. It does show what looks to be a rather robust center level chassis.
-
Under some tape, we find that the vapor chamber does indeed extend further than we might have originally thought. Also, we find that the display must go, if are to continue to dive into the thermal solution of this device!
-
-
-
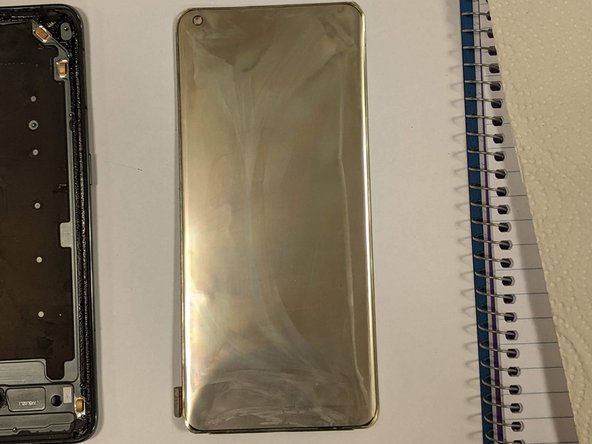
OK. Things were going great until this point. Feel free to comment below if you have some insight here. First, in trying to remove the display, I separated the digitiser from the OLED. In fact, it happened so easily, that didn't know it was happening until it was too late.
-
-
-
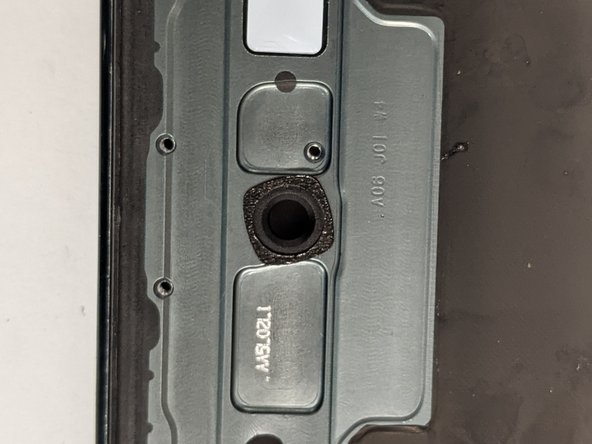
Here we see the cut-out for the acoustic (maybe?) fingerprint sensor. From the chip mounted in the PCB at the bottom of the phone, there is a clear line of sight straight to the underside of the OLED. Pretty cool stuff there.
-
-
-
What was under the OLED you ask? If you guessed Graphite, you win! As per the usual methods of phone design, there is a large (screen size) piece of graphite directly under the display.
-
Under that graphite, we find how they installed the vapor chamber.
-
Well, now that we have effectively determined the OLED is broke...how can we test? Well we simply just test to see if the vapor chamber works better than other options.
-
-
-
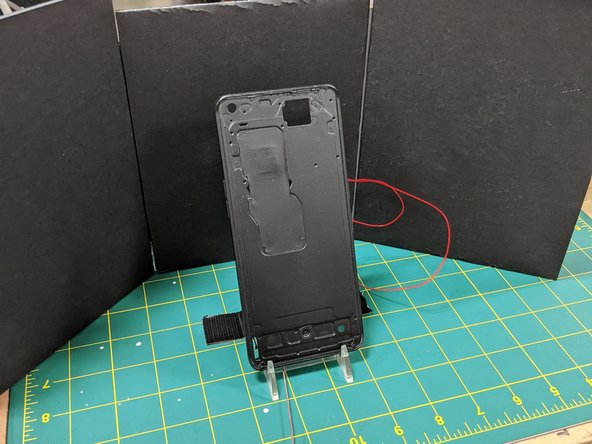
So we replace the PCB with a controlled heater. Remount the vapor chamber, and paint everything black so we can see the pretty thermal images!
-
-
-
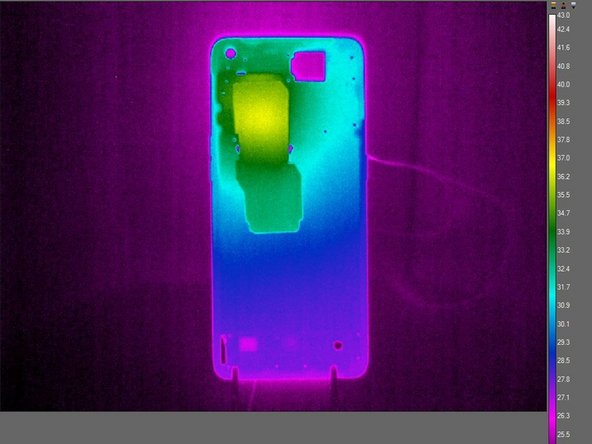
Hmm...might need some more testing here. First pic is the OEM vapor chamber. Second pic is something I built myself, in my lab, with graphite.
-
If anyone has a line on where to get some replacement parts for this phone and can let me know where I can buy a new display for it, I would love the help. I want to rebuild a working device with the my vapor chamber replacement and test it on a full phone. There should be a big reason as to why Oppo spent the $ on a vapor chamber.
-
There it is. If you have any questions, let me know in the comments. I'm happy to chat about what and why. Also, I have quite a bit more pictures and information about the phone itself, and the teardown. Just didn't put all of it in here. Thanks for checking this out!
-