Qué necesitas
-
Este paso está sin traducir. Ayuda a traducirlo
-
Begin by flipping your phone over so that the back cover is facing up.
-
Apply force to the back cover and simultaneously slide the cover down.
-
-
Este paso está sin traducir. Ayuda a traducirlo
-
Press the button labeled "PUSH" located at the bottom back of the phone. This will release the battery.
-
Lift and remove the battery.
-
-
Este paso está sin traducir. Ayuda a traducirlo
-
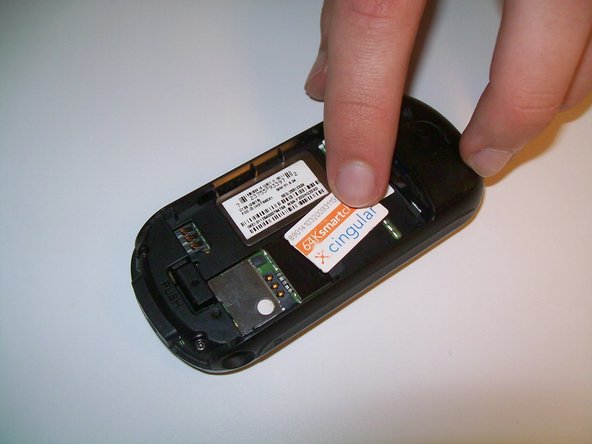
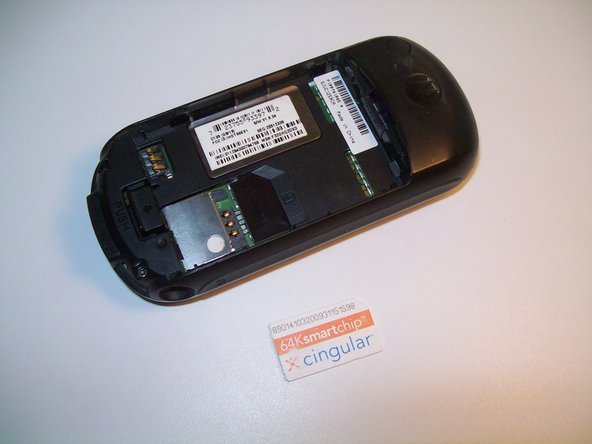
Gently slide the SIM card out and lift to remove it from the phone.
-
-
Este paso está sin traducir. Ayuda a traducirlo
-
Use a Torx T-5 screwdriver to remove the screws on the back of the phone.
-
-
Este paso está sin traducir. Ayuda a traducirlo
-
Slide a pry tool underneath the adhesive rubber stip and peel it back away from the phone.
-
Repeat for the other side.
-
-
-
Este paso está sin traducir. Ayuda a traducirlo
-
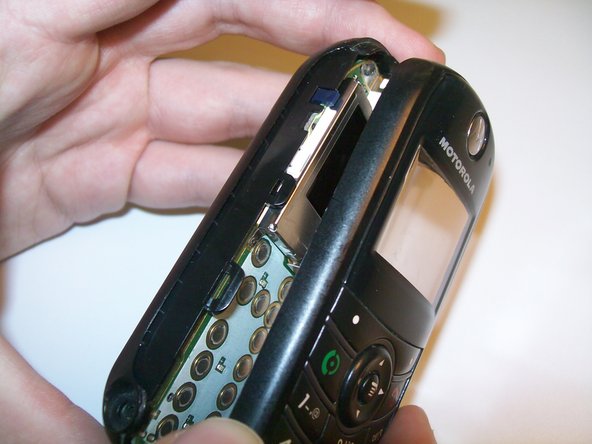
Insert the pry tool in the slit on the side of the phone and slide it down until you hear an audible click and the phone bottom loosens from the top.
-
Use the pry tool to release the two hooks on each side and the two hooks at the top holding the case together.
-
-
Este paso está sin traducir. Ayuda a traducirlo
-
Using a Torx T-5 screwdriver remove the screws at the top of the phone.
-
-
Este paso está sin traducir. Ayuda a traducirlo
-
Use plastic opening tools to free the circuit board from the case.
-
Then grip the circuit board and lift to remove the circuit board from the case.
-
-
Este paso está sin traducir. Ayuda a traducirlo
-
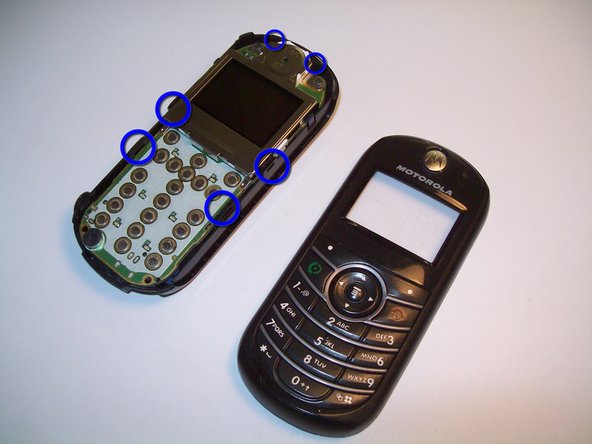
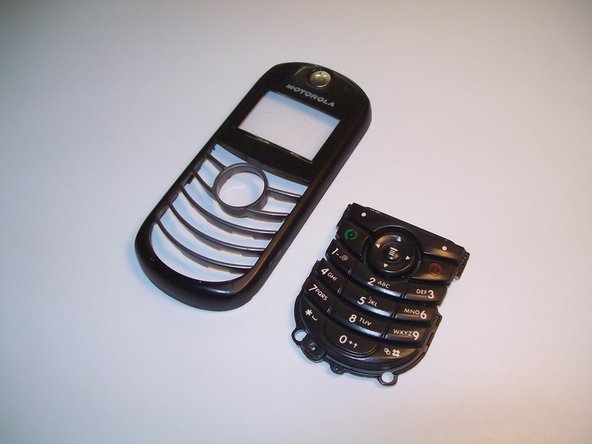
On the top half of the phone push downwards on the number keys to free the keypad from the top of the phone.
-
-
Este paso está sin traducir. Ayuda a traducirlo
-
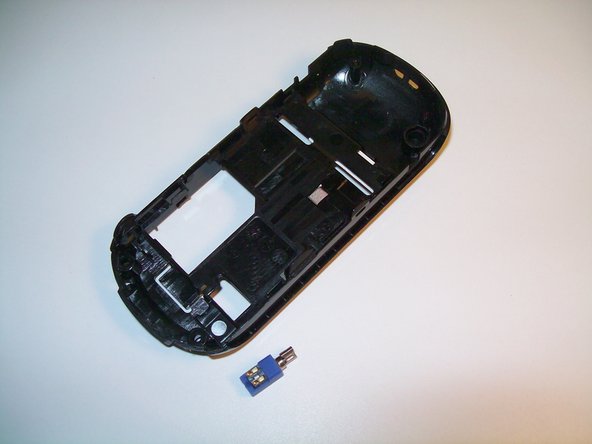
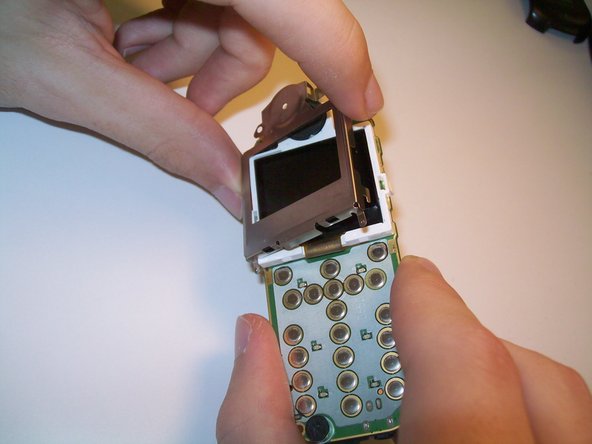
Unhook the antenna by releasing the two hooks, one on each side of the phone.
-
Detach the antenna from the back of the circuit board
-
This small black rubber cover may detach.
-
-
Este paso está sin traducir. Ayuda a traducirlo
-
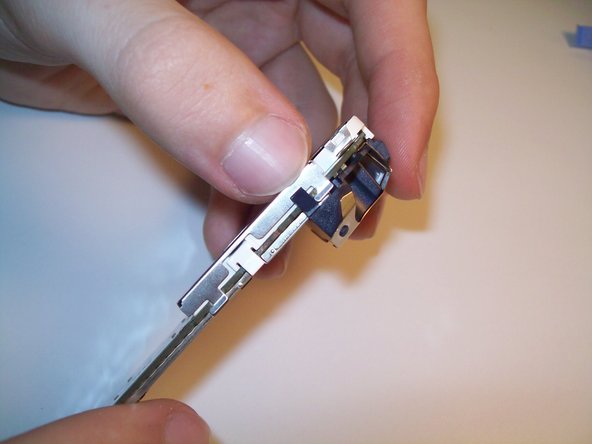
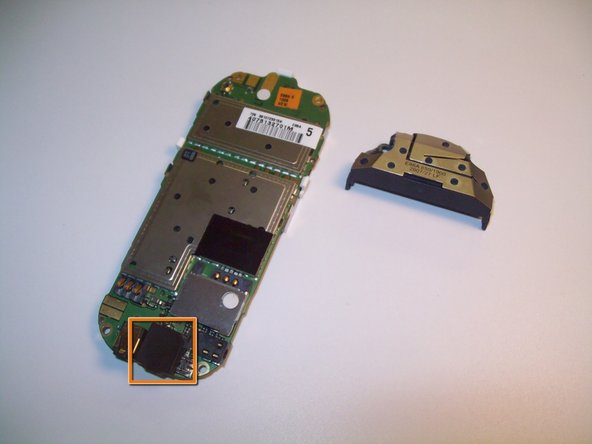
Using your hands or the pry tool, gently lift the vibration mechanism out of the rear casing.
-
-
Este paso está sin traducir. Ayuda a traducirlo
-
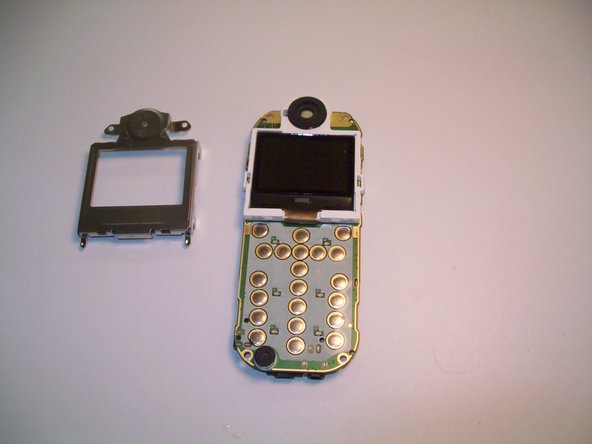
Unhook the 10 clips holding the metal screen cover in place and pull up to detach it from the logic board.
-
There are four clips at the top, two along each side, and two clips at the bottom of the metal cover.
-
-
Este paso está sin traducir. Ayuda a traducirlo
-
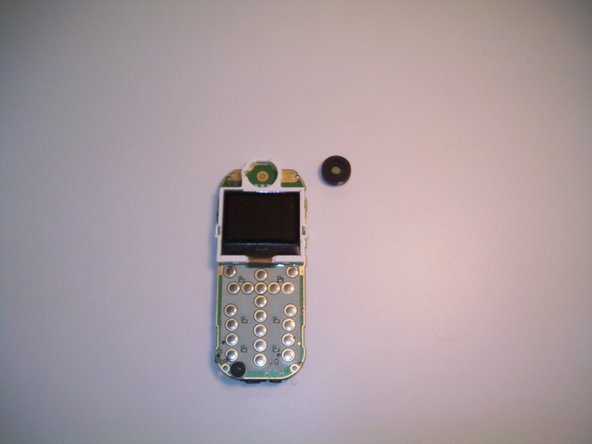
Lift to remove the speaker from its contact point on the logic board.
-
-
Este paso está sin traducir. Ayuda a traducirlo
-
List of Parts: Battery, SIM Card, Vibration mechanism, back cover, Front Case, Back Case, 2x rubber sides, 4x Screws, Antenna, Speaker, Keypad, Metal screen cover.
-


Equipo

Clemson, Team 2-2, Benson Spring 2012 Miembro de Clemson, Team 2-2, Benson Spring 2012
CLEM-BENSON-S12S2G2
3 Miembros
15 Guías creadas