Saltar al contenido principal

Qué necesitas

Este desmontaje no es una guía de reparación. Para reparar tu Model CVS124A, utiliza nuestros manuales de servicio .

  1. Model CVS124A Teardown, Screws Removal: paso 1, imagen 1 de 1
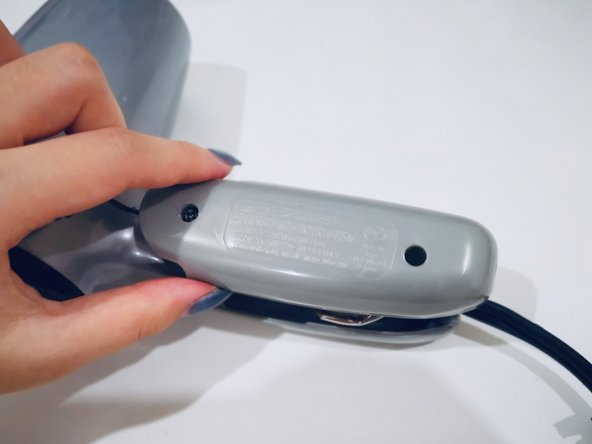
    • Locate the screw on the handle and remove them with a Phillips screwdriver.

    • All of the hair dryer’s components are held together by these two screws. Parts may quickly separate after screw removal.

  2. Model CVS124A Teardown, Handle removal (top): paso 2, imagen 1 de 2 Model CVS124A Teardown, Handle removal (top): paso 2, imagen 2 de 2
    • Remove the top portion of the handle.

    • The model information and warnings are engraved on the top portion.

  3. Model CVS124A Teardown, Switch removal: paso 3, imagen 1 de 1
    • Remove the settings switch by lifting straight up.

  4. Model CVS124A Teardown, Inside component removal: paso 4, imagen 1 de 1
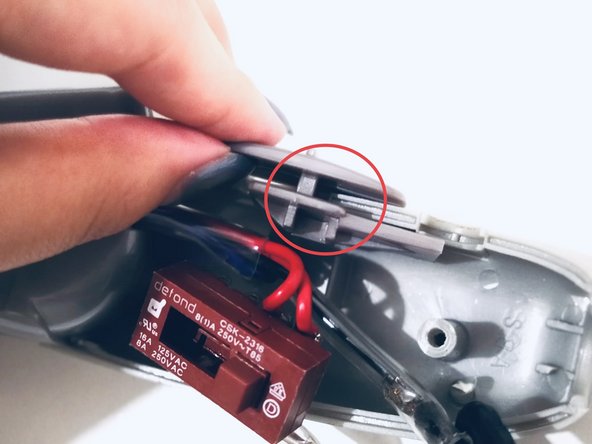
    • Remove the internal switch from the rear portion of the handle.

  5. Model CVS124A Teardown, Handle removal (lower): paso 5, imagen 1 de 1
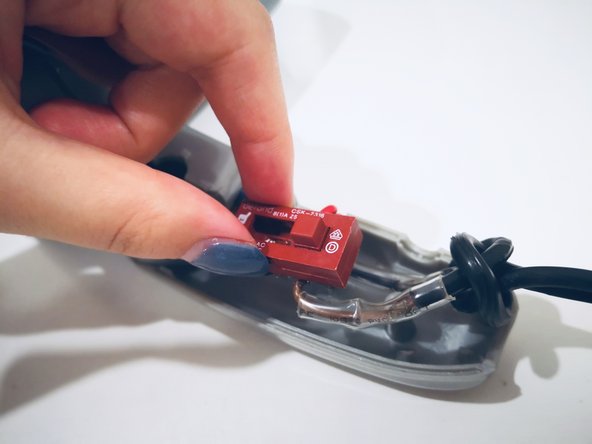
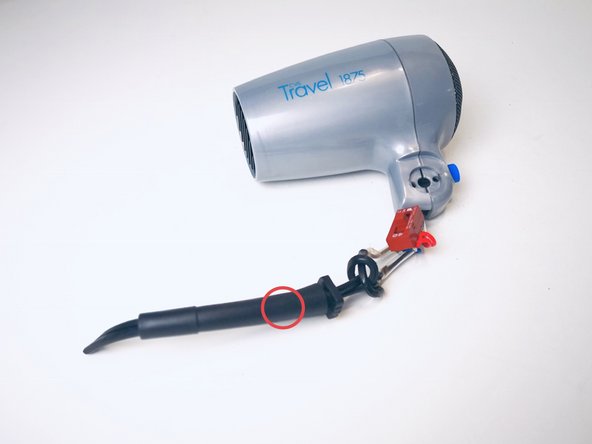
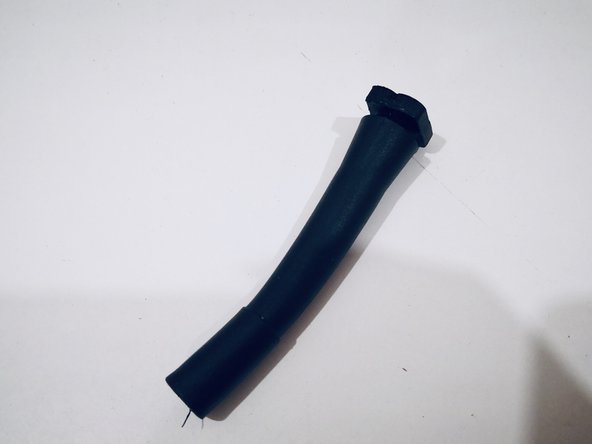
    • Remove the lower portion of the handle by sliding the peg out of the slot at the top of the handle.

  6. Model CVS124A Teardown, Material of the handle: paso 6, imagen 1 de 1
    • Handle - ABS injection moulding

  7. Model CVS124A Teardown: paso 7, imagen 1 de 2 Model CVS124A Teardown: paso 7, imagen 2 de 2
    • Take off the protective jacket outside the wire.

  8. Model CVS124A Teardown: paso 8, imagen 1 de 2 Model CVS124A Teardown: paso 8, imagen 2 de 2
    • Separate the iron case with the back case by using 6.5mm flathead screwdriver. Take off the fan after separation.

    • Pull on the back of the fan motor to gently lift the motor out of the hair dryer.

  9. Model CVS124A Teardown: paso 9, imagen 1 de 2 Model CVS124A Teardown: paso 9, imagen 2 de 2
    • The fan motor

  10. Model CVS124A Teardown, Separate the two cases: paso 10, imagen 1 de 1
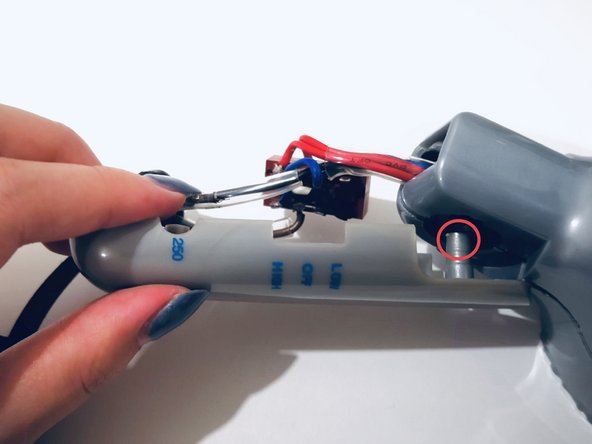
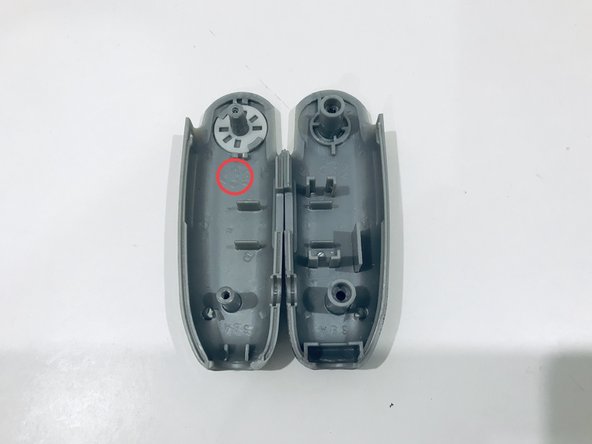
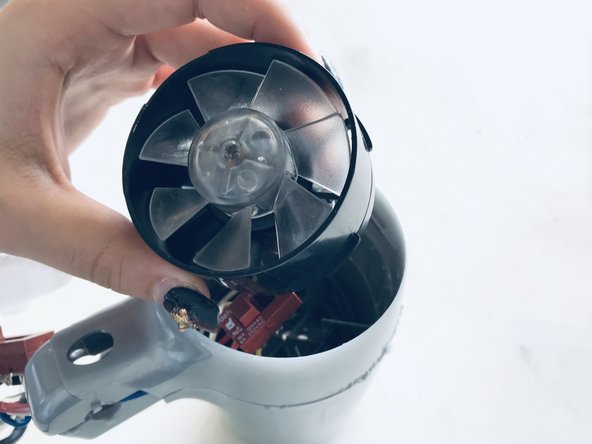
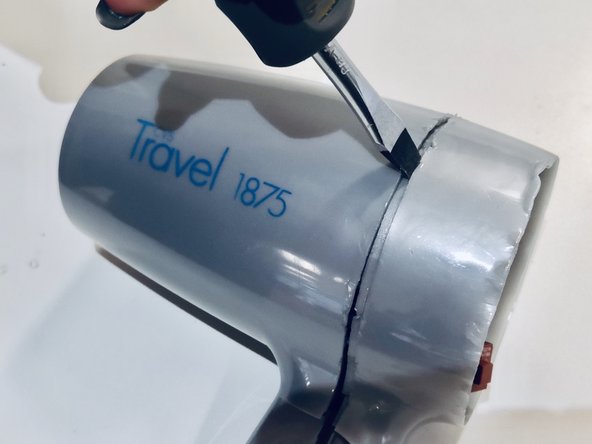
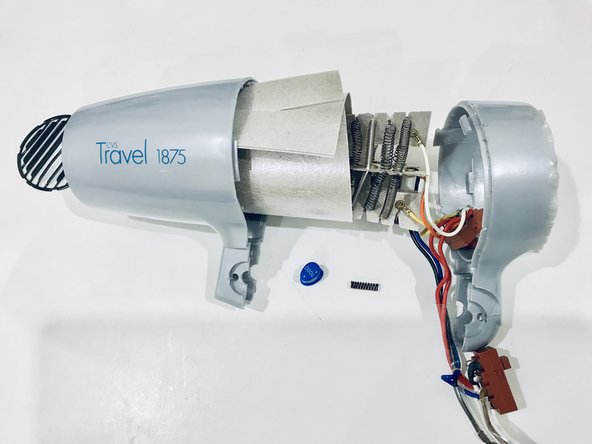
    • Separate the back and front case by using the 6.5mm flathead screwdriver.

  11. Model CVS124A Teardown: paso 11, imagen 1 de 2 Model CVS124A Teardown: paso 11, imagen 2 de 2
    • At this point you can pull the complete electronic sub assembly from the front case.

    • Coils

  12. Model CVS124A Teardown: paso 12, imagen 1 de 1
    • All the parts after the teardown.

任心怡

Miembro Desde 10/15/18

205 Reputación

1 Guía escrita

0 comentarios

Agregar Comentario

Ver Estadísticas:

Ultimas 24 horas: 1

Ultimos 7 días: 6

Ultimos 30 días: 7

Todo El Tiempo: 748