Introducción
The Magnavox Odyssey was the world's first home game console. The machine, designed by Ralph Baer (the father of video games), was released in 1972. This particular machine is the Odyssey 100 -- the immediate successor to that groundbreaking console. Join us as we take a journey back in time to 1975 and peek inside one of the great forefathers of the video game industry.
This system represented Magnavox' attempt to simplify a video game system into as few components as possible. As a result, the Odyssey 100 contained four integrated circuits and included on-board controls. The end result was one of the simplest consoles of all time.
Qué necesitas
-
-
The Magnavox Odyssey 100 was nothing short of awesome (for 1975):
-
Black & White graphics
-
Two games! (tennis and hockey)
-
Manual scoring
-
Three control knobs for each player
-
On-board "sound"
-
Here's some screen shots of tennis and hockey. Can you guess which one is which?
-
-
-
The Odyssey 100 had an extremely simple design. The controls include:
-
Control knobs (X, Y, and ball trajectory)
-
Manual scoreboard sliders
-
I/O and game select switches
-
Wall position and game speed knobs
-
That's quite the departure from today's DualShock 3 controller, which has two analog sticks, a d-pad, and 13 buttons.
-
Let's see what's inside...
-
-
-
-
... A cardboard [!] shield.
-
Apparently the Odyssey 100 does not have any user-serviceable parts inside. Only one way to find out...
-
At this point, the battery holder for six "C" cell batteries is visible.
-
The Odyssey 100 had the option of being powered by either an external wall adapter or by batteries.
-
Also visible at this point are the potentiometers used to adjust various parameters such as right wall position, goal position, and vertical/horizontal frequency. Who needs automatic adjustments anyway?
-
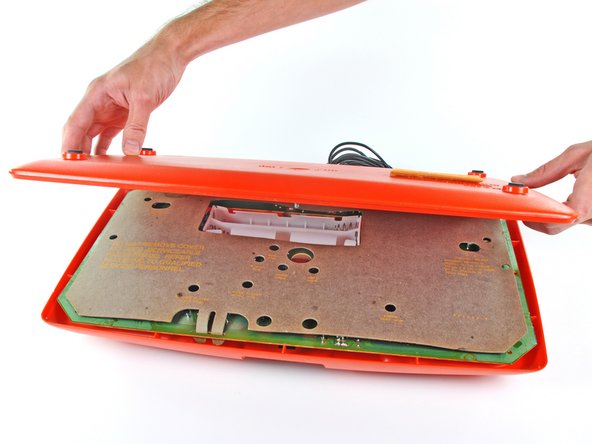
The cardboard shield can be easily removed to reveal the back of the board.
-
-
-
The back of the board is relatively featureless due to the use of through-hole components.
-
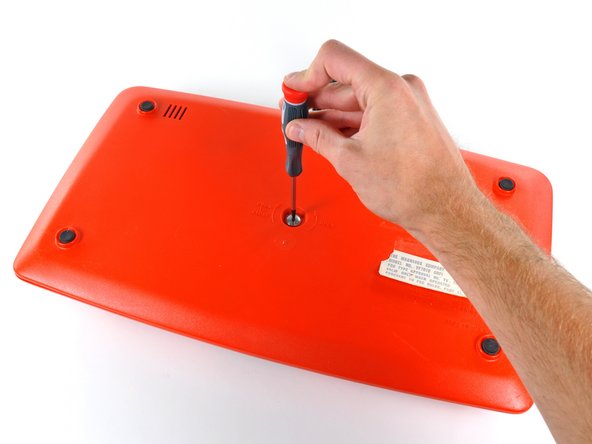
A couple hex-head screws firmly hold the board to the upper case. Apparently Magnavox didn't want it escaping from its home.
-
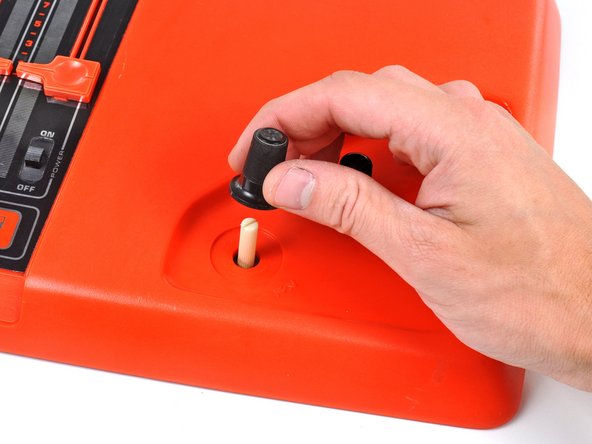
After pulling off the six control knobs, the upper case can be lifted right off the board.
-
-
-
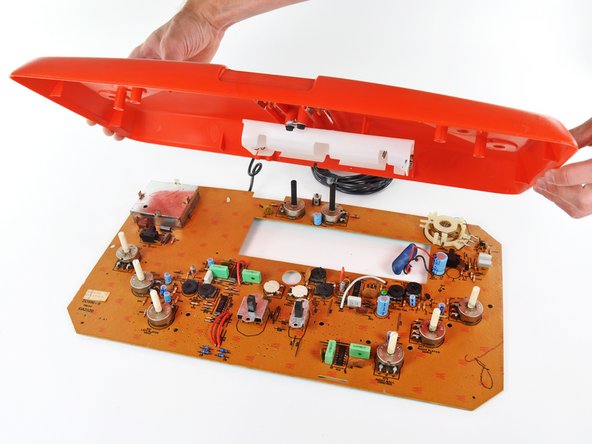
The board is interesting in that it is has a single layer of conductive traces connecting all the components. Contrast this to modern circuit boards, which can sometimes have eight [!] PCB layers.
-
The larger components on the board include:
-
RF modulator
-
Buzzer
-
ICs provided by Texas Instruments. These 16 pin DIPs are quite the departure from TI's OMAP 3630 found in the Droid 2. The logo is still just as cool, though.
-
-
-
It's also interesting to note that the Odyssey 100 utilized discrete circuitry. Magnavox had proposed a single chip design for the Odyssey 100, but wanted a device able to be released immediately even if Texas Instruments didn't deliver the chips on time. A single chip design would be one of the improvements found in the Odyssey 200.
-
-
-
In a matter of just seven steps, the the unbelievably-easy-to-disassemble Odyssey 100 remains torn asunder.
-
We haven't heard too many requests for repair parts for this console, but we do have a brand new game console parts store to help keep your (slightly more modern) consoles running.
-
Keep an eye on our teardown page or blog for a detailed look at another retro game console tomorrow!
-