Qué necesitas
-
Este paso está sin traducir. Ayuda a traducirlo
-
Before we begin the disassembly, these are the tools you will need. In order, these tools are: T-15 bit, T-20 bit, Phillips head screwdriver, flat head screwdriver, 1/4" drive socket driver, 1/4" drive socket wrench, and a pair of scissors.
-
-
Este paso está sin traducir. Ayuda a traducirlo
-
To prevent any injury, start by making sure the vacuum is unplugged and turned off.
-
Throughout the guide, the T-15 bit will be used for all screws unless otherwise notified in the step.
-
-
Este paso está sin traducir. Ayuda a traducirlo
-
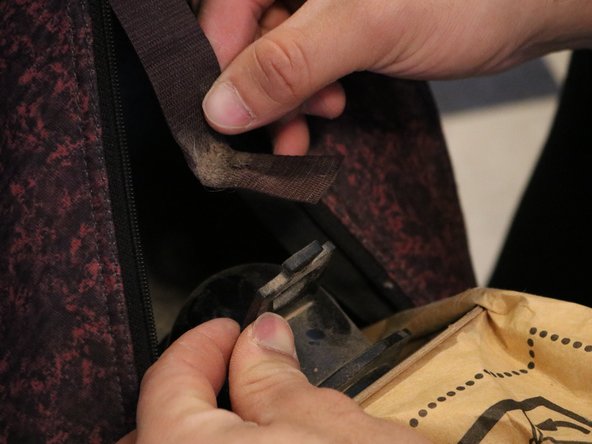
Pull rubber tab attached to recyclable bag off of adjoining plastic tab.
-
-
Este paso está sin traducir. Ayuda a traducirlo
-
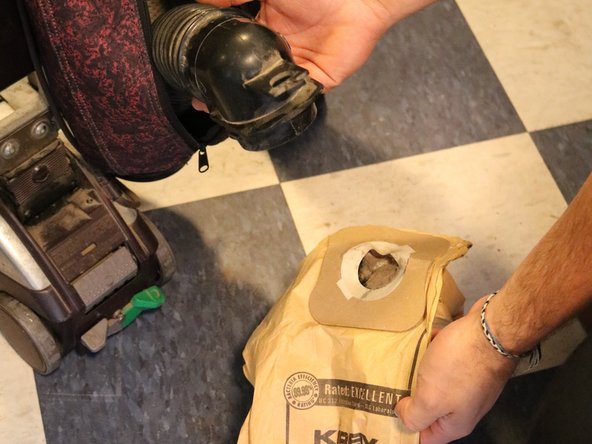
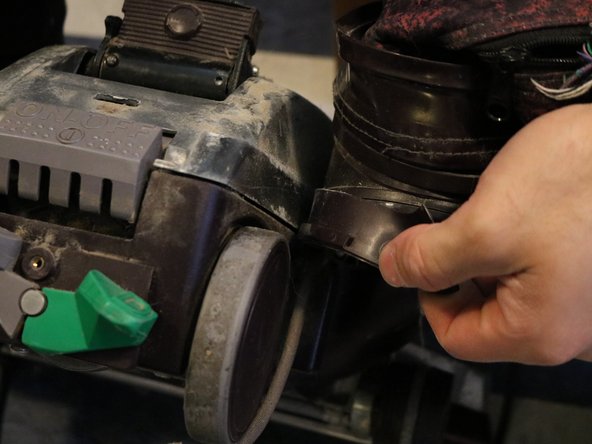
Remove recyclable bag completely by pulling the hose out of the back.
-
-
Este paso está sin traducir. Ayuda a traducirlo
-
Unclip the top of the dust bag by holding in the clip and pulling down on the bag.
-
-
Este paso está sin traducir. Ayuda a traducirlo
-
Twist the bottom of the bag counterclockwise and pull to fully remove from the vacuum.
-
-
Este paso está sin traducir. Ayuda a traducirlo
-
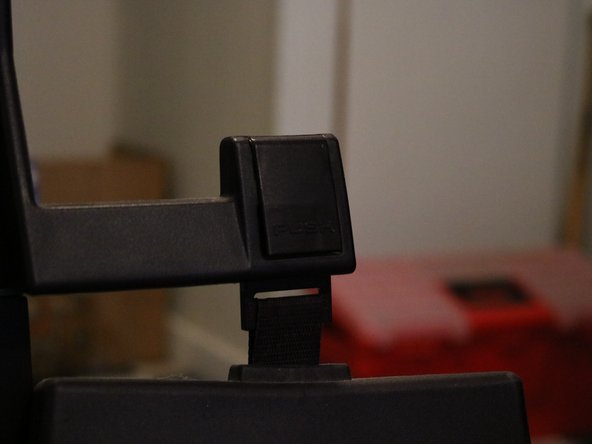
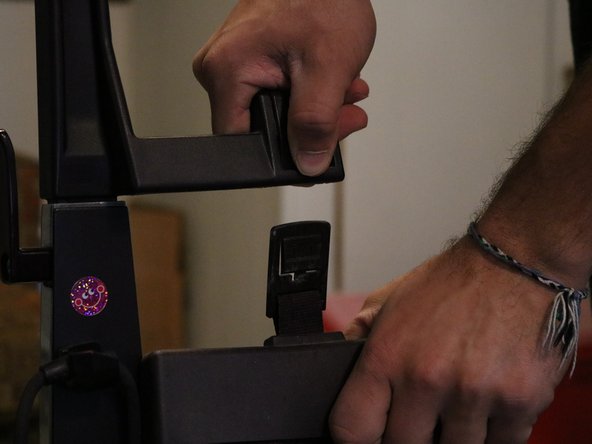
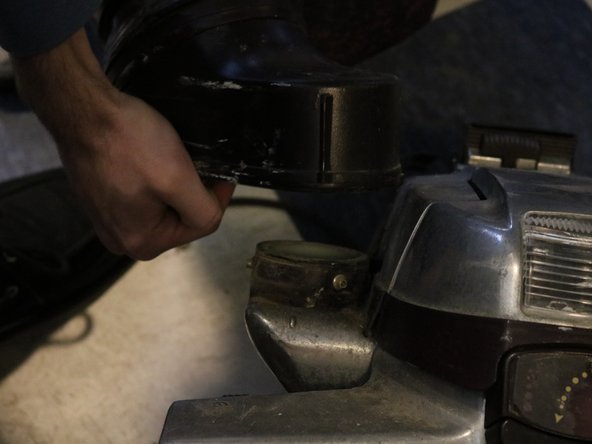
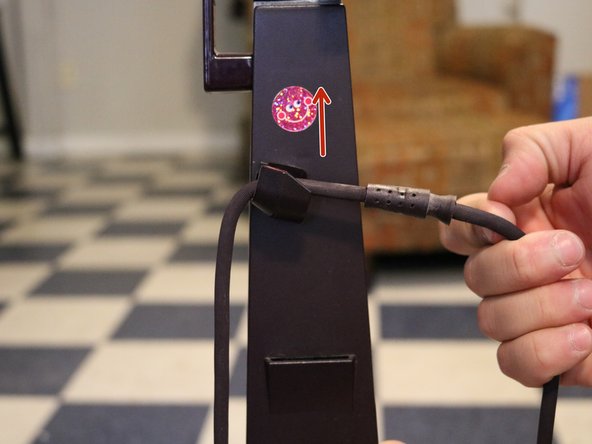
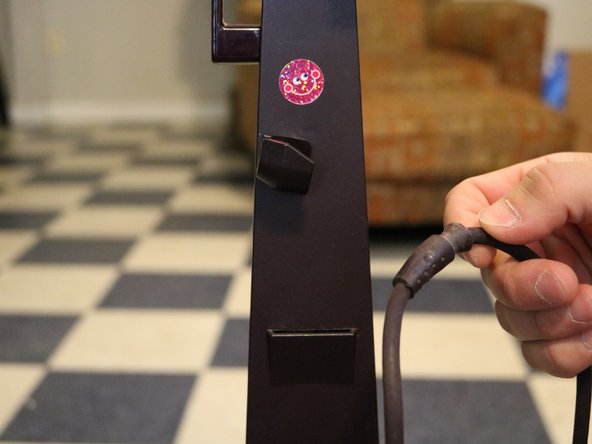
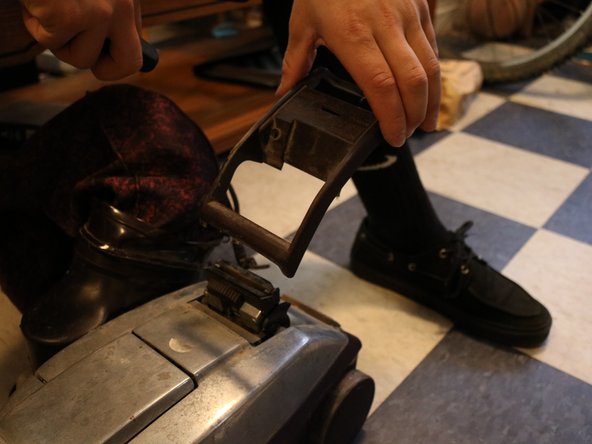
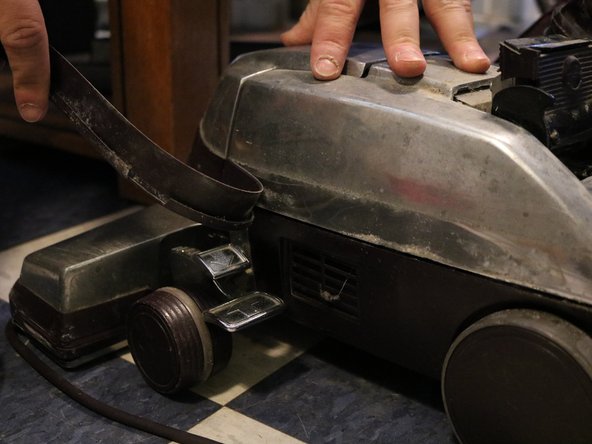
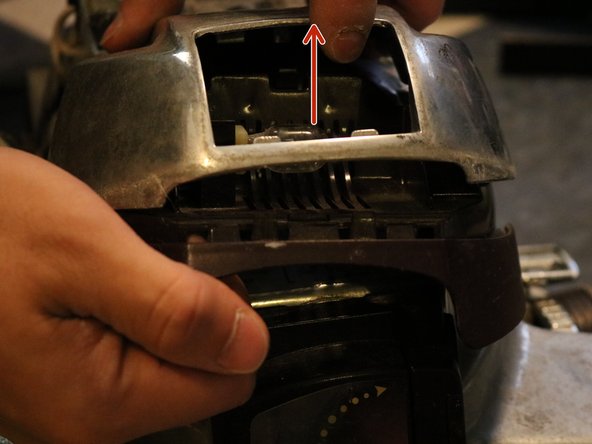
Remove the handle stem by pressing the button located at the bottom and pulling up on the stem.
-
-
Este paso está sin traducir. Ayuda a traducirlo
-
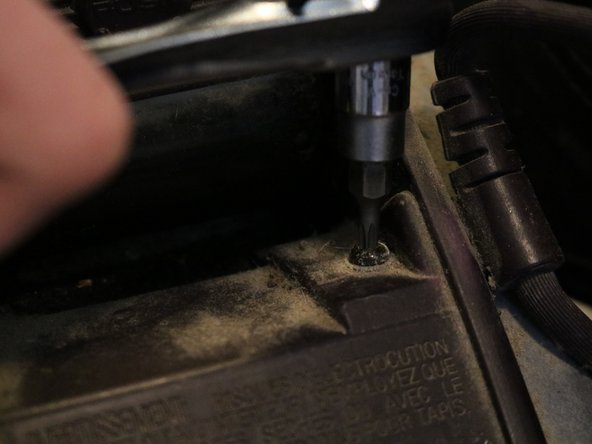
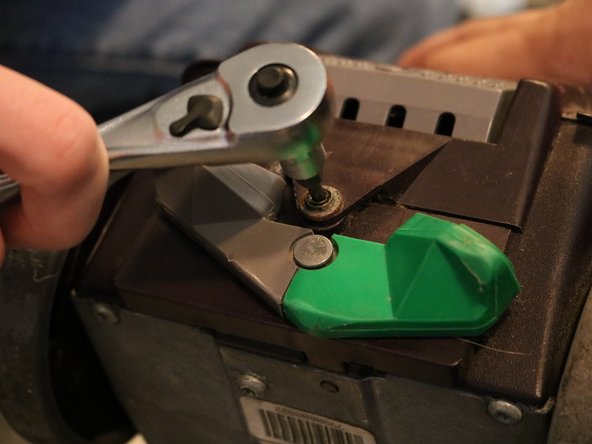
Unscrew the screw at the base of the vacuum using a T-15 socket.
-
Unscrew the screw at the back of the base of the vacuum.
-
-
Este paso está sin traducir. Ayuda a traducirlo
-
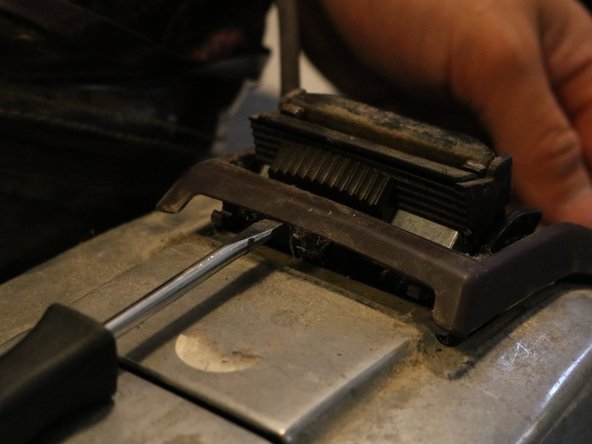
Remove the plastic covering on the back by using a flat head screw driver to carefully pry up the edges.
-
-
Este paso está sin traducir. Ayuda a traducirlo
-
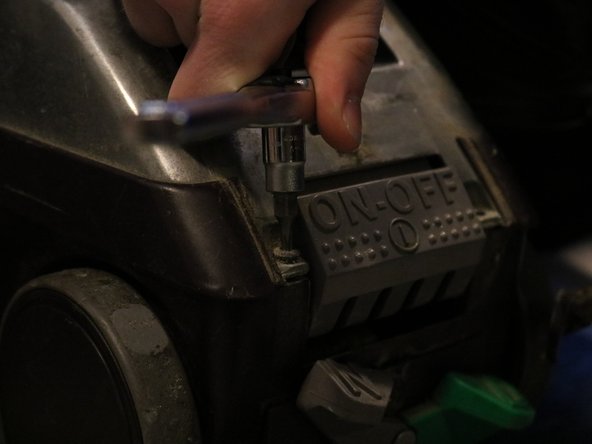
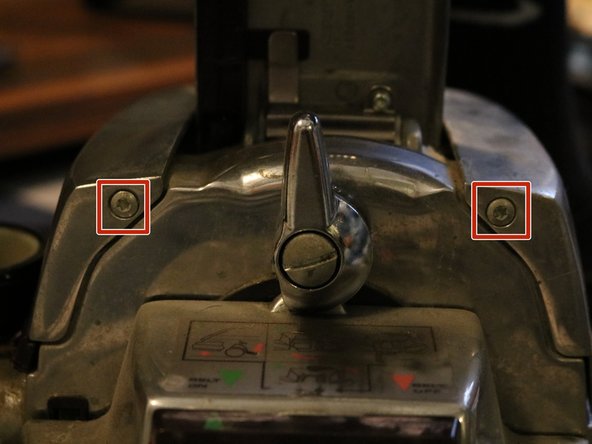
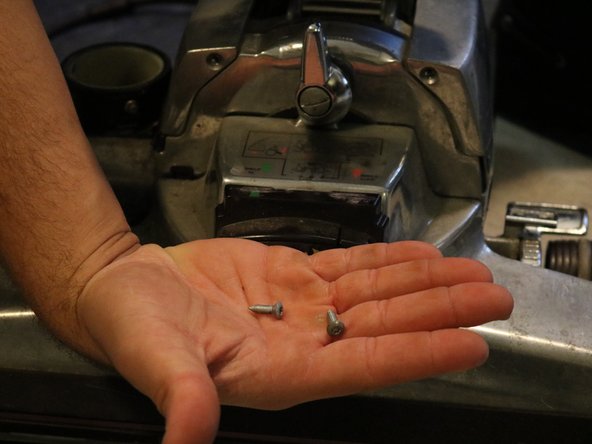
Unscrew both screws located next to the on/off switch using a T-15 socket.
-
-
-
Este paso está sin traducir. Ayuda a traducirlo
-
Pull the plastic lining around the bottom of the vacuum off.
-
-
Este paso está sin traducir. Ayuda a traducirlo
-
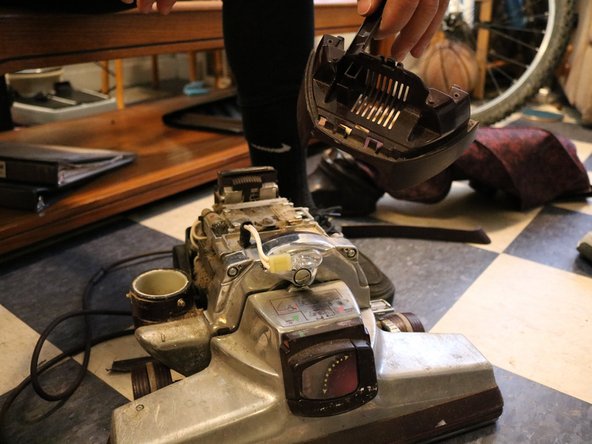
Open the front cover of the vacuum by pulling up from the bottom.
-
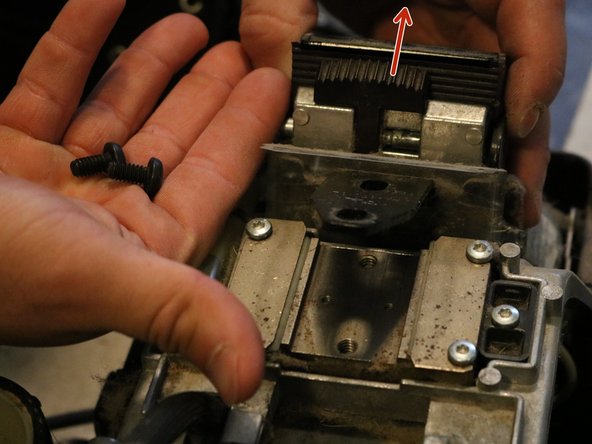
Unscrew both screws located inside at the top of the metal plate.
-
-
Este paso está sin traducir. Ayuda a traducirlo
-
Undo the screw on the bottom side of the front cover
-
Undo all the screws revealed on top when the metal plate has been removed
-
Pull up on the piece to remove
-
-
Este paso está sin traducir. Ayuda a traducirlo
-
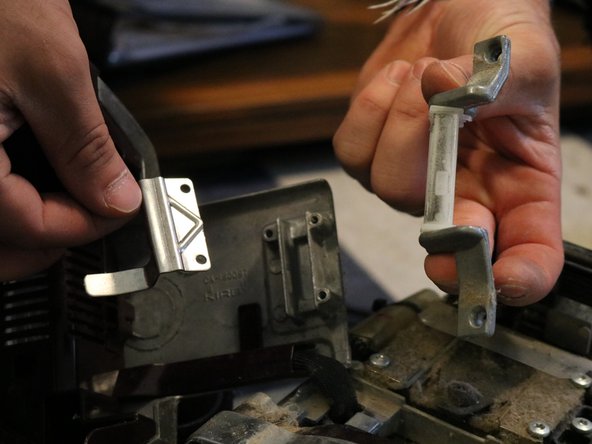
Unscrew the two screws located at the end of the piece removed in the previous step.
-
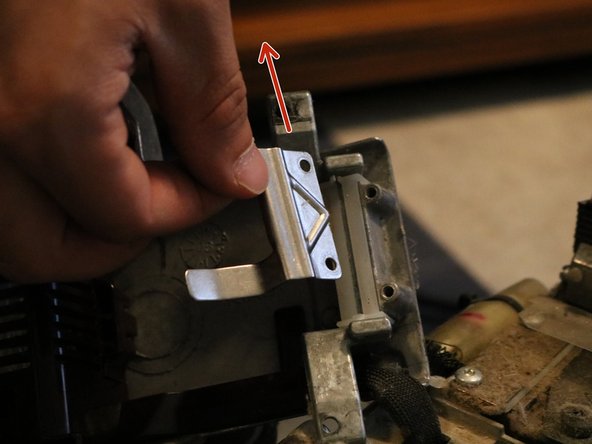
Pull up on the small metal piece to remove.
-
Pull up on the large metal piece now freed to remove.
-
-
Este paso está sin traducir. Ayuda a traducirlo
-
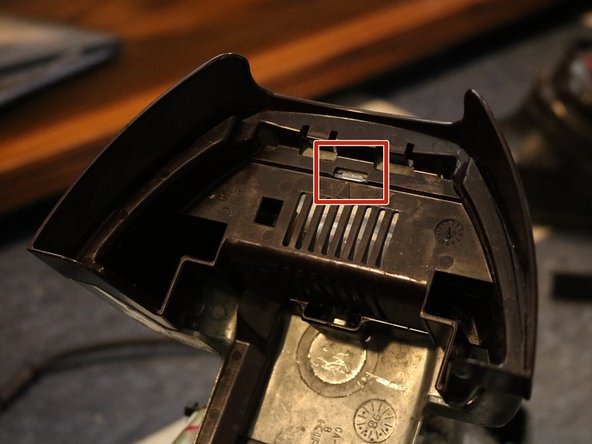
Push on the small plastic tab located at the top of the same part with a flat head
-
Pull lightly on the bulb cover to finish removing it
-
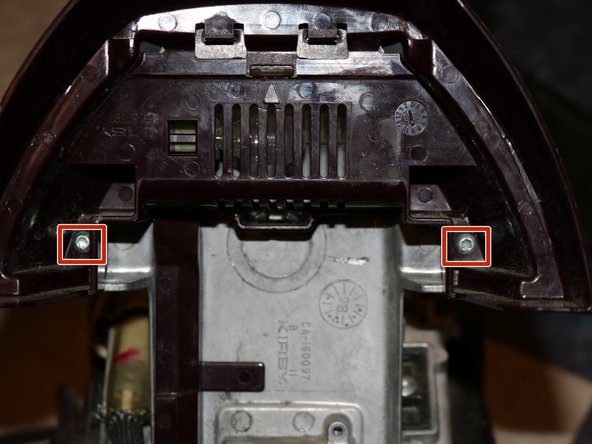
Unscrew the screws located inside the plastic holes.
-
Remove the metal cover by pulling up on it hard.
-
-
Este paso está sin traducir. Ayuda a traducirlo
-
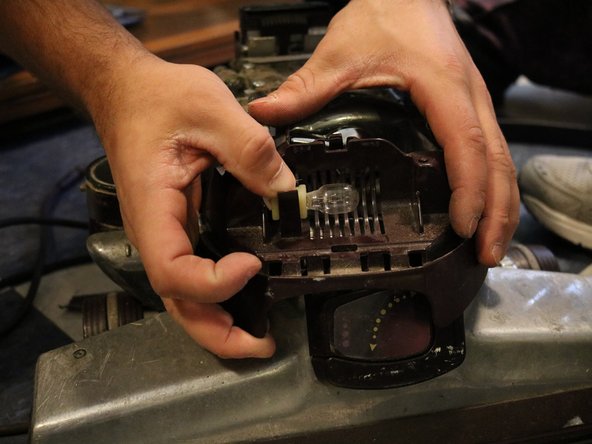
Remove the bulb from its clip by pulling up lightly
-
The plastic piece should now be free to remove from the vacuum.
-
-
Este paso está sin traducir. Ayuda a traducirlo
-
Undo the screws on the black plate located near the back of the vacuum using the T-20 bit.
-
Once the screws are removed, pull back on the plastic black tab and all attached parts will come off.
-
-
Este paso está sin traducir. Ayuda a traducirlo
-
Using the T-20 bit, undo the smaller screws located in the same area.
-
Multiple pieces are now lose and should be removed from the holder.
-
-
Este paso está sin traducir. Ayuda a traducirlo
-
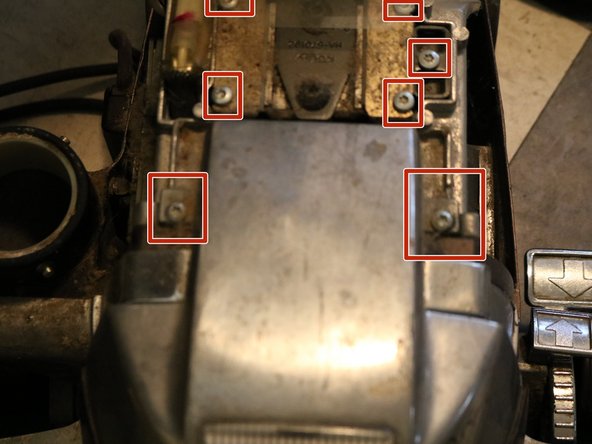
Switch back to the T-15 bit and undo the screws located at the bottom and top of the metal plate.
-
Pull up on the plate to remove but note it can not yet be fully removed due to the attached wires.
-
-
Este paso está sin traducir. Ayuda a traducirlo
-
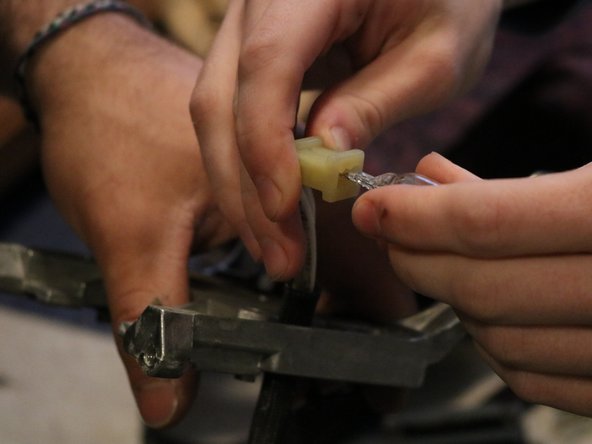
Cut zip ties that attach the wire to the plate.
-
Pull the light bulb out.
-
-
Este paso está sin traducir. Ayuda a traducirlo
-
Using a Phillip's head screwdriver, undo the screws on the backside of the vacuum
-
-
Este paso está sin traducir. Ayuda a traducirlo
-
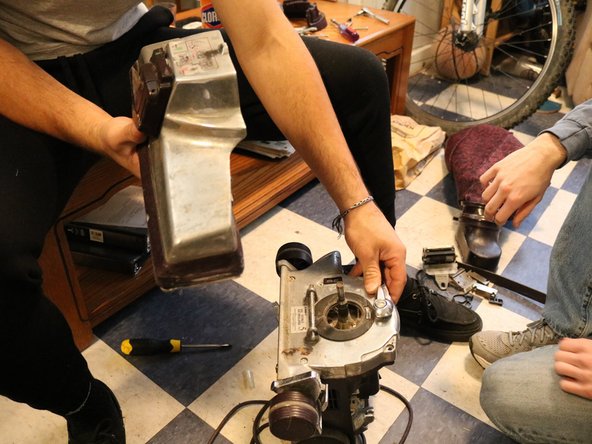
Using the T-15 bit, undo the screws on the front of the vacuum.
-
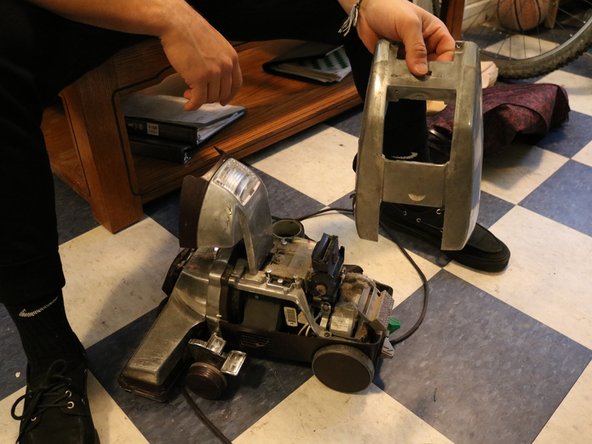
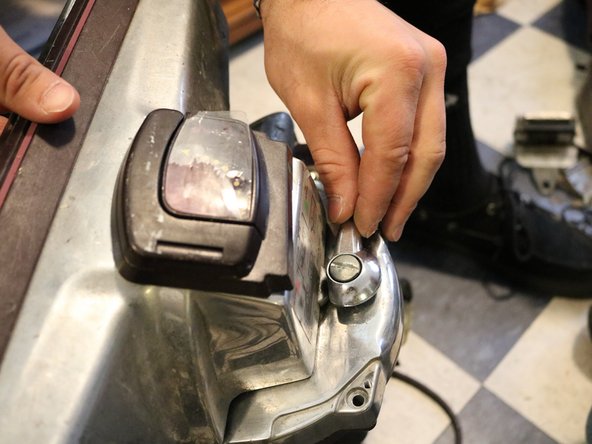
Twist the large knob on the front of the vacuum, and pull the entire front nose off. If it does not seem to easily come off, this just means there is a little bit of grease creating a seal in between the fibers of the vacuum.
-
-
Este paso está sin traducir. Ayuda a traducirlo
-
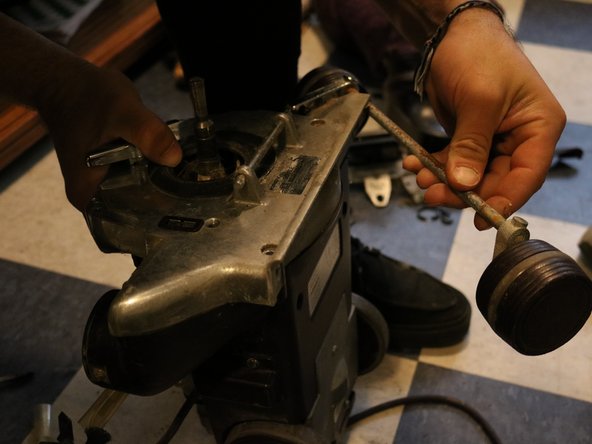
Undo screws on underside of the vacuum. These screws are the joint connection that are holding the wheels and axel to the vacuum.
-
Pull down on the wheels to pull off.
-
-
Este paso está sin traducir. Ayuda a traducirlo
-
Next, undo screws on metal part of the bottom using the T-20 socket bit
-
Pull off the on/off switch cover.
-
Pull down on the metal part on the back and the plastic switch should come out.
-
-
Este paso está sin traducir. Ayuda a traducirlo
-
Finish pulling the metal part and attached axles out. If the axels are in need of cleaning, simply clean the existing axels with a wet clothe and put them back into the vacuum. If the axels are in need of replacement, use the new parts you have obtained and place them back in the same place as before and screw them back to the vacuum.
-
-
Este paso está sin traducir. Ayuda a traducirlo
-
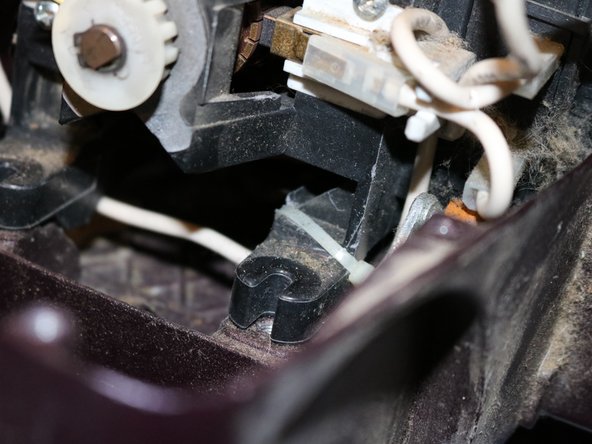
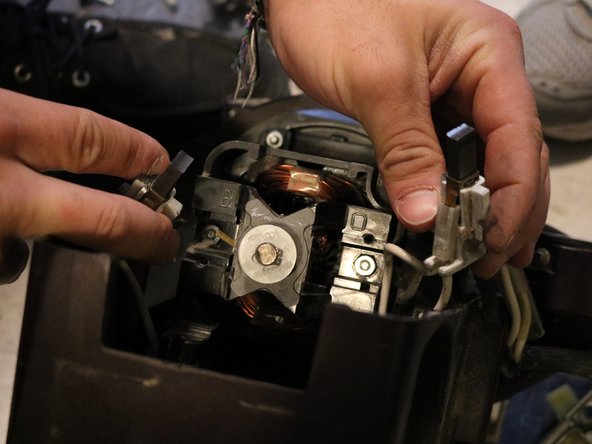
Undo the screws located on the bottom of the completely black piece of the vacuum. One will disconnect the wires you find while this step is being completed.
-
Cut the zip ties attaching all wires and detach the wires.
-
-
Este paso está sin traducir. Ayuda a traducirlo
-
Using the Phillips screwdriver, undo the two screws shown on the front of the black plate and pull out the wires being held within it, carefully.
-
-
Este paso está sin traducir. Ayuda a traducirlo
-
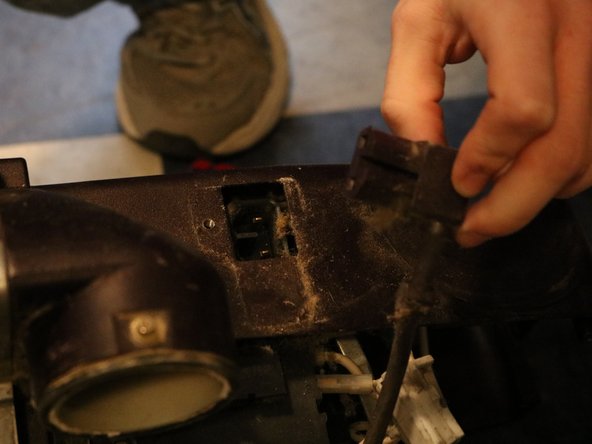
Next, undo the screw on the side of the vacuum shown. This will allow the plastic cover to detach from the system. Pull the plastic cover off.
-
This will allow you to unplug the electrical cord.
-
-
Este paso está sin traducir. Ayuda a traducirlo
-
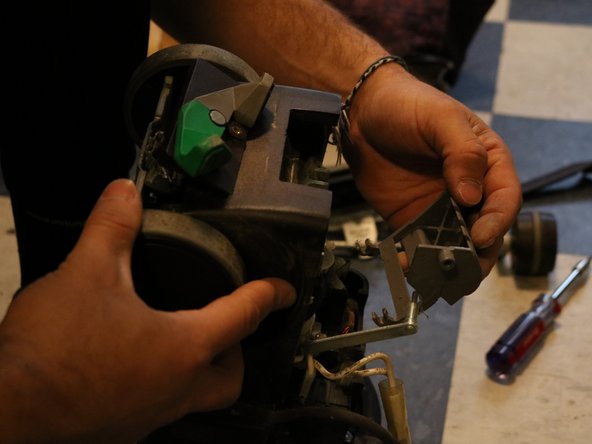
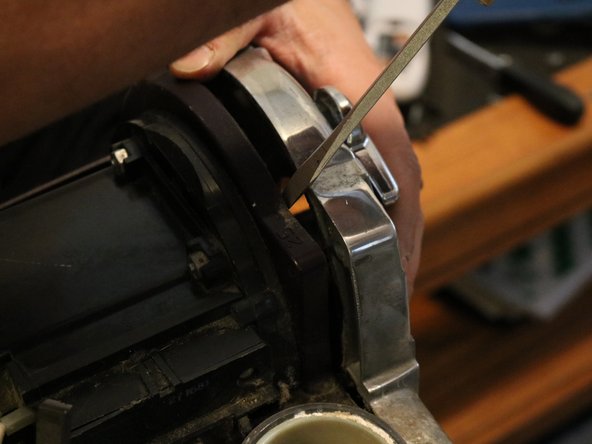
Use a flat head screwdriver to pry off the front metal plate.
-
-
Este paso está sin traducir. Ayuda a traducirlo
-
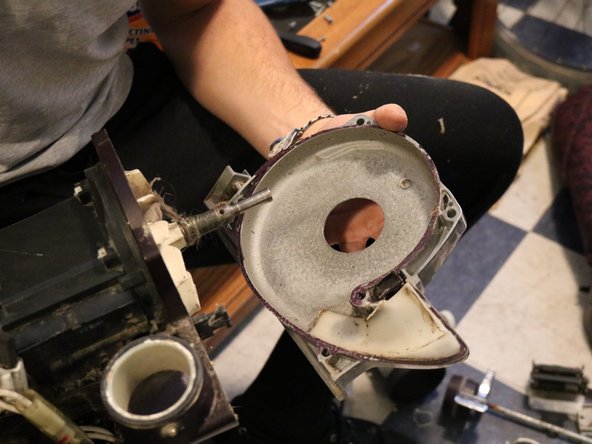
Undo the screws on plastic part on the bottom.
-
Disconnect all the wires to detach metal part.
-
-
Este paso está sin traducir. Ayuda a traducirlo
-
Your Kirby G5 Micron Magic Vacuum is now disassembled.
-