Saltar al contenido principal

Qué necesitas

Este desmontaje no es una guía de reparación. Para reparar tu KORG Monotron, utiliza nuestros manuales de servicio .

  1. KORG Monotron Teardown, The KORG Monotron: paso 1, imagen 1 de 3 KORG Monotron Teardown, The KORG Monotron: paso 1, imagen 2 de 3 KORG Monotron Teardown, The KORG Monotron: paso 1, imagen 3 de 3
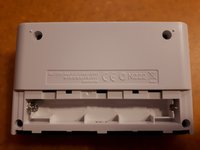
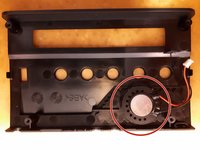
  2. KORG Monotron Teardown, Opening: paso 2, imagen 1 de 3 KORG Monotron Teardown, Opening: paso 2, imagen 2 de 3 KORG Monotron Teardown, Opening: paso 2, imagen 3 de 3
    • Only 4 PH1 screws

    • Note: Made in Japan !

    • Take care at the cables between two sides

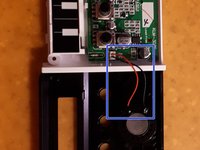
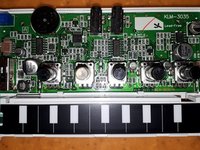
  3. KORG Monotron Teardown, Remove the connectors: paso 3, imagen 1 de 3 KORG Monotron Teardown, Remove the connectors: paso 3, imagen 2 de 3 KORG Monotron Teardown, Remove the connectors: paso 3, imagen 3 de 3
    • Remove '''the flat cable''' from the ribbon controller to the pcb (pull with care using hands)

    • Remove the 2 ways connector for the speaker. Use hands (with care)

    • Take max care to the speaker controller. Easy to remove but difficult to re insert

  4. KORG Monotron Teardown, Parts: paso 4, imagen 1 de 2 KORG Monotron Teardown, Parts: paso 4, imagen 2 de 2
    • Loudspeaker is glued to the enclosure

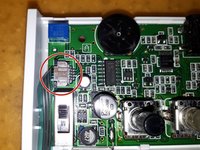
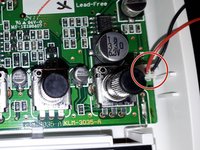
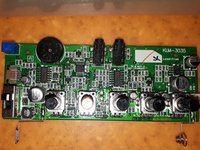
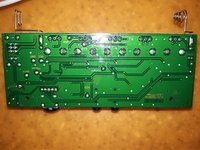
  5. KORG Monotron Teardown, Board: paso 5, imagen 1 de 2 KORG Monotron Teardown, Board: paso 5, imagen 2 de 2
    • Here a really good image of the Monotron - Courtesy of Tim Stinchcombe

  6. KORG Monotron Teardown: paso 6, imagen 1 de 1
    • Full IC Identification:

    • You may need to enlarge it to view the text.

Carlo Romagnoli

Miembro Desde 02/14/18

310 Reputación

2 Guías creadas

0 comentarios

Agregar Comentario

Ver Estadísticas:

Ultimas 24 horas: 0

Ultimos 7 días: 16

Ultimos 30 días: 45

Todo El Tiempo: 3,170