Saltar al contenido principal

Qué necesitas

Este desmontaje no es una guía de reparación. Para reparar tu HP Compaq 8200 Elite, utiliza nuestros manuales de servicio .

  1. HP Compaq 8200 Elite Teardown, Remove the cover: paso 1, imagen 1 de 3 HP Compaq 8200 Elite Teardown, Remove the cover: paso 1, imagen 2 de 3 HP Compaq 8200 Elite Teardown, Remove the cover: paso 1, imagen 3 de 3
    • There are no screws to remove, simply pull the handle on the cover towards you

    • It is recommended that you do this with the PC flat on the floor

  2. HP Compaq 8200 Elite Teardown, Remove the front cover: paso 2, imagen 1 de 3 HP Compaq 8200 Elite Teardown, Remove the front cover: paso 2, imagen 2 de 3 HP Compaq 8200 Elite Teardown, Remove the front cover: paso 2, imagen 3 de 3
    • There are 3 labelled tabs

    • Pull gently upward to release them

  3. HP Compaq 8200 Elite Teardown, Remove the CD-ROM: paso 3, imagen 1 de 3 HP Compaq 8200 Elite Teardown, Remove the CD-ROM: paso 3, imagen 2 de 3 HP Compaq 8200 Elite Teardown, Remove the CD-ROM: paso 3, imagen 3 de 3
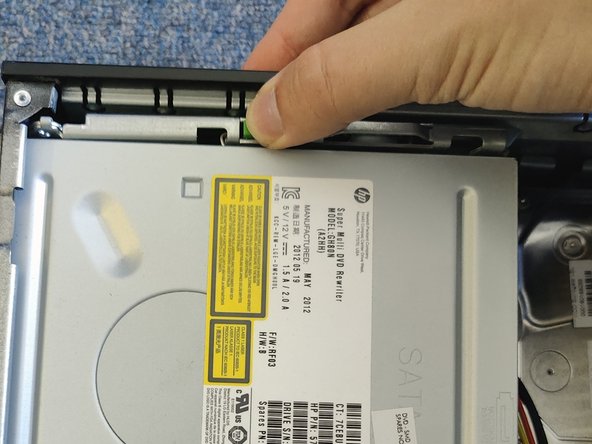
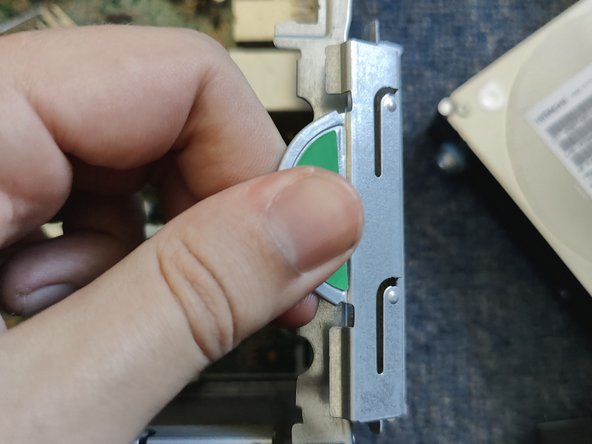
    • Press down on the green button

    • Pull the drive backwards until you hear a small click, then raise it out of the caddy.

  4. HP Compaq 8200 Elite Teardown, Raise the drive caddy: paso 4, imagen 1 de 2 HP Compaq 8200 Elite Teardown, Raise the drive caddy: paso 4, imagen 2 de 2
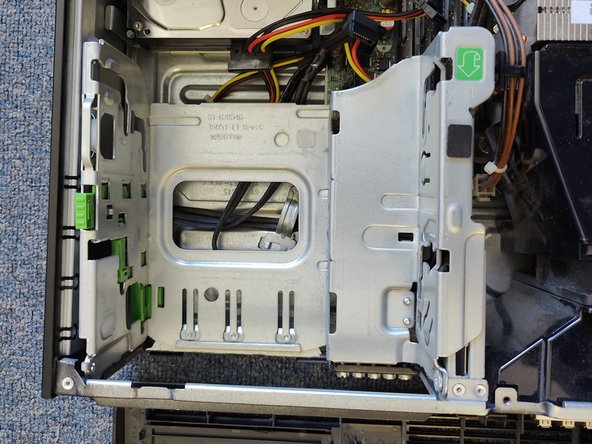
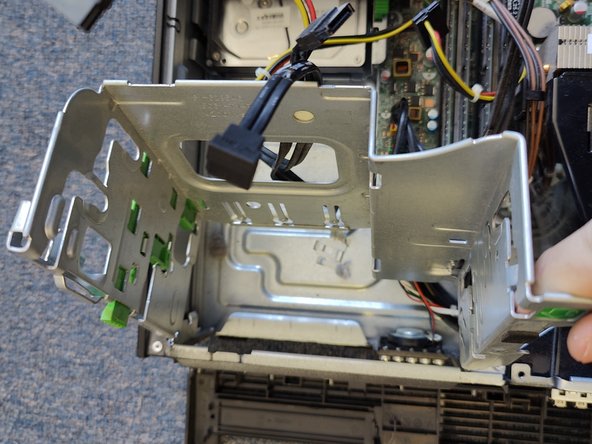
    • The drive caddy can be raised to allow access to the 3.5" drive bay below the CD-ROM

    • You don't have to remove the CD-ROM to do this.

    • This makes it easier to access the next 3.5" bay, too.

  5. HP Compaq 8200 Elite Teardown, Remove the 3.5" Drive: paso 5, imagen 1 de 3 HP Compaq 8200 Elite Teardown, Remove the 3.5" Drive: paso 5, imagen 2 de 3 HP Compaq 8200 Elite Teardown, Remove the 3.5" Drive: paso 5, imagen 3 de 3
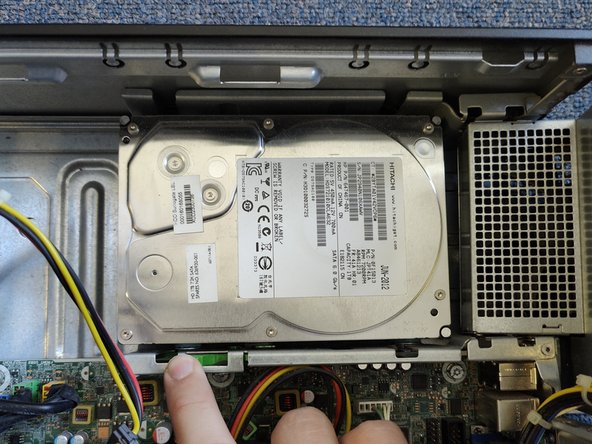
    • The power supply is hinged, and swings away to reveal a 3.5" bay below.

    • As with the CD-ROM, press the green button to release the drive.

    • Pull back then up to remove.

    • Depending on your configuration, there may not be a drive in this bay.

  6. HP Compaq 8200 Elite Teardown, Access the PCI-E slots: paso 6, imagen 1 de 3 HP Compaq 8200 Elite Teardown, Access the PCI-E slots: paso 6, imagen 2 de 3 HP Compaq 8200 Elite Teardown, Access the PCI-E slots: paso 6, imagen 3 de 3
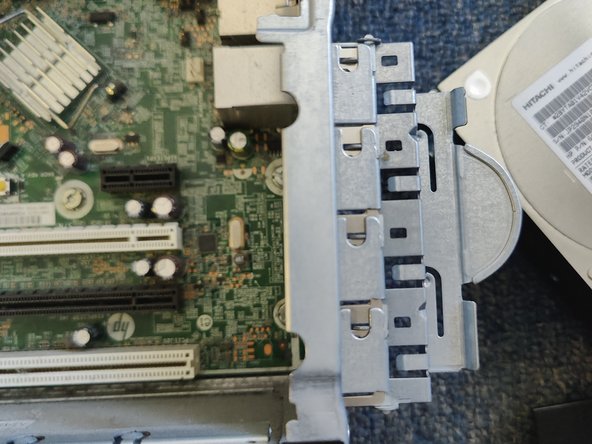
    • In the bottom-right corner, there is a tab

    • Lifting this up allows screw-free installation of PCI-E cards.

  7. HP Compaq 8200 Elite Teardown, Remove the fan shroud: paso 7, imagen 1 de 3 HP Compaq 8200 Elite Teardown, Remove the fan shroud: paso 7, imagen 2 de 3 HP Compaq 8200 Elite Teardown, Remove the fan shroud: paso 7, imagen 3 de 3
    • Make sure to unclip the cables routed through the shroud before removing it.

    • Only a very minor amount of force is required to remove the shroud.

    • This will allow you to replace the CPU heatsink or fan.

  8. HP Compaq 8200 Elite Teardown, Points of interest: paso 8, imagen 1 de 3 HP Compaq 8200 Elite Teardown, Points of interest: paso 8, imagen 2 de 3 HP Compaq 8200 Elite Teardown, Points of interest: paso 8, imagen 3 de 3
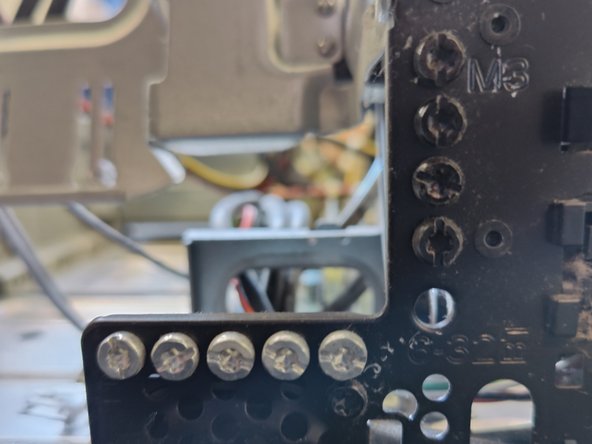
    • This workstation comes with spare Torx screws.

    • 5 Silver, 5 Black

    • Mine is missing one

    • These are also bitted for a flathead, but I had no luck actually unscrewing with one, so it's not recommended.

    • They are screwed into the chassis under the front cover

    • All screws in this device are Torx TR20. Ensure you have the correct bits before attempting board replacements

Darohan

Miembro Desde 05/07/23

283 Reputación

1 Guía escrita

3 comentarios

I want this (pcb)motherboard please show amount

Manoj subhash narwade - Contestar

i accadentally blew it up

Cosmo - Contestar

thanks i needed this<3

Vega Star - Contestar

Agregar Comentario

Ver Estadísticas:

Ultimas 24 horas: 11

Ultimos 7 días: 37

Ultimos 30 días: 182

Todo El Tiempo: 2,569