Saltar al contenido principal

Qué necesitas

Este desmontaje no es una guía de reparación. Para reparar tu Franklin MWD-460A, utiliza nuestros manuales de servicio .

  1. Franklin MWD-460A Teardown, Fully Assembled: paso 1, imagen 1 de 2 Franklin MWD-460A Teardown, Fully Assembled: paso 1, imagen 2 de 2
    • Here is the fully assembled Franklin MWD-460A Electronic Dictionary.

  2. Franklin MWD-460A Teardown, Battery Compartment: paso 2, imagen 1 de 3 Franklin MWD-460A Teardown, Battery Compartment: paso 2, imagen 2 de 3 Franklin MWD-460A Teardown, Battery Compartment: paso 2, imagen 3 de 3
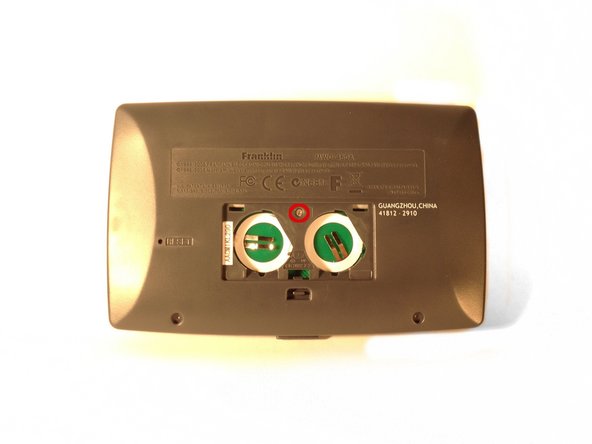
    • On the back of the case, locate the battery compartment, its cover, two grooves, and the tab (which locks the cover in place).

    • Release the cover by pulling down on the tab with a fingernail.

    • While holding the tab down, insert the opening tool into one of the grooves and gently pry the cover off.

  3. Franklin MWD-460A Teardown, Separating the Panels Part 1: paso 3, imagen 1 de 3 Franklin MWD-460A Teardown, Separating the Panels Part 1: paso 3, imagen 2 de 3 Franklin MWD-460A Teardown, Separating the Panels Part 1: paso 3, imagen 3 de 3
    • Locate the battery grooves.

    • Remove the batteries by inserting the prying tool into the grooves (sliding it underneath the batteries).

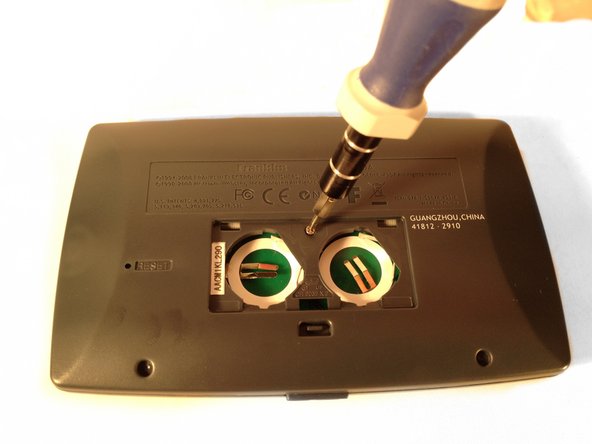
    • Locate the one screw inside the battery compartment, loosen it, and remove it.

  4. Franklin MWD-460A Teardown, Separating the Panels Part 2: paso 4, imagen 1 de 3 Franklin MWD-460A Teardown, Separating the Panels Part 2: paso 4, imagen 2 de 3 Franklin MWD-460A Teardown, Separating the Panels Part 2: paso 4, imagen 3 de 3
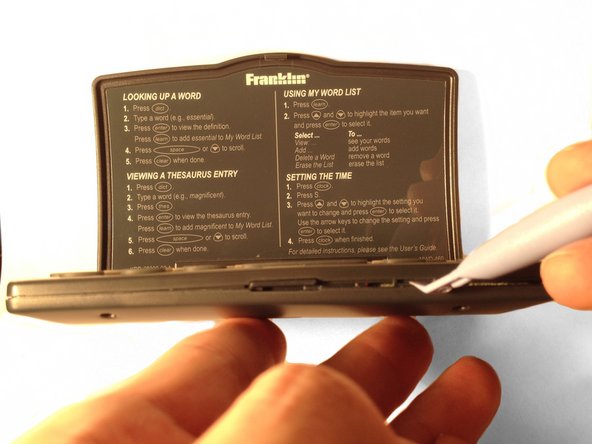
    • Locate the six tabs holding the two panels together along the sides.

    • Insert the prying tool into each of the six grooves and gently separate each tab from its insert on the other panel.

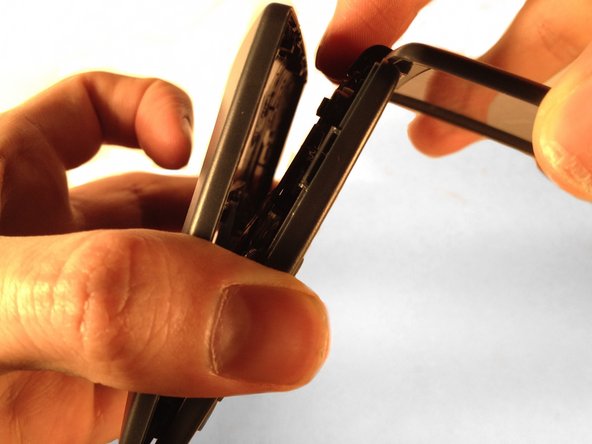
    • Finally, separate the panels from one another.

  5. Franklin MWD-460A Teardown, Circuit Boards and Keypads Part 1: paso 5, imagen 1 de 3 Franklin MWD-460A Teardown, Circuit Boards and Keypads Part 1: paso 5, imagen 2 de 3 Franklin MWD-460A Teardown, Circuit Boards and Keypads Part 1: paso 5, imagen 3 de 3
    • Locate the three screws holding the upper circuit board in place.

    • Loosen and remove the three screws.

    • The screw in the top right corner is also holding a tab in place so remember where it goes.

  6. Franklin MWD-460A Teardown, Circuit Boards and Keypads Part 1 Continued: paso 6, imagen 1 de 1
    • Gently lift the upper circuit board to locate the up/down keypad and remove it.

    • Be careful when moving the upper circuit board as it's attached to the LCD screen and the lower circuit board.

  7. Franklin MWD-460A Teardown, Circuit Boards and Keypads Part 2: paso 7, imagen 1 de 1
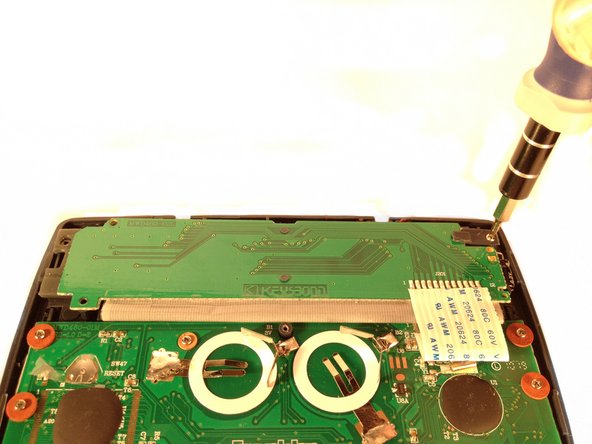
    • Locate the eight screws holding the lower circuit board in place.

    • Gently pull up on the tape to expose the eighth screw.

    • Loosen and remove the eight screws along with their washers.

  8. Franklin MWD-460A Teardown, Circuit Boards and Keypads Part 3: paso 8, imagen 1 de 2 Franklin MWD-460A Teardown, Circuit Boards and Keypads Part 3: paso 8, imagen 2 de 2
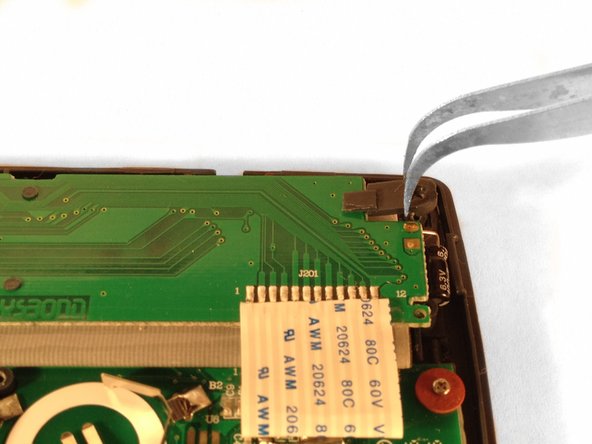
    • Gently lift the two circuit boards (along with the attached LCD screen) away from their case.

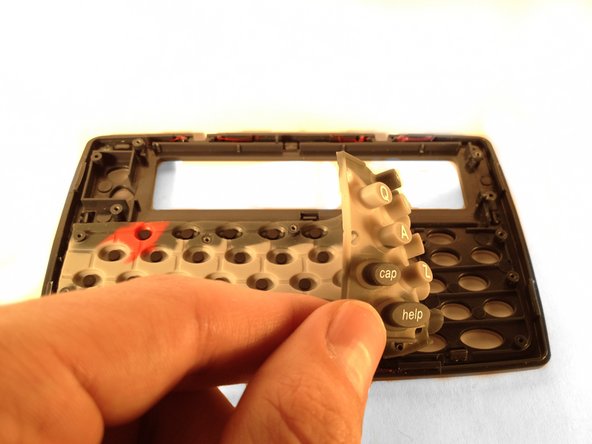
    • Now peel the lower keypad from its case.

  9. Franklin MWD-460A Teardown, Full View of Disassembly: paso 9, imagen 1 de 1
    • Here is a full view of the disassembled Franklin MWD-460A Electronic Dictionary.

Chris L

Miembro Desde 12/17/14

1,522 Reputación

3 Guías creadas

Un comentario

How can I fix the screen? The letters are so faded. :(

Paola Paniagua - Contestar

Agregar Comentario

Ver Estadísticas:

Ultimas 24 horas: 0

Ultimos 7 días: 5

Ultimos 30 días: 12

Todo El Tiempo: 1,168