Saltar al contenido principal

Qué necesitas

Este desmontaje no es una guía de reparación. Para reparar tu Space Heater, utiliza nuestros manuales de servicio .

  1. Essential Home HC-409 Teardown, Removed protective grill: paso 1, imagen 1 de 3 Essential Home HC-409 Teardown, Removed protective grill: paso 1, imagen 2 de 3 Essential Home HC-409 Teardown, Removed protective grill: paso 1, imagen 3 de 3
    • Remove the grill from corner to corner.

  2. Essential Home HC-409 Teardown, Unscrewed the four screws in the front of the heater: paso 2, imagen 1 de 2 Essential Home HC-409 Teardown, Unscrewed the four screws in the front of the heater: paso 2, imagen 2 de 2
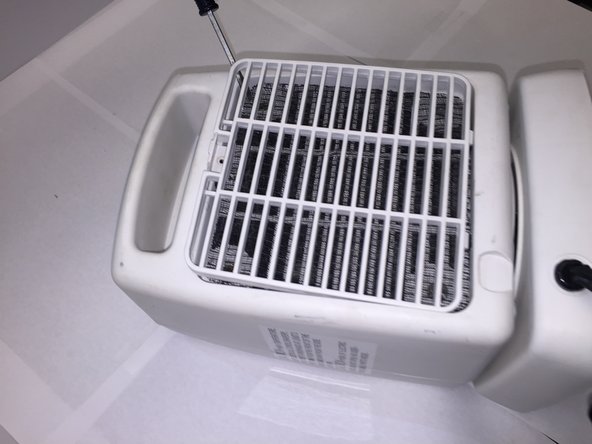
    • Carefully remove the screws and place them aside.

  3. Essential Home HC-409 Teardown, Removed filter cover on the back of the heater: paso 3, imagen 1 de 3 Essential Home HC-409 Teardown, Removed filter cover on the back of the heater: paso 3, imagen 2 de 3 Essential Home HC-409 Teardown, Removed filter cover on the back of the heater: paso 3, imagen 3 de 3
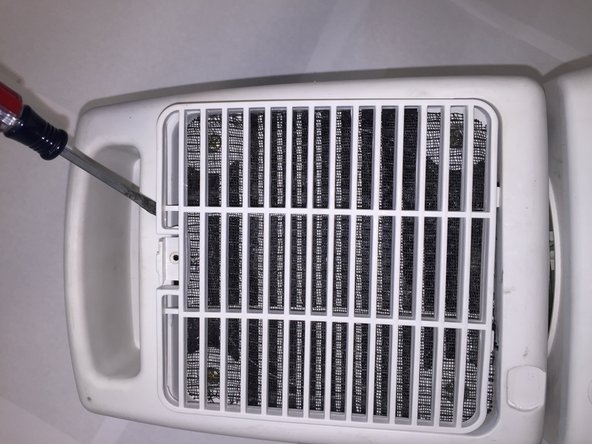
    • As seen in the pictures, set the screwdriver on the edge of the cover and pry it out.

  4. Essential Home HC-409 Teardown, Remove safety sticker: paso 4, imagen 1 de 2 Essential Home HC-409 Teardown, Remove safety sticker: paso 4, imagen 2 de 2
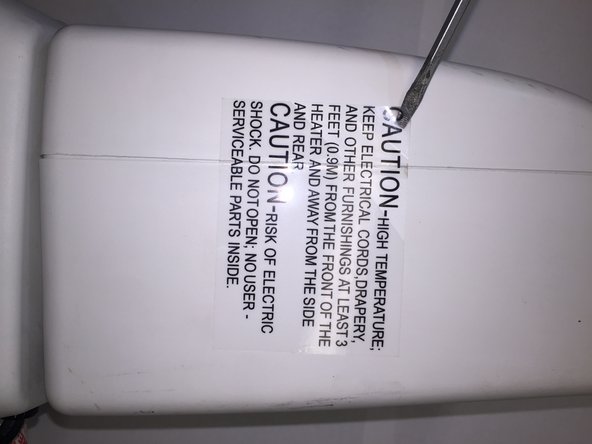
    • Remove sticker in order to open the plastic casing of the heater.

  5. Essential Home HC-409 Teardown, Pry the product in half: paso 5, imagen 1 de 2 Essential Home HC-409 Teardown, Pry the product in half: paso 5, imagen 2 de 2
    • Slowly and carefully pry the plastic casing.

  6. Essential Home HC-409 Teardown, Remove the switch: paso 6, imagen 1 de 2 Essential Home HC-409 Teardown, Remove the switch: paso 6, imagen 2 de 2
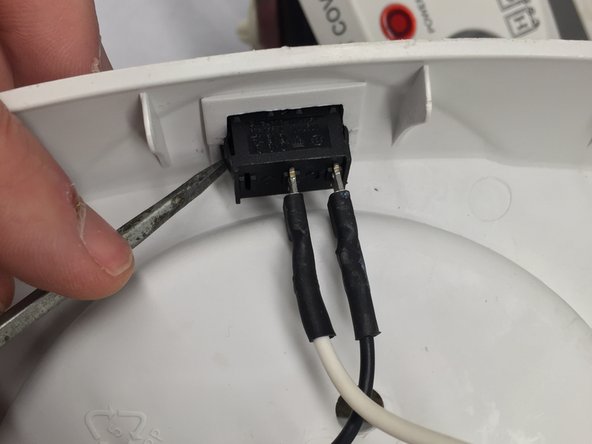
    • Apply pressure onto the sides of the switch while pushing it outwards.

  7. Essential Home HC-409 Teardown, Remove fan: paso 7, imagen 1 de 3 Essential Home HC-409 Teardown, Remove fan: paso 7, imagen 2 de 3 Essential Home HC-409 Teardown, Remove fan: paso 7, imagen 3 de 3
    • Unscrew the four screws located in the rear of the device. Remove the fan.

Garland Poon

Miembro Desde 04/03/12

126 Reputación

1 Guía escrita

Equipo

Cal Poly, Team 14-8, Forte Spring 2012 Miembro de Cal Poly, Team 14-8, Forte Spring 2012

CPSU-FORTE-S12S14G8

5 Miembros

17 Guías creadas

Un comentario

I keep having problems with that little part that looks like a pen cap - white plastic. Is it a connector ou a fuse?

Cristina S - Contestar

Agregar Comentario

Ver Estadísticas:

Ultimas 24 horas: 0

Ultimos 7 días: 9

Ultimos 30 días: 16

Todo El Tiempo: 1,465