Saltar al contenido principal

Qué necesitas

Este desmontaje no es una guía de reparación. Para reparar tu Digital Caliper, utiliza nuestros manuales de servicio .

  1. Digital Caliper Teardown, Remove Battery: paso 1, imagen 1 de 2 Digital Caliper Teardown, Remove Battery: paso 1, imagen 2 de 2
    • Slide the battery compartment open.

    • Pull out the battery.

  2. Digital Caliper Teardown, Screw out the housing: paso 2, imagen 1 de 2 Digital Caliper Teardown, Screw out the housing: paso 2, imagen 2 de 2
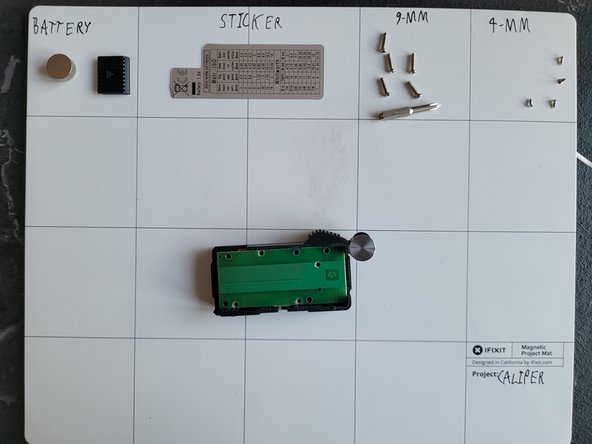
    • Remove the sticker and place it on a clean sticker-friendly surface.

    • Screw out the 9-mm screws using the J0 Bit.

  3. Digital Caliper Teardown, Housing dissasembly: paso 3, imagen 1 de 3 Digital Caliper Teardown, Housing dissasembly: paso 3, imagen 2 de 3 Digital Caliper Teardown, Housing dissasembly: paso 3, imagen 3 de 3
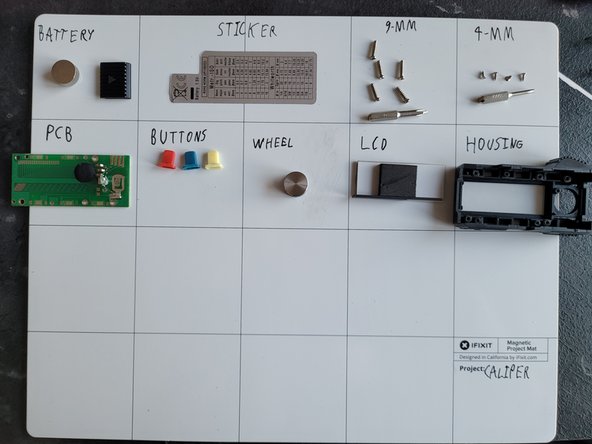
    • Screw out the 4-mm screws holding the PCB in place. Use the J000 bit.

    • Now take out all the parts from the housing.

  4. Digital Caliper Teardown, Body: paso 4, imagen 1 de 2 Digital Caliper Teardown, Body: paso 4, imagen 2 de 2
    • Remove the right/bottom 6mm screws.

    • Then the last 2 and the tightener screws. So you can pull it apart.

Sebastian

Miembro Desde 12/02/21

532 Reputación

2 Guías creadas

0 comentarios

Agregar Comentario

Ver Estadísticas:

Ultimas 24 horas: 0

Ultimos 7 días: 32

Ultimos 30 días: 110

Todo El Tiempo: 1,486