Saltar al contenido principal

Qué necesitas

Este desmontaje no es una guía de reparación. Para reparar tu D-link DI-524, utiliza nuestros manuales de servicio .

  1. D-link DI-524 Teardown, Overview: paso 1, imagen 1 de 3 D-link DI-524 Teardown, Overview: paso 1, imagen 2 de 3 D-link DI-524 Teardown, Overview: paso 1, imagen 3 de 3
    • This is the router, in all of its 12 year old glory.

  2. D-link DI-524 Teardown, Opening it up: paso 2, imagen 1 de 3 D-link DI-524 Teardown, Opening it up: paso 2, imagen 2 de 3 D-link DI-524 Teardown, Opening it up: paso 2, imagen 3 de 3
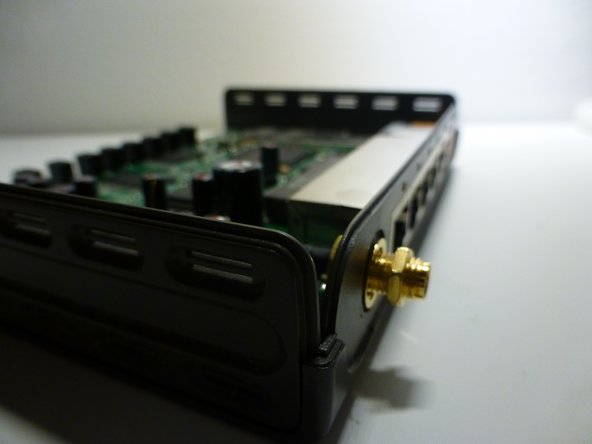
    • First of, remove the antenna by simply unscrewing it.

    • With that done, flip the router over and remove the 2 screws marked out in orange (pic 2).

    • Then simply flip the router back over and lift up the top plastic.

  3. D-link DI-524 Teardown, Removing the board: paso 3, imagen 1 de 3 D-link DI-524 Teardown, Removing the board: paso 3, imagen 2 de 3 D-link DI-524 Teardown, Removing the board: paso 3, imagen 3 de 3
    • With the plastic removed, we get a look at the board itself. Now remove the two other screws at the back (also marked out in orange).

    • Before being able to lift the whole board out, you will also have to unscrew a nut where the antenna was attached to. This can easily be done with a pair of pliers.

    • With that done, simply pull the connector out and lift the border 'up and out'.

  4. D-link DI-524 Teardown, The chips: paso 4, imagen 1 de 3 D-link DI-524 Teardown, The chips: paso 4, imagen 2 de 3 D-link DI-524 Teardown, The chips: paso 4, imagen 3 de 3
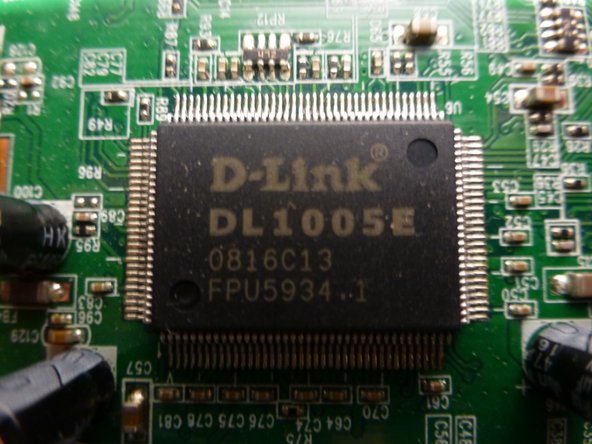
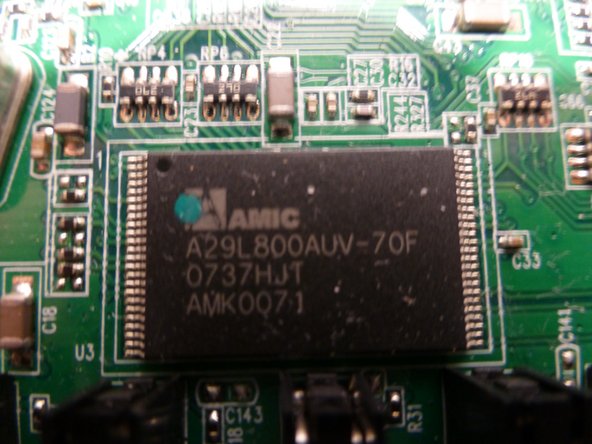
    • This is simply a better look at the board chips. If anone reading this knows specifically what they are, feel free to comment and I will add the information.

    • (There is also one more chip but Ifiixit allows only 3 pictures)

  5. D-link DI-524 Teardown, The lone metal clip: paso 5, imagen 1 de 2 D-link DI-524 Teardown, The lone metal clip: paso 5, imagen 2 de 2
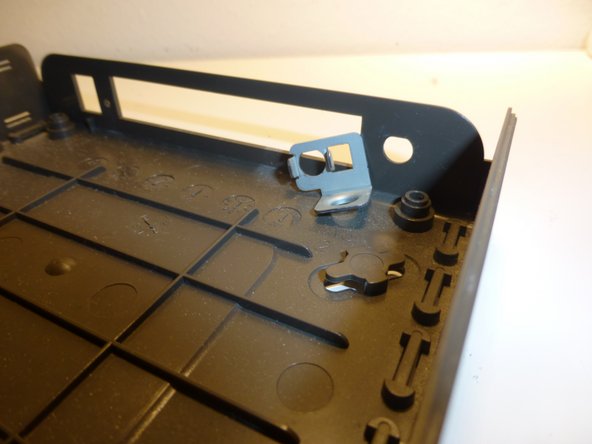
    • The last piece of the router is this small metal clip here. Simply pull it up.

  6. D-link DI-524 Teardown, Thats it!: paso 6, imagen 1 de 1
    • You have successfully taken apart a D-link DI-524.

    • I was unable to remove anything more from the mother board as it is all soldered on.

Imad Knight

Miembro Desde 07/11/16

1,429 Reputación

2 Guías creadas

0 comentarios

Agregar Comentario

Ver Estadísticas:

Ultimas 24 horas: 0

Ultimos 7 días: 0

Ultimos 30 días: 6

Todo El Tiempo: 2,547