Saltar al contenido principal

Qué necesitas

Este desmontaje no es una guía de reparación. Para reparar tu Car and Drivers Auto HandHeld Vacuum Bagless, utiliza nuestros manuales de servicio .

  1. Car and Drivers Auto HandHeld Vacuum Bagless Teardown, Car and Drivers Auto HandHeld Vacuum Bagless Teardown: paso 1, imagen 1 de 3 Car and Drivers Auto HandHeld Vacuum Bagless Teardown, Car and Drivers Auto HandHeld Vacuum Bagless Teardown: paso 1, imagen 2 de 3 Car and Drivers Auto HandHeld Vacuum Bagless Teardown, Car and Drivers Auto HandHeld Vacuum Bagless Teardown: paso 1, imagen 3 de 3
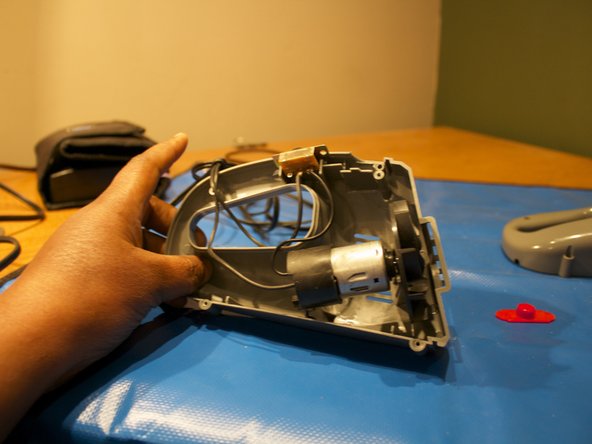
    • Locate the four screws locate outer gray shelll

    • ''I REMOVED THE SCREWS WITH PH #OO SCREWDRIVER FROM (IFIXIT)

    • New PLace four screws to the side

  2. Car and Drivers Auto HandHeld Vacuum Bagless Teardown: paso 2, imagen 1 de 1
    • Here are the four screws from vacuum

  3. Car and Drivers Auto HandHeld Vacuum Bagless Teardown: paso 3, imagen 1 de 3 Car and Drivers Auto HandHeld Vacuum Bagless Teardown: paso 3, imagen 2 de 3 Car and Drivers Auto HandHeld Vacuum Bagless Teardown: paso 3, imagen 3 de 3
    • Remove the top grey shell of the vacuum

    • Place a red tab to the side

    • Let start looking at the 9volt motor with wire and on/off switch.

    • I remove the outer shell . I remove the motor and wires and on/off switch.

  4. Car and Drivers Auto HandHeld Vacuum Bagless Teardown: paso 4, imagen 1 de 1
    • This it complete teardown on Car and Driver HandHeld Vacuum bagless!

kempc8

Miembro Desde 11/22/13

899 Reputación

7 Guías creadas

Equipo

K and K Fixit Miembro de K and K Fixit

Business

1 Miembro

11 Guías creadas

0 comentarios

Agregar Comentario

Ver Estadísticas:

Ultimas 24 horas: 0

Ultimos 7 días: 4

Ultimos 30 días: 11

Todo El Tiempo: 1,015