Este teardown está en en curso – Recarga periódicamente para ver los cambios más recientes!
Teardown
The Assembled Product, unplugged from wall
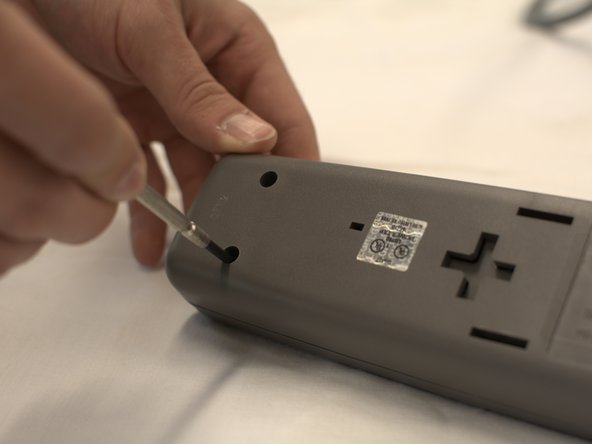
Turn Smart Strip upside down and locate four screw holes in corners
Unscrew four corner screws with #0 Phillips Screwdriver
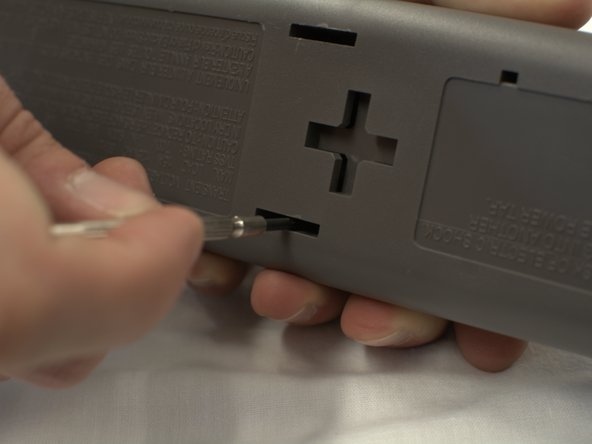
Locate four latch slots in case
Use 2.4mm Slotted Screwdriver, put tip into center of slot, with tip on outer edge of slot, and press inward
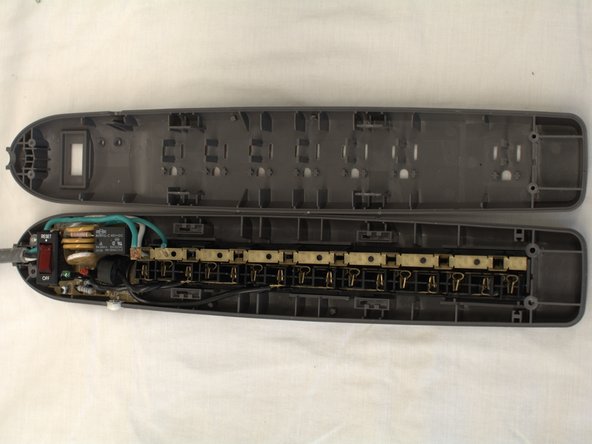
Take two halves of case apart with your hands
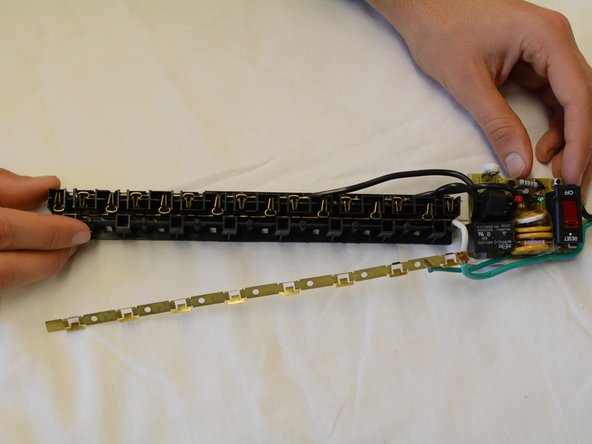
Lift Ground Copper Strip upward off of power plugs by hand
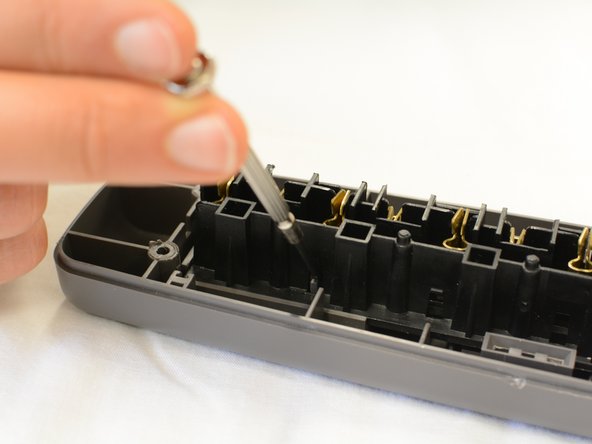
Locate latch securing power plugs to bottom of case
Using slotted 2.4mm screwdriver, pry latch away from power plugs to loosen power plugs
Lift power plugs out of bottom of case along with circuit assembly
con 3 otros colaboradores
Miembro Desde 11/14/13
194 Reputación
1 Guía escrita
Insignias: 0
This is great! Thanks so much!
nils smith - 14 de nov. de 2013 Contestar
that awesome and i like how it fix
Joseph donkor - 6 de nov. de 2017 Contestar
Elige el tamaño y copia el siguiente código para insertar esta guía como un pequeño widget en tu sitio web o foro.
Ultimas 24 horas: 0
Ultimos 7 días: 0
Ultimos 30 días: 2
Todo El Tiempo: 1,515