Esta versión puede contener ediciones incorrectas. Cambie a la última instantánea verificada.
Qué necesitas
-
Este paso está sin traducir. Ayuda a traducirlo
-
Start with your device off. The screen should be blank and not displaying anything.
-
Turn the device over so it's resting face down.
-
You should be able to see the model name of the label-maker, as well as a window in which you can view the label cartridge.
-
-
Este paso está sin traducir. Ayuda a traducirlo
-
Using your thumb, press in and then upward on the fastener at the top of the device. The back of the device should come off easily.
-
Remove the 4 batteries located on the left side of the device.
-
-
-
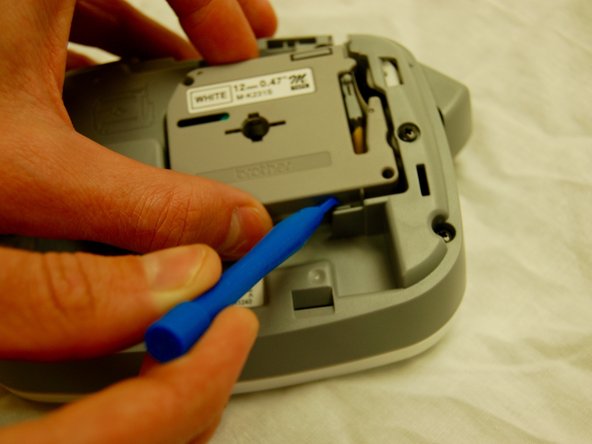
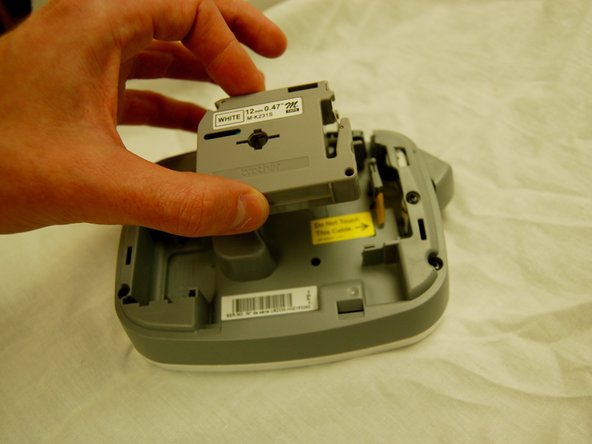
Este paso está sin traducir. Ayuda a traducirlo
-
To remove the label cartridge from the device, use a plastic opening tool from your iFixit tool kit.
-
-
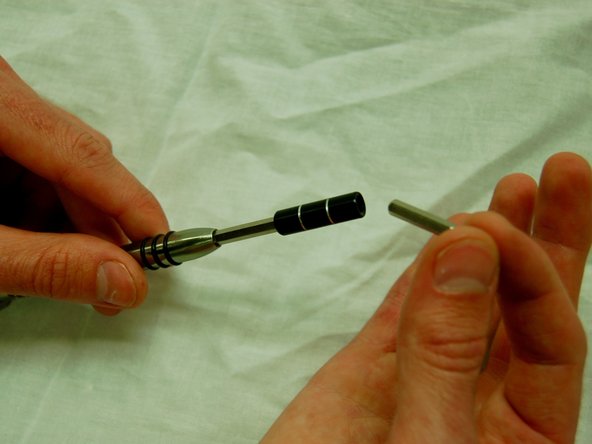
Este paso está sin traducir. Ayuda a traducirlo
-
Attach the J1 Screwdriver Bit to the extension tool from your tool kit.
-
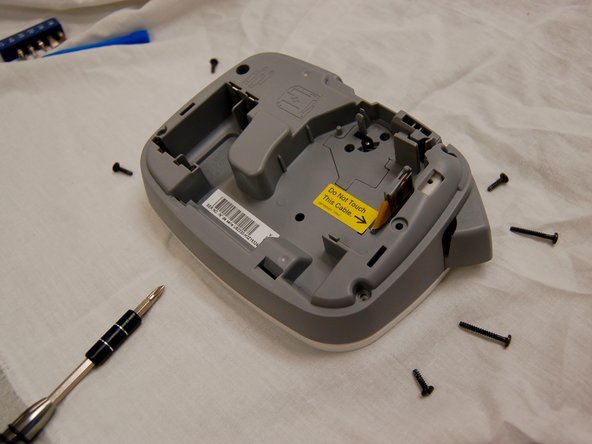
Remove all of the screws from the back of the device.
-
-
Este paso está sin traducir. Ayuda a traducirlo
-
Once the screws have been removed, press as shown on the fastener.
-
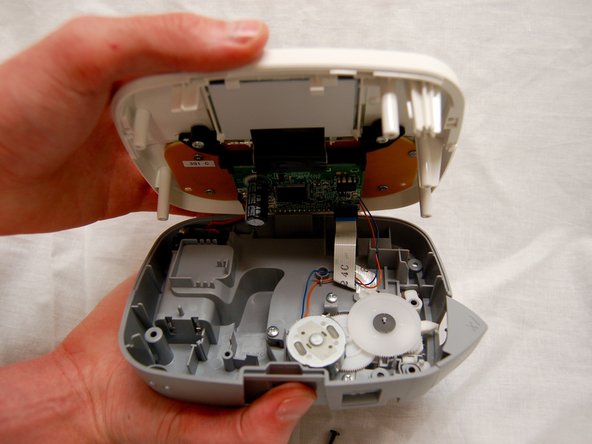
Carefully open the device.
-


Cancelar: No complete esta guía.
Una persona más ha completado esta guía.

Equipo

University of Maine, Team 2-1, Diaz Fall 2016 Miembro de University of Maine, Team 2-1, Diaz Fall 2016
UMAINE-DIAZ-F16S2G1
3 Miembros
2 Guías creadas