This tear down includes a complete photographic guide for the removal of all internal components of a RIM Blackberry 8700c.
Este desmontaje no es una guía de reparación. Para reparar tu BlackBerry 8700c, utiliza nuestros manuales de servicio .
-
-
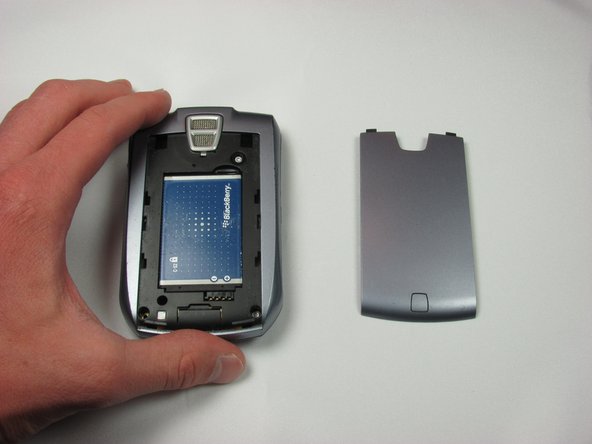
In this first step you will remove the battery cover by pushing down on the button on the cover and sliding towards the bottom of the phone.
-
To do this unscrew all four T6 screws
-
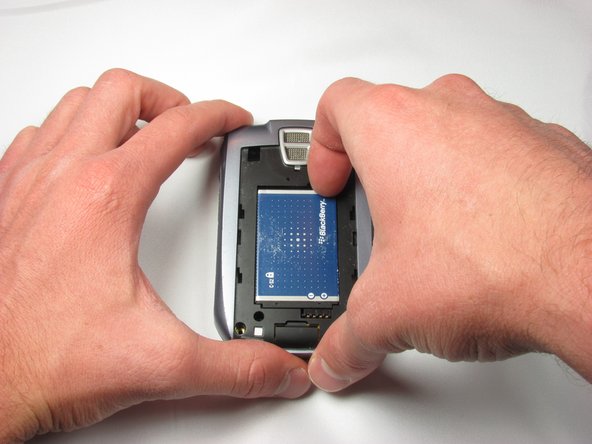
Once this is done gently remove the back cover of the phone by pulling first from the bottom towards you, then from the top upwards.
-
-
-
Next, remove the back portion of the phone by removing four T6 Screws.
-
Once the screws have been removed, firmly grab the back cover and pull back from the front cover.
-
-
-
To remove the middle portion of the phone you will again remove four T6 screws.
-
Follow the removal of the screws, you can now pull the front face plate away from the middle portion.
-
-
Follow the removal of the screws, you can now pull the middle portion away from the main logic board.
-
Next, hold the logic board and remove the front face plate of the phone
-
-
-
-
Using a metal spudger, push back on the four clips holding the LCD screen to the logic board.
-
Next gradually pull the screen away from the board so that none of the clips are engaged.
-
Last, use a metal spudger to push back on the clip locking in the ribbon cable for the screen.
-
Incrustar esta guía
Elige el tamaño y copia el siguiente código para insertar esta guía como un pequeño widget en tu sitio web o foro.
Vista previa


