Qué necesitas
Documento destacado
-
-
Necesitarás las siguientes herramientas:
-
Una herramienta de palanca o una hoja de cuchillo
-
Un destornillador PH00
-
-
-
Inserta la hoja de su cuchillo o herramienta de palanca en el centro de la costura
-
Sigue la costura. Deberías escuchar un chasquido de los clips aflojándose.
-
-
-
Desconecta la batería antes de continuar
-
¡Cuidado con el botón de encendido/apagado!
-
-
-
-
Puedes sacar la batería usando una tarjeta de plástico como una tarjeta de crédito
-
-
-
PCA9536: Expansor de E/S
-
BQ2407:y Cargador de batería de iones de litio y IC de administración de ruta de alimentación
-
BQ27425: indicador de combustible de la batería
-
TCA6507: Controlador LED SMBus y I 2C de 7 bits
-
TPS782: Regulador lineal de caída baja de corriente de reposo ultrabaja
-
DMMT3904W: Transistor de señal pequeña NPN de par emparejado
-
-
-
CSR8670: sistema de audio en chip (SoC)
-
2 micrófonos
-
Amplificador de auriculares estéreo AMS AS3561 Clase-H
-
-
-
El inalámbrico Solo 2 usa muchas partes de TI. Eso significa que puede encontrar circuitos integrados de repuesto
-
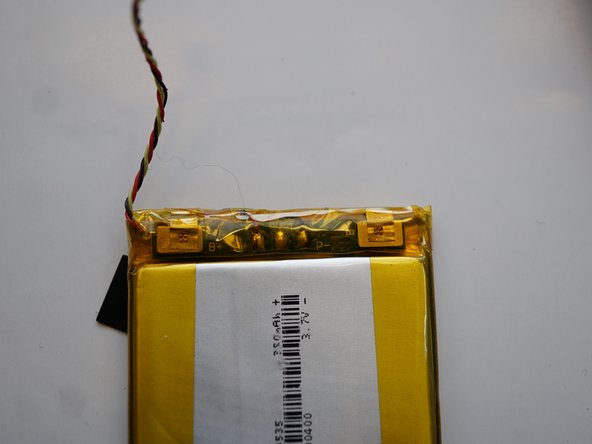
La batería se puede reemplazar fácilmente y no está soldada.
-


Un agradecimiento especial a estos traductores:
94%

¡ Francisco Javier Saiz Esteban nos está ayudando a reparar el mundo! ¿Quieres contribuir?
Empezar a traducir ›
Documentos Adjuntos

Equipo

11 comentarios
I got the flashing Red-White lights on my beats solo 2 wireless. I tried to reset it by simultaneously pushing power button and mute button but it didn't work. After that I tried Volume down and power button but that didn't work either. After listening some music with wired connection, I concluded that the mute button isn't working. Does anyone know how to fix this ASAP? It might help to revive my beats headset...
I've had a similar issue.
What you can do is try to hold the power button only in for 10 seconds (thats the normal reset procedure).
But i'm sure you've already tried this. one of the following things might be an issue.
The mute button itself:
If you have a multimeter, put it in to continuity (beep mode) and touch the button contacts.
there are 2 pairs of 2 contacts. the bottom row is connected to each other and so is the top.
the bottom and top contacts should conduct when you press the button. If not the button is bad.
The device doesn't get it's 3V3 supply:
On the right PCB look for a testpoint labeled 3V3. Put the red probe there and the blak one on to the gold side.
you should read 3V3
The cable running from L to R.
This cable has no less then 13 conductors running tough it. varying from the pass trough to the USB connection and 5V power.
Besides these things it also has a I2C communication bus running tough it. If the SDL and SDA lines get shorted nothing besides analog passtrough will work.
Ashley -
one of my speaker dose not work some times wan you shake it works what should i do?? plz help!!!
That sounds like a lose connection to the speaker.
Here are 2 things you can do:
Case 1: You still have warranty:
Call Apple and ask for a repair.
Case 2: you don't have warranty left:
You can open up your headphones and have a look at the speaker thats having issues.
Be sure to be careful when disconnecting the connectors. the foam cushion is held on by double sided tape.
Look at the wire that goes to the speaker if it's lose re tin the wire and solder it on to the terminal it came of.
Ashley -