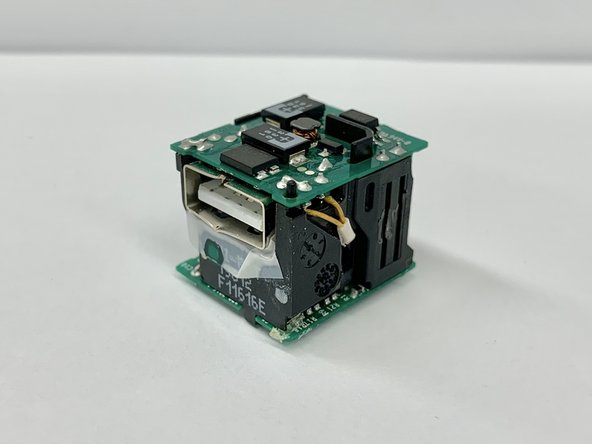
Saltar al contenido principal

Qué necesitas

Este desmontaje no es una guía de reparación. Para reparar tu Apple USB Power Adapter, utiliza nuestros manuales de servicio .

  1. Apple USB Power Adapter Teardown, Separating the input panel: paso 1, imagen 1 de 3 Apple USB Power Adapter Teardown, Separating the input panel: paso 1, imagen 2 de 3 Apple USB Power Adapter Teardown, Separating the input panel: paso 1, imagen 3 de 3
    • Use a hammer and a small chisel to carefully force the input panel open

    • Clamping the device helps prop the input panel open but, do not pull the panel away from the device forcefully, as there are small wires connected to the device components.

    • Be careful not to force the chisel into the device as you could damage internal components.

  2. Apple USB Power Adapter Teardown, Removing plastic casing: paso 2, imagen 1 de 2 Apple USB Power Adapter Teardown, Removing plastic casing: paso 2, imagen 2 de 2
    • Use dyke and pliers to cut outside casing to pry open the shell and remove the circuitry.

    • Recommend using hand saw to cut around the plastic.

    • Be careful not to cut forcefully as to prevent the internal components from getting damaged.

  3. Apple USB Power Adapter Teardown, Isolating internal components: paso 3, imagen 1 de 3 Apple USB Power Adapter Teardown, Isolating internal components: paso 3, imagen 2 de 3 Apple USB Power Adapter Teardown, Isolating internal components: paso 3, imagen 3 de 3
    • Isolate the internal electrical components from the casing

    • Recommend unsoldering the wires from the input panel.

    • For help desoldering connections, follow this useful guide on Cómo soldar y desoldar conexiones.

    • Use caution when soldering. The heated tip may cause damage to the board, the components, or burn you.

  4. Apple USB Power Adapter Teardown, Accessing individual components: paso 4, imagen 1 de 3 Apple USB Power Adapter Teardown, Accessing individual components: paso 4, imagen 2 de 3 Apple USB Power Adapter Teardown, Accessing individual components: paso 4, imagen 3 de 3
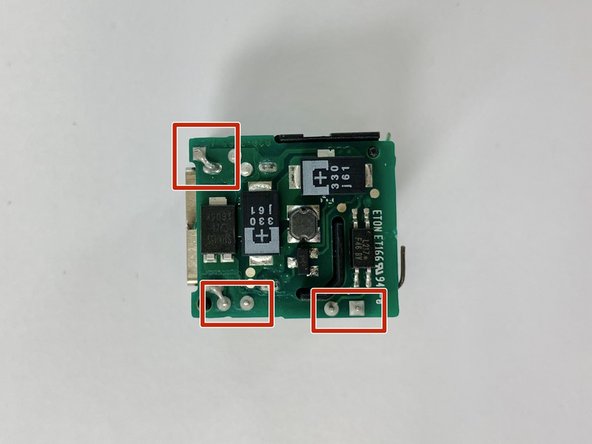
    • Unsolder components that connect to the bottom and top circuit boards.

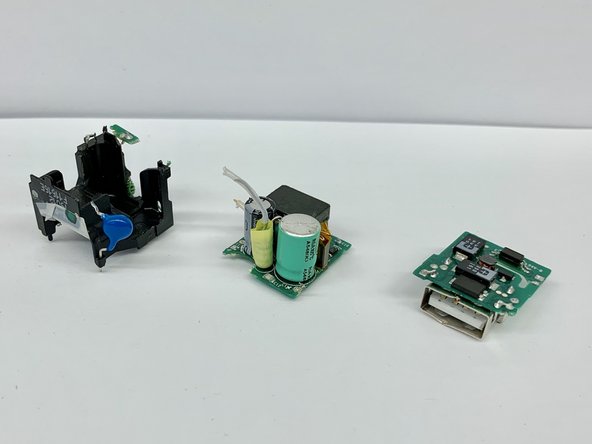
    • Detach the top and bottom circuit boards from the plastic separator.

    • For help desoldering connections, follow this useful guide on Cómo soldar y desoldar conexiones.

    • Use caution when soldering. The heated tip may cause damage to the board, the components, or burn you.

  5. Apple USB Power Adapter Teardown, Exploration: paso 5, imagen 1 de 2 Apple USB Power Adapter Teardown, Exploration: paso 5, imagen 2 de 2
    • Observe that once the circuit boards are separated individual components can be accessed.

Juan Gonzalez

Miembro Desde 01/24/19

422 Reputación

2 Guías creadas

Equipo

Cal Poly, Team S18-G1, White Winter 2019 Miembro de Cal Poly, Team S18-G1, White Winter 2019

CPSU-WHITE-W19S18G1

4 Miembros

21 Guías creadas

0 comentarios

Agregar Comentario

Ver Estadísticas:

Ultimas 24 horas: 5

Ultimos 7 días: 46

Ultimos 30 días: 214

Todo El Tiempo: 15,678