Saltar al contenido principal

Qué necesitas

Este desmontaje no es una guía de reparación. Para reparar tu A-Solar Power Bank AL-200, utiliza nuestros manuales de servicio .

  1. A-Solar PowerBank AL-200 Teardown, A-Solar PowerBank AL-200 Teardown: paso 1, imagen 1 de 2 A-Solar PowerBank AL-200 Teardown, A-Solar PowerBank AL-200 Teardown: paso 1, imagen 2 de 2
    • There are three blue LEDs to show you the power in the battery.

    • There is also a handy LED to see what you are doing in the dark.

  2. A-Solar PowerBank AL-200 Teardown: paso 2, imagen 1 de 3 A-Solar PowerBank AL-200 Teardown: paso 2, imagen 2 de 3 A-Solar PowerBank AL-200 Teardown: paso 2, imagen 3 de 3
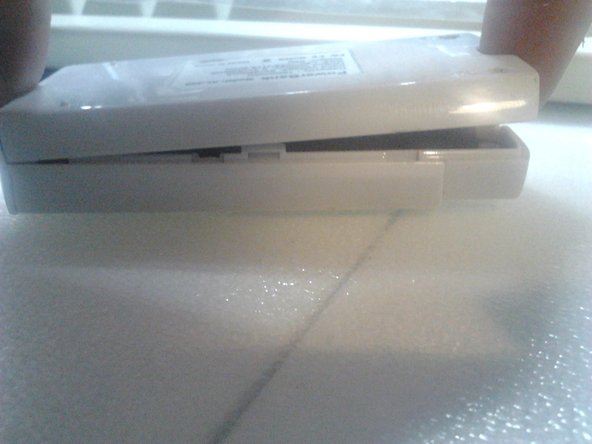
    • The bottom of the device.

    • It's time for some prying. Take out the rubber plugs at the bottom of the device.

    • Remove the screws which are underneath the plugs.

  3. A-Solar PowerBank AL-200 Teardown: paso 3, imagen 1 de 2 A-Solar PowerBank AL-200 Teardown: paso 3, imagen 2 de 2
    • use a flathead screwdriver or a spudger to pry open the device.

    • Don't pry at the front of the device - there are a few hooks and you do not want to break them.

  4. A-Solar PowerBank AL-200 Teardown: paso 4, imagen 1 de 1
    • A first glance at the inside: a big battery and the logic board.

    • There is a 1800 mAh battery in it.

    • There are two screws in the logic board, the battery is glued to the casing.

  5. A-Solar PowerBank AL-200 Teardown: paso 5, imagen 1 de 2 A-Solar PowerBank AL-200 Teardown: paso 5, imagen 2 de 2
    • The other side of the electronics.

    • And the logic board.

  6. A-Solar PowerBank AL-200 Teardown: paso 6, imagen 1 de 1
    • And there it is: the A-Solar PowerBank AL-200 torn down.

    • It was easy to do.

storm

Miembro Desde 07/07/12

552 Reputación

2 Guías creadas

0 comentarios

Agregar Comentario

Ver Estadísticas:

Ultimas 24 horas: 0

Ultimos 7 días: 12

Ultimos 30 días: 28

Todo El Tiempo: 5,226